Air Fryer Gluten Free Chicken Tenders – Crispy, Juicy, and Easy
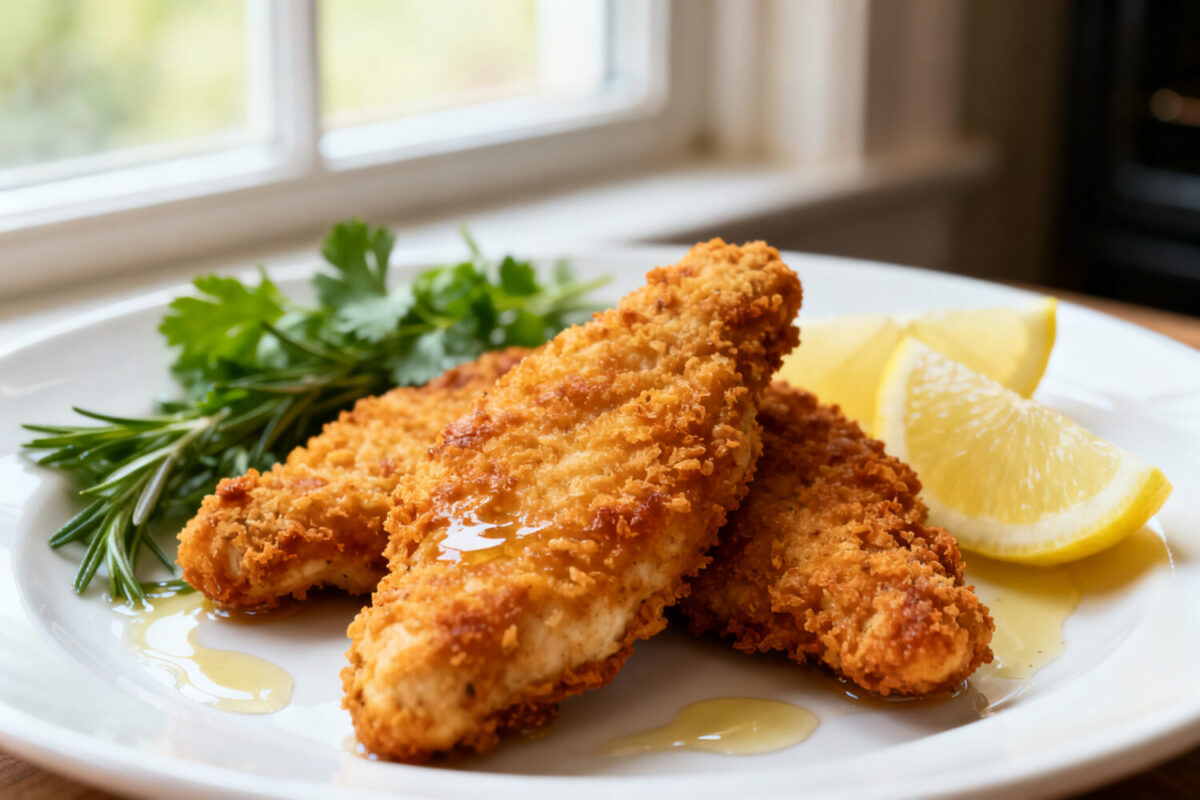
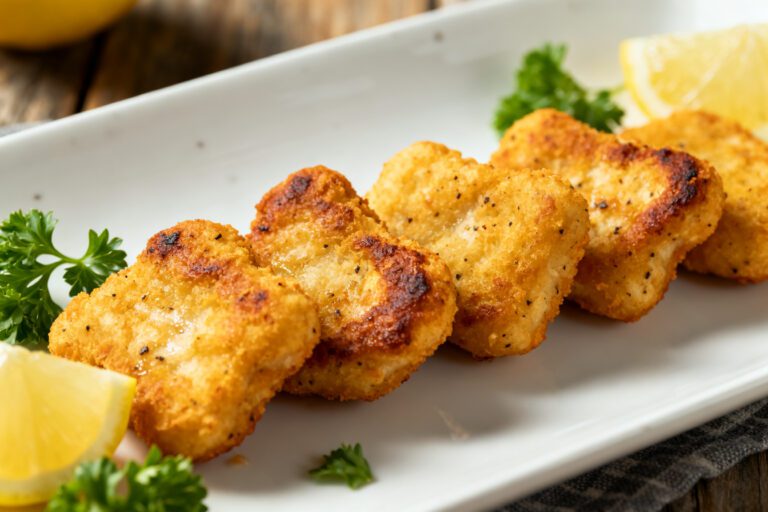
These gluten-free chicken tenders are crisp on the outside, juicy in the middle, and ready in under 30 minutes. The air fryer does the heavy lifting, giving you that golden crunch without a vat of oil. They’re weeknight-friendly, kid-approved, and perfect for dipping.
If you’re avoiding gluten or just want a lighter fried favorite, this recipe keeps things simple and satisfying.
Air Fryer Gluten Free Chicken Tenders - Crispy, Juicy, and Easy
Ingredients
- 1.5 pounds chicken tenders (or boneless skinless chicken breasts cut into strips)
- 1/2 cup gluten-free all-purpose flour (with xanthan gum if your blend doesn’t include it)
- 2 large eggs
- 1 tablespoon water (for thinning the egg wash)
- 1.5 cups gluten-free panko (or crushed gluten-free cornflakes or rice cereal)
- 1 teaspoon garlic powder
- 1 teaspoon onion powder
- 1 teaspoon smoked paprika (or sweet paprika)
- 1/2 teaspoon dried oregano (optional)
- 1 teaspoon kosher salt (divided)
- 1/2 teaspoon black pepper
- Avocado or olive oil spray (high-heat preferred)
- Lemon wedges (for serving, optional)
- Your favorite dipping sauce (honey mustard, ranch, BBQ, buffalo)
Instructions
- Prep the chicken: Pat the chicken tenders dry with paper towels. If using breast strips, aim for even thickness so they cook at the same rate.
- Set up the coating station: In one shallow bowl, combine the gluten-free flour with 1/2 teaspoon salt and a pinch of pepper. In a second bowl, whisk the eggs with water. In a third bowl, mix the gluten-free panko with garlic powder, onion powder, smoked paprika, dried oregano (if using), remaining 1/2 teaspoon salt, and black pepper.
- Bread the chicken: Work one piece at a time. Dredge in the seasoned flour, shaking off excess. Dip in egg wash, letting extra drip off. Press into the panko mixture, coating all sides. Set on a plate or rack. Repeat with remaining pieces.
- Rest the coated tenders: Let them sit for 5–10 minutes. This helps the coating adhere and crisp better in the air fryer.
- Preheat the air fryer: Heat to 400°F (200°C) for 3–5 minutes. A hot basket helps prevent sticking and promotes browning.
- Load the basket: Lightly spray the air fryer basket with oil. Arrange tenders in a single layer with slight space between them. Lightly spray the tops of the tenders, too. Cook in batches if needed.
- Air fry: Cook at 400°F for 6 minutes. Flip, spray again lightly, and cook another 5–7 minutes until internal temp reaches 165°F and the coating is golden and crisp.
- Season and serve: Sprinkle with a pinch of salt while hot. Rest 2 minutes to set the crust. Serve with lemon wedges and your favorite dip.
Why This Recipe Works
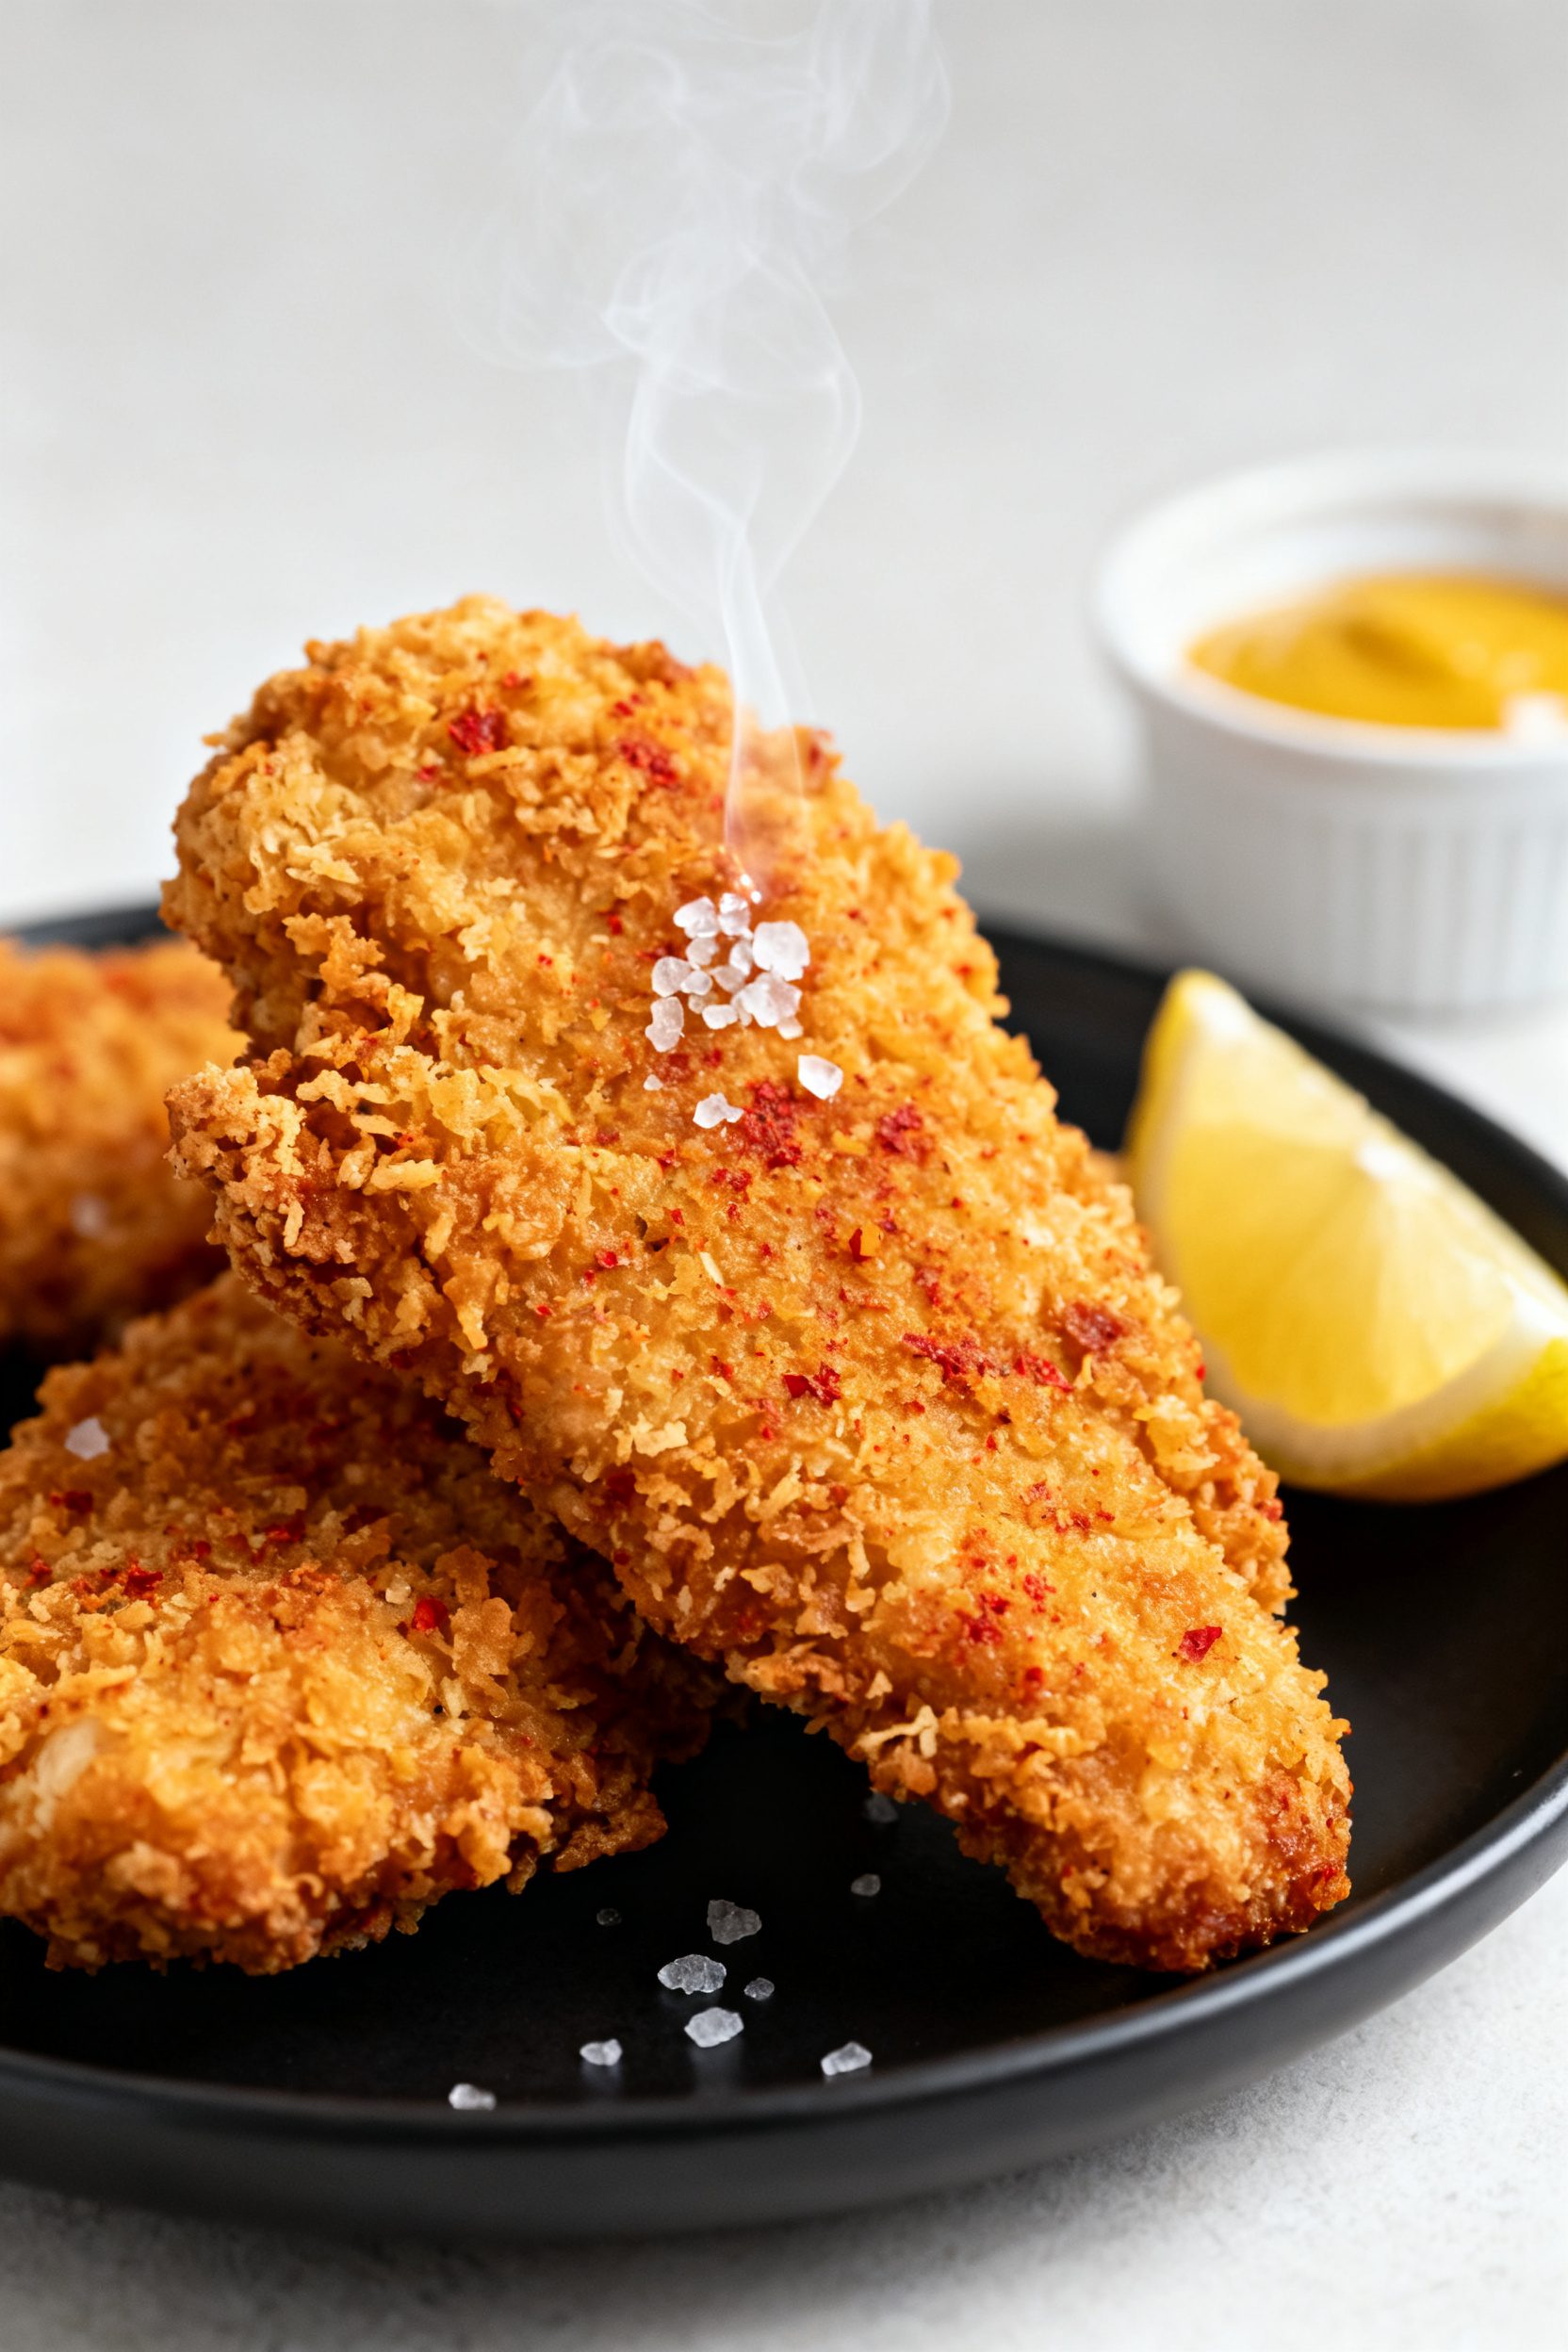
This method uses a quick three-part coating—seasoned flour, egg wash, and crunchy crumbs—to lock in moisture and build a crispy shell. The air fryer circulates hot air, so you get an even, golden crust with minimal oil. Using gluten-free panko or crushed cornflakes delivers texture that rivals traditional breadcrumbs.
A short rest before air frying helps the coating set, so it sticks better and stays crisper.
What You’ll Need
- 1.5 pounds chicken tenders (or boneless skinless chicken breasts cut into strips)
- 1/2 cup gluten-free all-purpose flour (with xanthan gum if your blend doesn’t include it)
- 2 large eggs
- 1 tablespoon water (for thinning the egg wash)
- 1.5 cups gluten-free panko (or crushed gluten-free cornflakes or rice cereal)
- 1 teaspoon garlic powder
- 1 teaspoon onion powder
- 1 teaspoon smoked paprika (or sweet paprika)
- 1/2 teaspoon dried oregano (optional)
- 1 teaspoon kosher salt (divided)
- 1/2 teaspoon black pepper
- Avocado or olive oil spray (high-heat preferred)
- Lemon wedges (for serving, optional)
- Your favorite dipping sauce (honey mustard, ranch, BBQ, buffalo)
Instructions
- Prep the chicken: Pat the chicken tenders dry with paper towels. If using breast strips, aim for even thickness so they cook at the same rate.
- Set up the coating station: In one shallow bowl, combine the gluten-free flour with 1/2 teaspoon salt and a pinch of pepper. In a second bowl, whisk the eggs with water.
In a third bowl, mix the gluten-free panko with garlic powder, onion powder, smoked paprika, dried oregano (if using), remaining 1/2 teaspoon salt, and black pepper.
- Bread the chicken: Work one piece at a time. Dredge in the seasoned flour, shaking off excess. Dip in egg wash, letting extra drip off.
Press into the panko mixture, coating all sides. Set on a plate or rack. Repeat with remaining pieces.
- Rest the coated tenders: Let them sit for 5–10 minutes.
This helps the coating adhere and crisp better in the air fryer.
- Preheat the air fryer: Heat to 400°F (200°C) for 3–5 minutes. A hot basket helps prevent sticking and promotes browning.
- Load the basket: Lightly spray the air fryer basket with oil. Arrange tenders in a single layer with slight space between them.
Lightly spray the tops of the tenders, too. Cook in batches if needed.
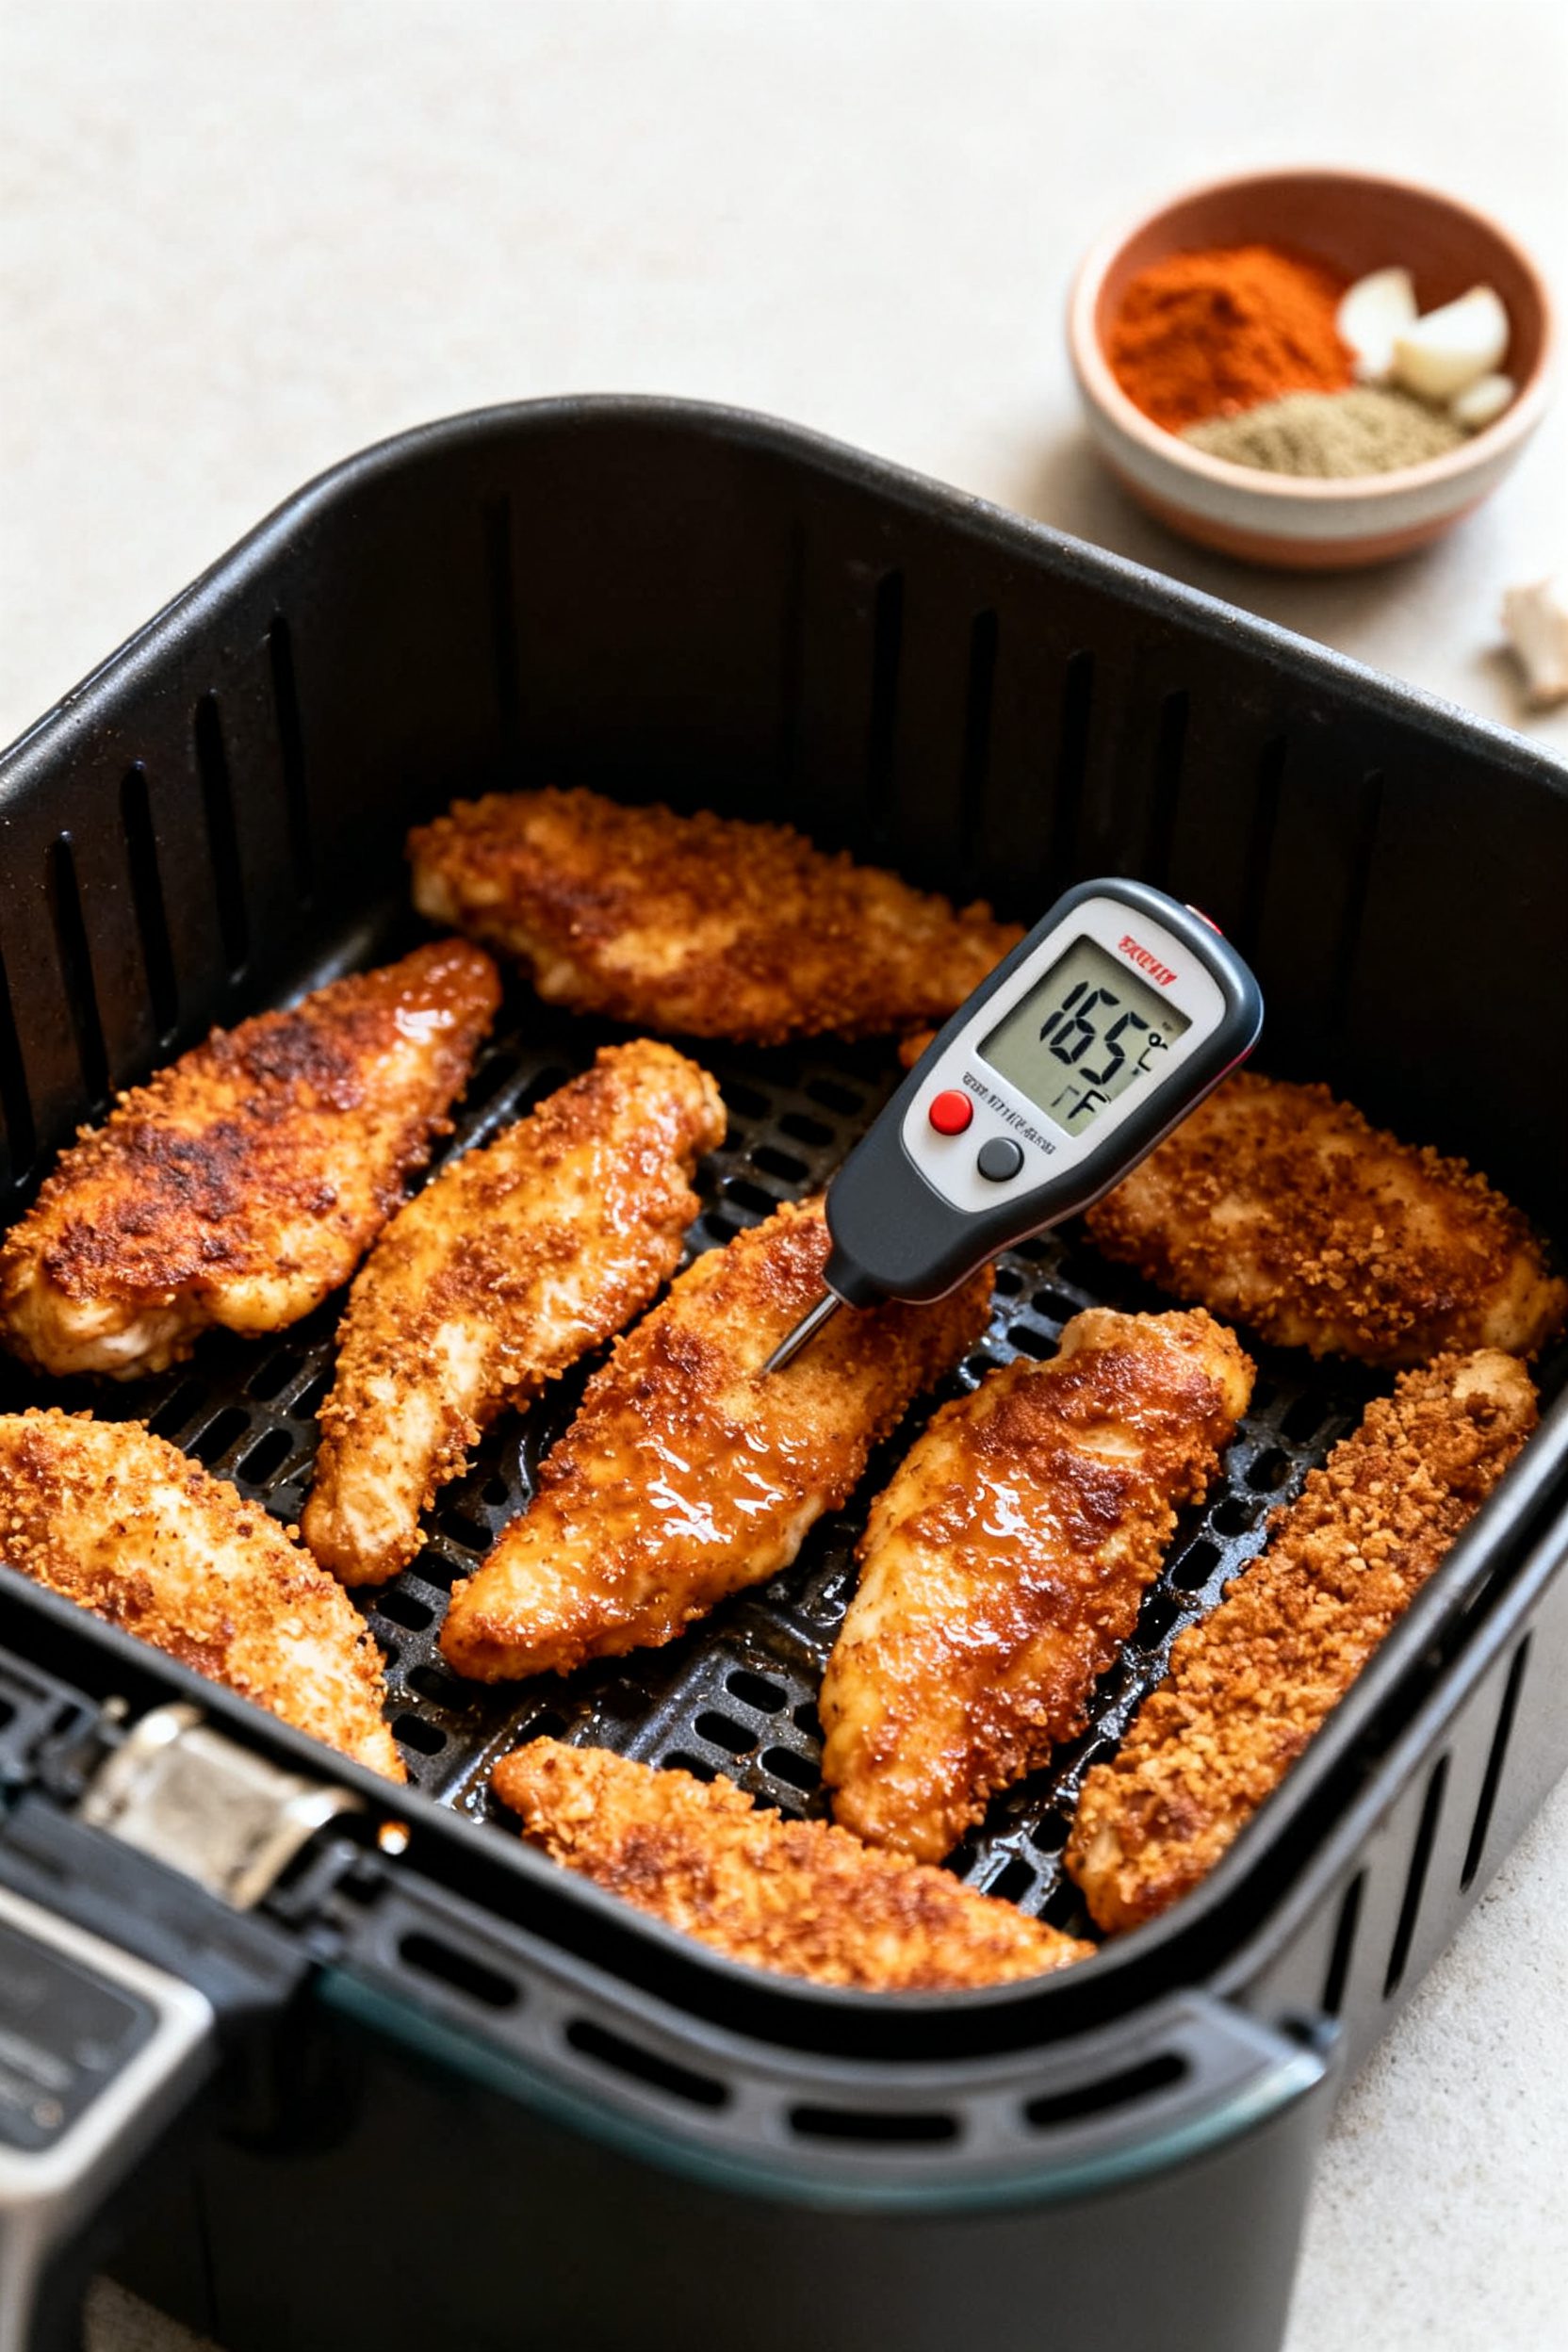
- Air fry: Cook at 400°F for 6 minutes. Flip, spray again lightly, and cook another 5–7 minutes until internal temp reaches 165°F and the coating is golden and crisp.
- Season and serve: Sprinkle with a pinch of salt while hot.
Rest 2 minutes to set the crust. Serve with lemon wedges and your favorite dip.
How to Store
- Refrigerate: Cool completely, then store in an airtight container for up to 4 days.
- Freeze: Freeze in a single layer on a sheet pan until firm, then transfer to a freezer bag for up to 2 months. Label with the date.
- Reheat: Air fry refrigerated tenders at 360°F for 3–5 minutes until hot and crisp.
From frozen, air fry at 360°F for 8–10 minutes, flipping halfway.
- Meal prep tip: Bread raw tenders and freeze on a tray. Cook from frozen at 380°F for 12–15 minutes, flipping once, until they hit 165°F.
Health Benefits
- Less oil, fewer calories: Air frying uses a fraction of the oil of deep frying, cutting overall calories while keeping crunch.
- Naturally high in protein: Chicken tenders deliver lean protein to keep you full and support muscle repair.
- Gluten-free friendly: Using gluten-free flour and panko makes this accessible for those with celiac disease or gluten sensitivity.
- Customizable sodium and seasoning: You control the salt and spices, making it easy to tailor to your needs and taste.
Pitfalls to Watch Out For
- Overcrowding the basket: This traps steam and softens the crust. Cook in batches for best results.
- Skipping the oil spray: A light spray is key for even browning and a shatter-crisp finish.
- Uneven pieces: Different sizes cook at different speeds.
Keep strips uniform to avoid dry or undercooked spots.
- Not checking for doneness: Use an instant-read thermometer. Pull at 165°F for juicy results.
- Using a gummy flour blend: Some gluten-free flours brown poorly. If your brand stays pale, add a spoonful of cornstarch to the flour step and don’t skip paprika for color.
Alternatives
- Dairy-free: This recipe is naturally dairy-free.
Just confirm your gluten-free panko is dairy-free too.
- Egg-free: Swap the egg wash for aquafaba (liquid from canned chickpeas) or unsweetened dairy-free milk mixed with 1 tablespoon cornstarch.
- Grain-free: Use crushed pork rinds or almond flour mixed with crushed grain-free tortilla chips for crunch.
- Spicy version: Add 1/2–1 teaspoon cayenne or chipotle powder to the crumb mix and serve with buffalo sauce.
- Kid-friendly mild: Skip smoked paprika and oregano; stick to salt, pepper, and a pinch of garlic powder.
- Oven method: Bake at 425°F on a wire rack set over a sheet pan for 16–20 minutes, flipping once and spraying lightly with oil.
FAQ
Can I use chicken thighs instead of tenders?
Yes. Cut boneless, skinless thighs into strips and follow the same steps. They may need an extra 1–2 minutes to reach 165°F due to higher fat content and thickness.
Which gluten-free panko works best?
Use a brand with larger flakes for maximum crunch.
If you can’t find GF panko, crush gluten-free cornflakes or rice cereal into medium crumbs. Avoid grinding too fine or you’ll lose texture.
Do I need to marinate the chicken?
Not required, but you can. A quick 15–30 minute soak in buttermilk (or dairy-free milk with a teaspoon of lemon juice) adds tenderness and subtle tang.
Pat dry before breading.
Why is my coating not sticking?
The chicken may be too wet or the coating steps were rushed. Pat the chicken dry, shake off excess flour, let egg drip, and press firmly into crumbs. Rest the breaded tenders 5–10 minutes before cooking.
How do I prevent dry chicken?
Avoid overcooking and aim for uniform piece size.
Flip halfway, and pull the tenders right at 165°F. Rest 2 minutes to let juices redistribute.
Can I make these ahead?
Yes. Bread the tenders and refrigerate up to 24 hours before cooking.
For longer storage, freeze raw breaded tenders and cook from frozen as noted above.
What sauces pair well?
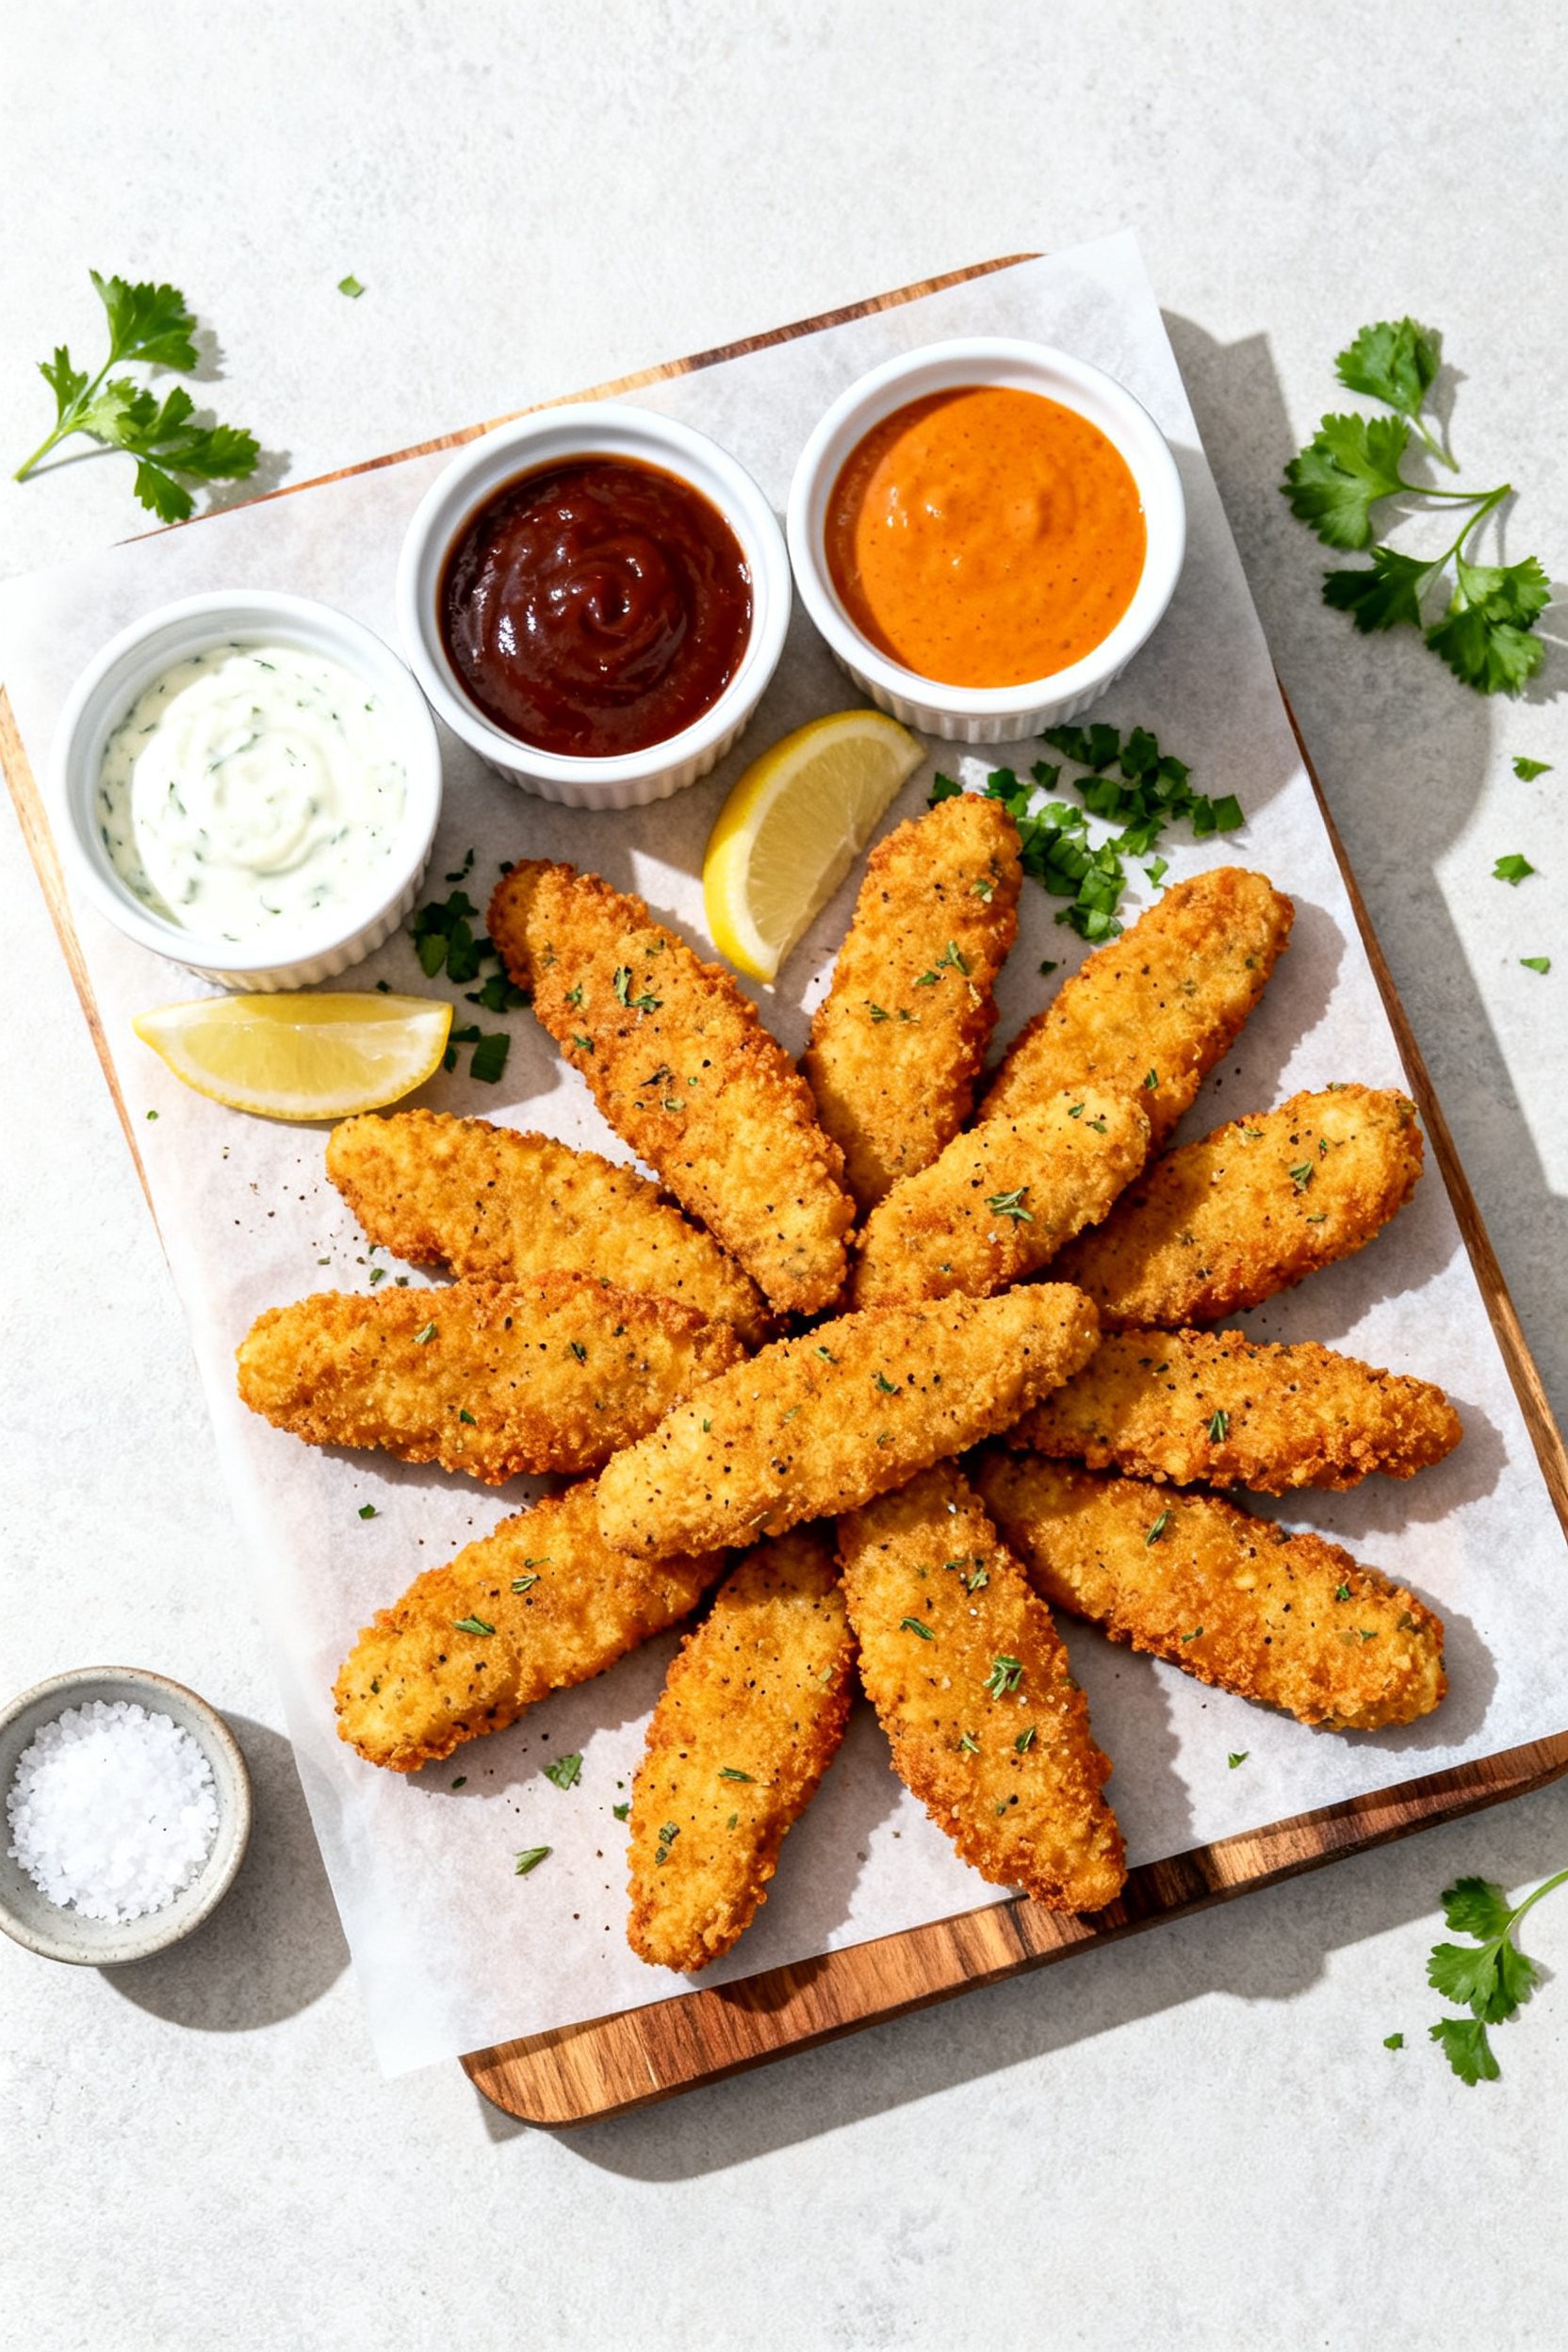
Honey mustard, ranch, BBQ, buffalo, chipotle mayo, or a squeeze of lemon with a little sea salt all work great. For a lighter option, try Greek yogurt mixed with lemon and dill.
Wrapping Up
These Air Fryer Gluten Free Chicken Tenders bring big crunch and juicy bites without the mess of deep frying. They’re simple to prep, easy to customize, and reheat like a dream.
Keep a batch in the freezer for fast, crowd-pleasing meals any night of the week. With a few pantry staples and your air fryer, crispy comfort food is always within reach.