How To Deep Clean Air Fryer
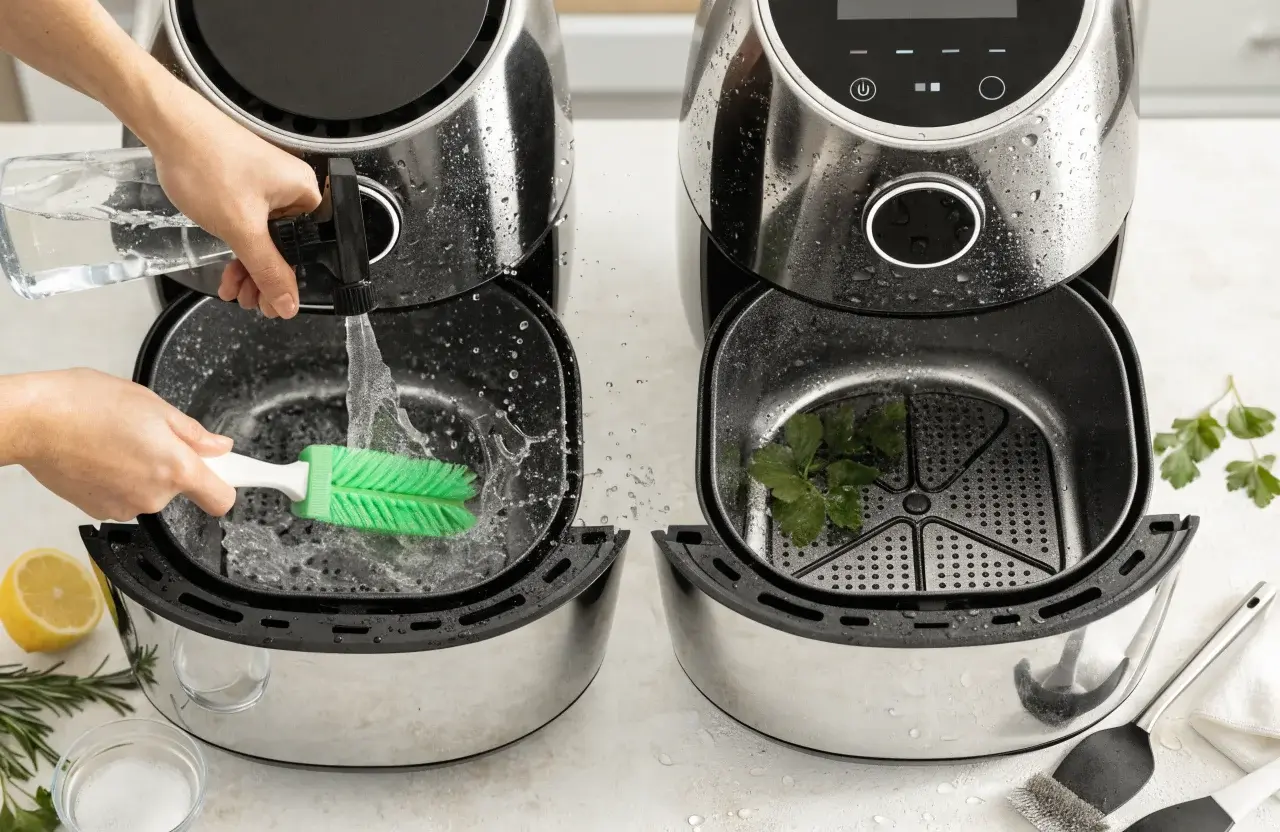
An air fryer is your kitchen BFF until it starts acting up. In 5 minutes you’ll be back to crispy glory, and you’ll wonder why you ever tolerated lingering oil shadows. Let’s dive into deep-cleaning magic that actually sticks, so your fries stay perfect and your appliance stays happy.
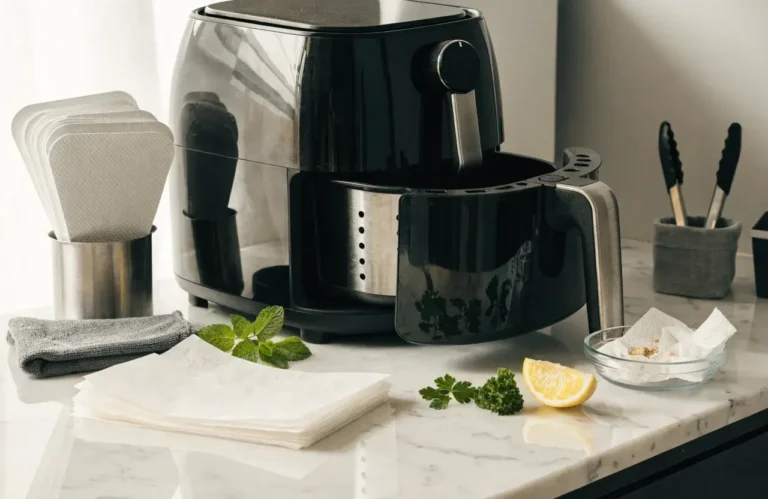
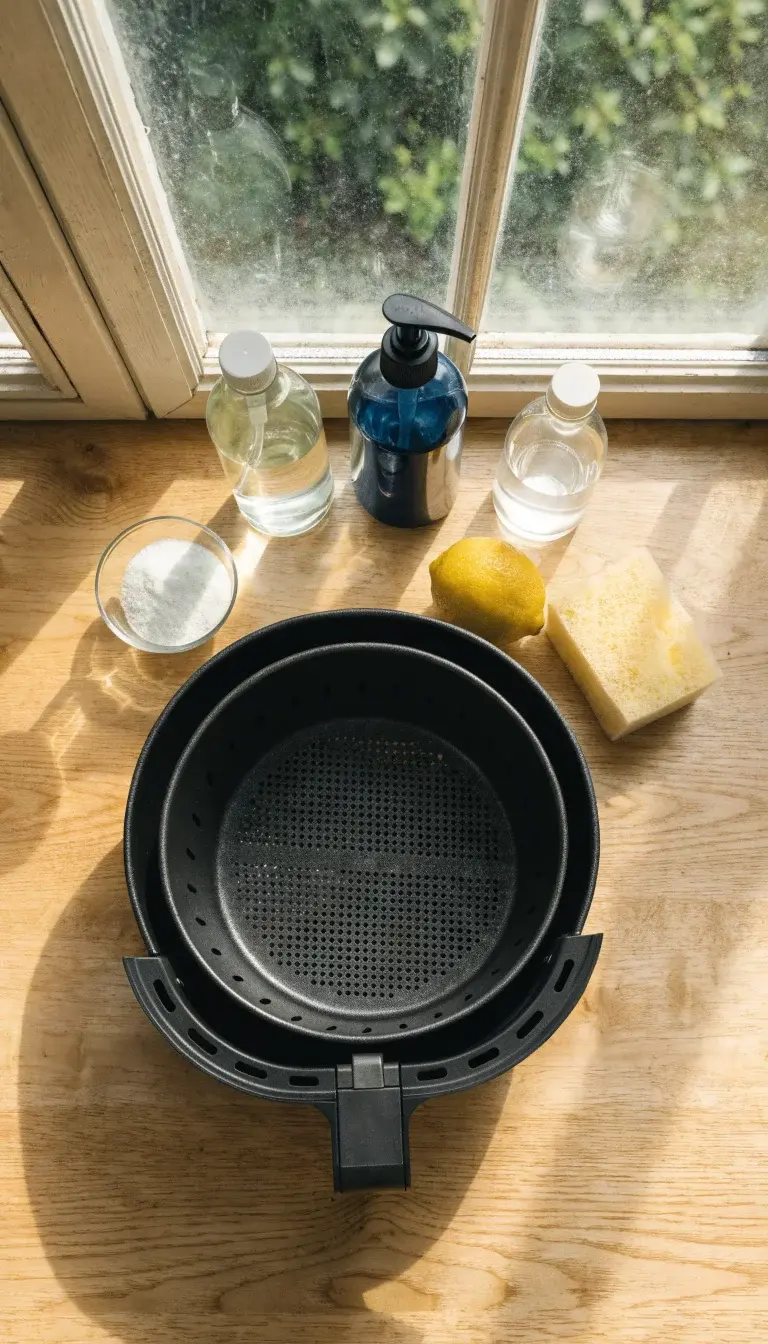
First, Gather Your Cleaning Arsenal
– Dish soap and warm water
– White vinegar or lemon juice for a natural spark
– Soft sponge or non-scratch scrubber
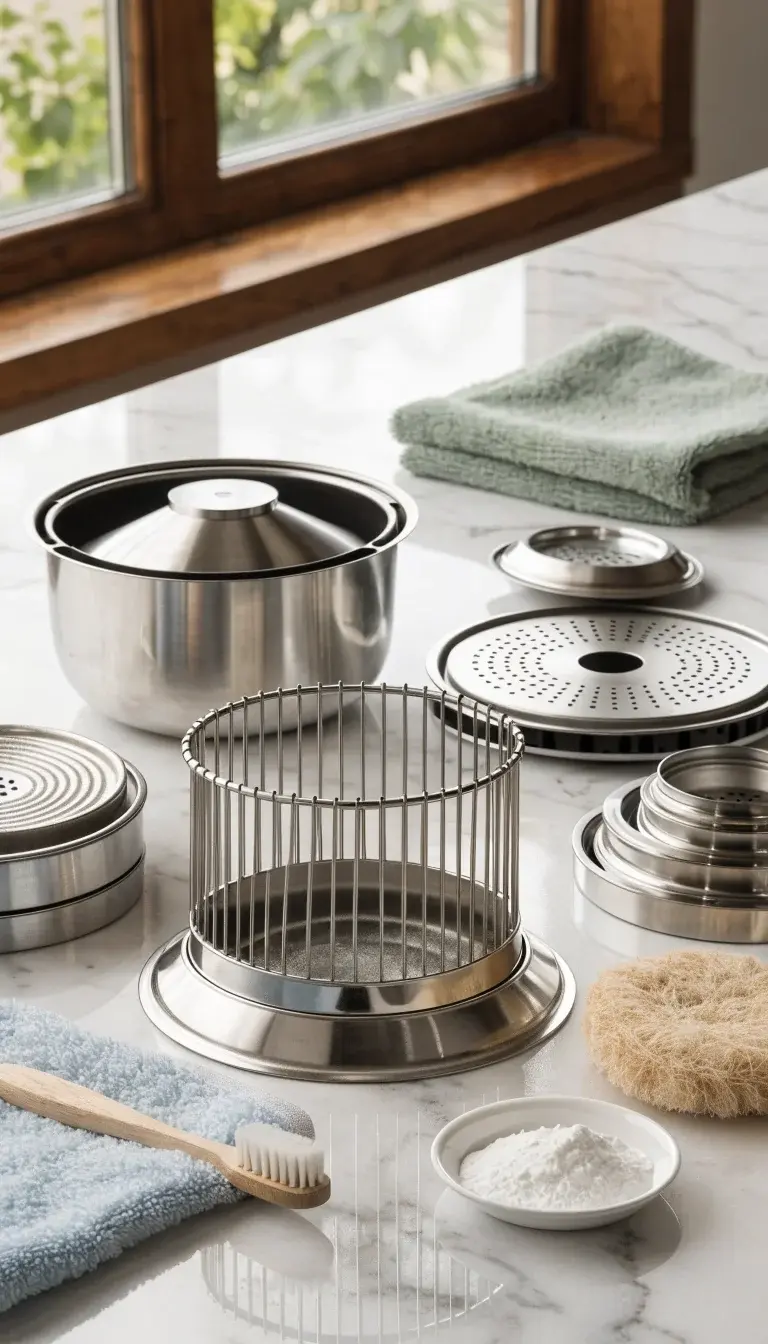
– Old toothbrush for nooks and crannies
– Baking soda for tough stains
– A towel or drying rack
Ever notice how cleaning gear actually makes the job feel easier? FYI, having the right stuff ready saves you from sprinting around the kitchen mid-clean. Keep everything within arm’s reach so you don’t raid the pantry mid-task.
Step 1: Unload and Disassemble Calmly
Take out the basket, pan, and any removable parts. Let them cool if you just used the fryer. Rinse off loose crumbs under running water, then set aside for a proper soak. Do not skip this—crumbs bake on, and you’ll hate yourself later when you’re scrubbing at 9 PM.
Why soaking helps
Soaking loosens stuck-on oil and food particles. A quick 10-minute soak with warm soapy water makes the rest dramatically faster. If you’re short on time, do a hot-water soak with a splash of dish soap and move to the next steps; the grime will loosen up like magic.
Step 2: Soak and Scrub With Love
Fill a sink or big bowl with warm water and a few squirts of dish soap. Submerge the removable pieces and give them a few minutes to soak. Gently scrub with a sponge or non-scratch pad, paying attention to corners and the basket’s ridges.
- Scrub the basket until all oiliness is gone.
- Clean the pan interior, especially near the grate and corners.
- Rinse thoroughly to remove all soap residue.
If you see stubborn gunk that won’t budge, sprinkle a little baking soda on a damp sponge and scrub. FYI, the fizz helps lift tough spots without scratching.
Step 3: Tackle the Exterior and Any Greasy Surfaces
Wipe down the exterior with a damp cloth and a gentle cleaner. Avoid harsh chemicals that could damage the coating or the control panel. A microfiber cloth works wonders here, and a quick wipe-down after every batch prevents buildup.
Inner chamber care
If your model has a nonstick interior, avoid abrasive scrubbers inside. Use a soft sponge and circular motions to lift stuck bits. If you notice a dull film, a mix of warm water and a splash of white vinegar can help restore the shine without harming the surface.
Step 4: Clean the Heating Element and Vents
Turn off the fryer and unplug it. If you can access the heating element safely, wipe away any grease with a damp cloth. Do not spray liquid directly onto the element. Use a dry brush or the corner of a paper towel to clear vents. Smoke-free air is happy air.
- Check for trapped crumbs around the fan housing.
- Brush away any stubborn bits gently with a dry brush.
- Wipe the exterior again to remove any dust or oil you knocked loose.
If you’re dealing with stubborn residue, a tiny dab of baking soda paste and gentle scrubbing can work wonders. Remember: patience beats force here.
Step 5: Dry Time and Reassembly
Dry every part thoroughly before reassembling. Moisture left inside can cause rust or funky smells later on. Place parts on a rack or clean towel to air-dry. Reassemble once everything is bone dry.
Step 6: Quick Freshen-Up Tips for Ongoing Shine
– Wipe the interior after you finish cooking, not just after deep cleans. A quick wipe prevents caked-on grease.
– Line the pan with parchment or a silicone mat if your model allows it; this makes future cleanups easier.
– Do a monthly deep clean for long-term care, especially if you use oily foods regularly.
When to do a full strip-down clean
If you notice lingering odors, odd smoke, or reduced air circulation, it’s time for a deeper clean. Also, check for any signs of wear or damage on seals and gaskets. If you’re unsure, consult the user manual or manufacturer support.
Common Pitfalls to Avoid
– Avoid using metal utensils or abrasive pads on nonstick surfaces. You’ll scratch the coating, and no one wants fried eggs with a scratchy coating.
– Don’t spray cleaners directly onto the heating element. Liquid near the element invites trouble.
– Don’t skip drying. A damp interior can cause rust and odors that linger longer than your last batch of fries.
Why Deep Cleaning Matters
A clean air fryer cooks more evenly, tastes better, and lasts longer. Oil buildup can cause uneven heating and smoke. Regular cleaning also prevents cross-flavor contamination—no one wants last week’s leftovers tainting tonight’s chicken bites.
DIY Hacks and Quick Fixes
– If your basket sticks, a quick soak in warm soapy water should free things up. If not, a tiny bit of warm oil on a paper towel can help loosen the stuck bits—then wipe clean.
– Lemon wedges in the basket while you clean add a fresh scent and cut through grease. Just don’t leave lemon juice on metal for too long—acid can wear things down.
– For stubborn smells, place a small bowl of vinegar in the cooking chamber and run a 5-minute bake cycle. The vapor absorbs odors.
FAQ
How often should I deep clean my air fryer?
Aim for a thorough cleaning every 1–2 weeks if you use it daily. If you’re a weekend warrior, a deep clean once a month works well. Quick wipe-downs after each use keep buildup at bay.
Can I use vinegar in the air fryer?
Yes, but avoid spraying vinegar directly on heating elements. A cloth damp with diluted vinegar can wipe down the interior. If you’re sensitive to smells, use lemon juice or water with a splash of white vinegar and ventilate.
Is it safe to put the basket in the dishwasher?
Many baskets are dishwasher safe, but always check your model’s manual first. If you run into stubborn grime, a warm soak and hand scrub do the trick.
What should I do about lingering odors after cleaning?
Baking soda paste on the interior, a short run with a lemon slice in the chamber, or a quick vinegar steam can help. Always rinse and dry thoroughly after any odor-busting.
My air fryer still smells after a clean. Help!
Make sure every component is completely dry, especially the interior seams. Run a quick 5–10 minute bake with nothing in it to burn off residual oils. Then air out the kitchen—your nose will thank you.
Conclusion
A clean air fryer cooks better and looks better on the counter. With a few simple tools and a little know-how, you can tackle deep cleans without drama. IMO, the payoff is worth it: crisp perfection without the greasy aftermath. So pop in those parts, grab your sponge, and get ready to respect your air fryer again—your future fries will thank you.