How To Roast Garlic In Air Fryer
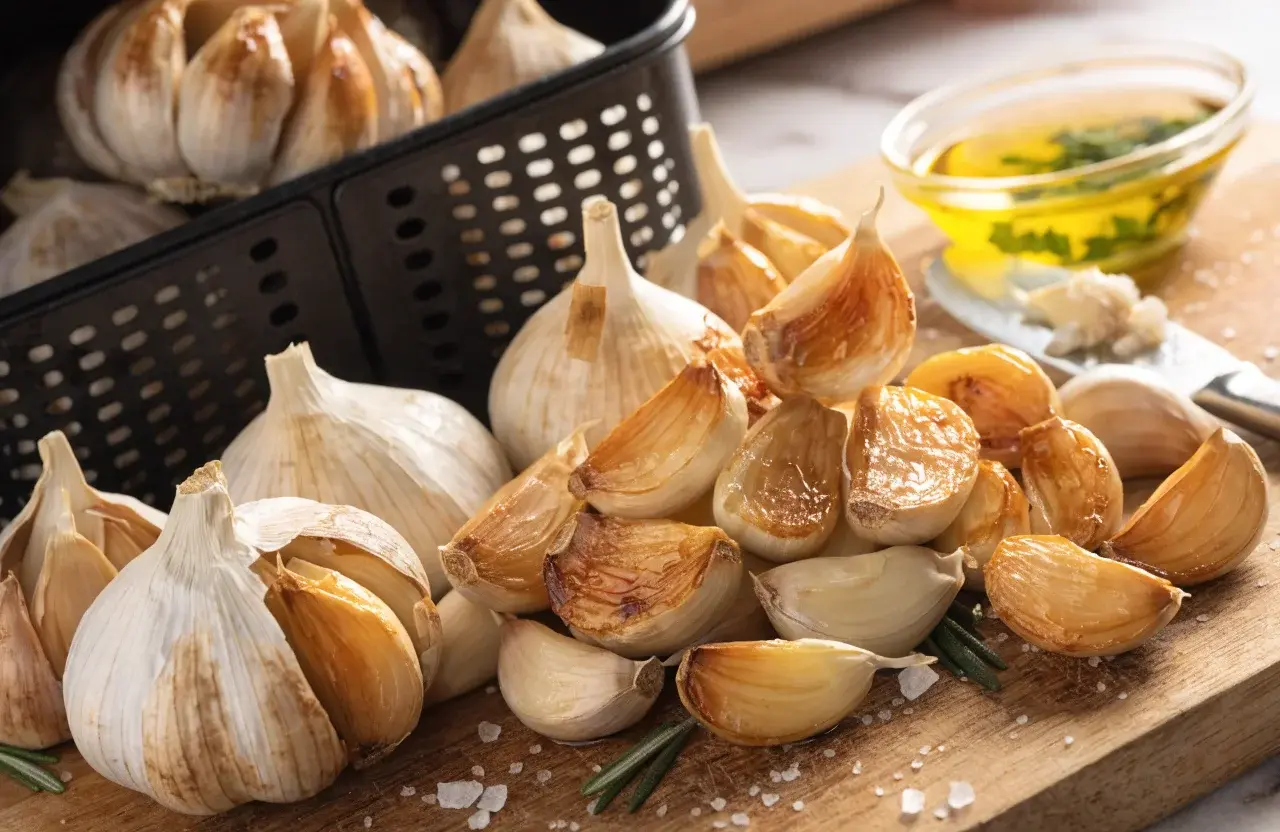
An air fryer can turn raw garlic into a silky, caramelized dream in minutes. If you’ve ever wondered how to coax that perfect mellow sweetness without turning your kitchen into a garlic bomb, you’re in the right spot. Let’s dive into a friendly, foolproof method that makes roasted garlic a staple sidekick for everything from bread to steak.
Why Roast Garlic In The Air Fryer At All?
Roasted garlic adds depth, sweetness, and a gentle, almost buttery texture to nearly any dish. The air fryer is like a magic wand: it speeds up caramelization, uses less oil, and keeps the cloves tender inside. FYI, you’ll get amazing results with minimal fuss, and your apartment won’t reenact a garlic-verse explosion.
What You’ll Need In A Nutshell
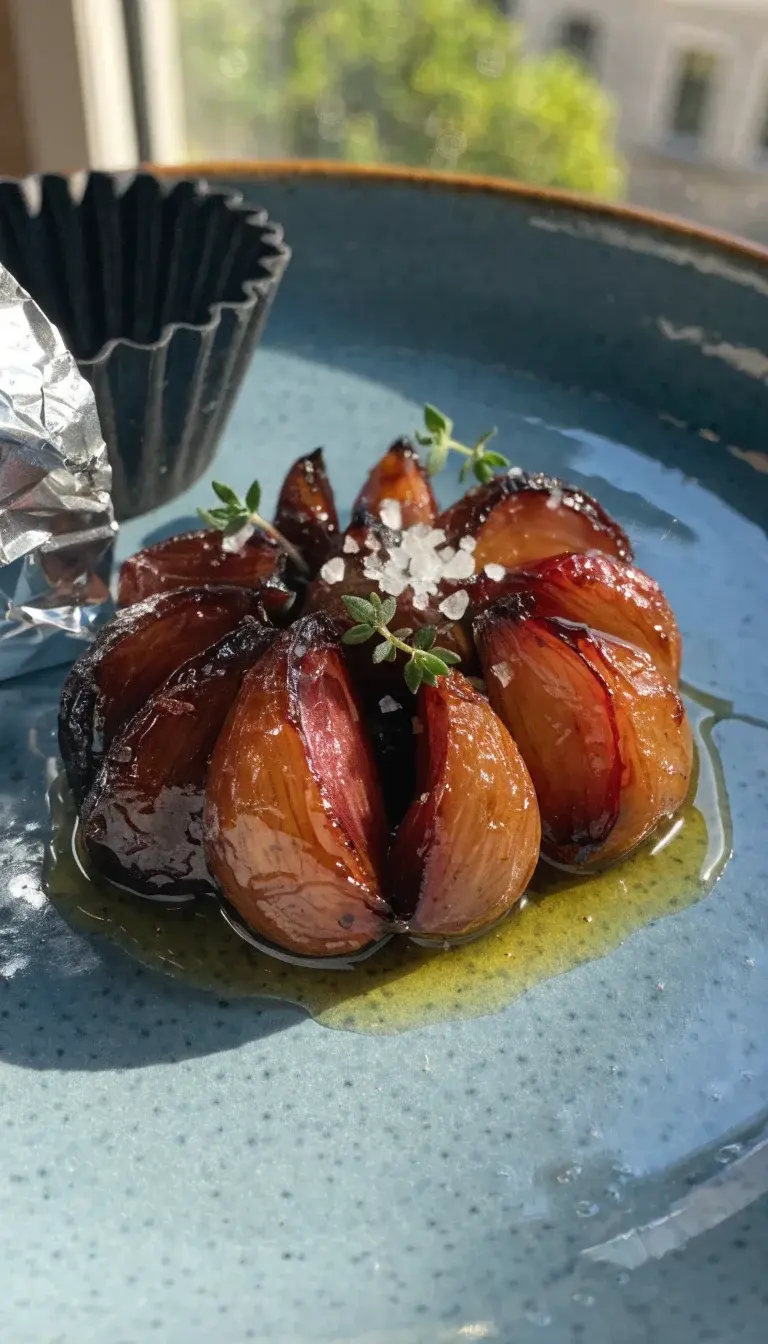
- Fresh garlic bulbs (the fresher, the sweeter)
- Olive oil (or your favorite neutral oil)
- Salt and optional pepper
- A small sheet of foil or a silicone muffin cup if you’re avoiding foil
- Air fryer buddy: tongs and a little patience
Step-By-Step: The Quick Route To Perfectly Roasted Garlic
- Preheat your air fryer to 390-400°F (200-204°C) for about 2-3 minutes. Yes, it preheats fast—this is not subjective, it’s science and deliciousness.
- Prepare the garlic heads: slice off the top of the garlic bulb to expose the cloves. You want to reveal those precious nuggets, not a rainbow of chaos.
- Season: drizzle with a teaspoon or so of olive oil per bulb, a pinch of salt, and a quick stir with your fingers to coat. If you’re feeling fancy, add a tiny splash of balsamic or a dusting of paprika for color.
- Wrap or cradle: wrap the head in foil or nestle it in a silicone muffin cup. The goal is to trap steam and keep moisture in for a tender, melt-in-your-mouth finish.
- Air fry: place in the basket and cook for 18-22 minutes. Start checking at 18 minutes; you want soft, golden centers that squish with a gentle press.
- Cool and squeeze: let it rest for a minute, then squeeze the roasted cloves out of the skins. If some skins cling stubbornly, a tiny dab of oil helps release them.
Tips For Savory, Crowd-Pleasing Results
- Don’t overcrowd the basket. Garlic loves space to caramelize evenly.
- Trim the top evenly so all cloves get heat evenly. Uneven tops lead to uneven roasts—nobody wants that drama.
- Experiment with finishing touches: lemon zest, fresh herbs, or a pinch of chili flakes for a kick.
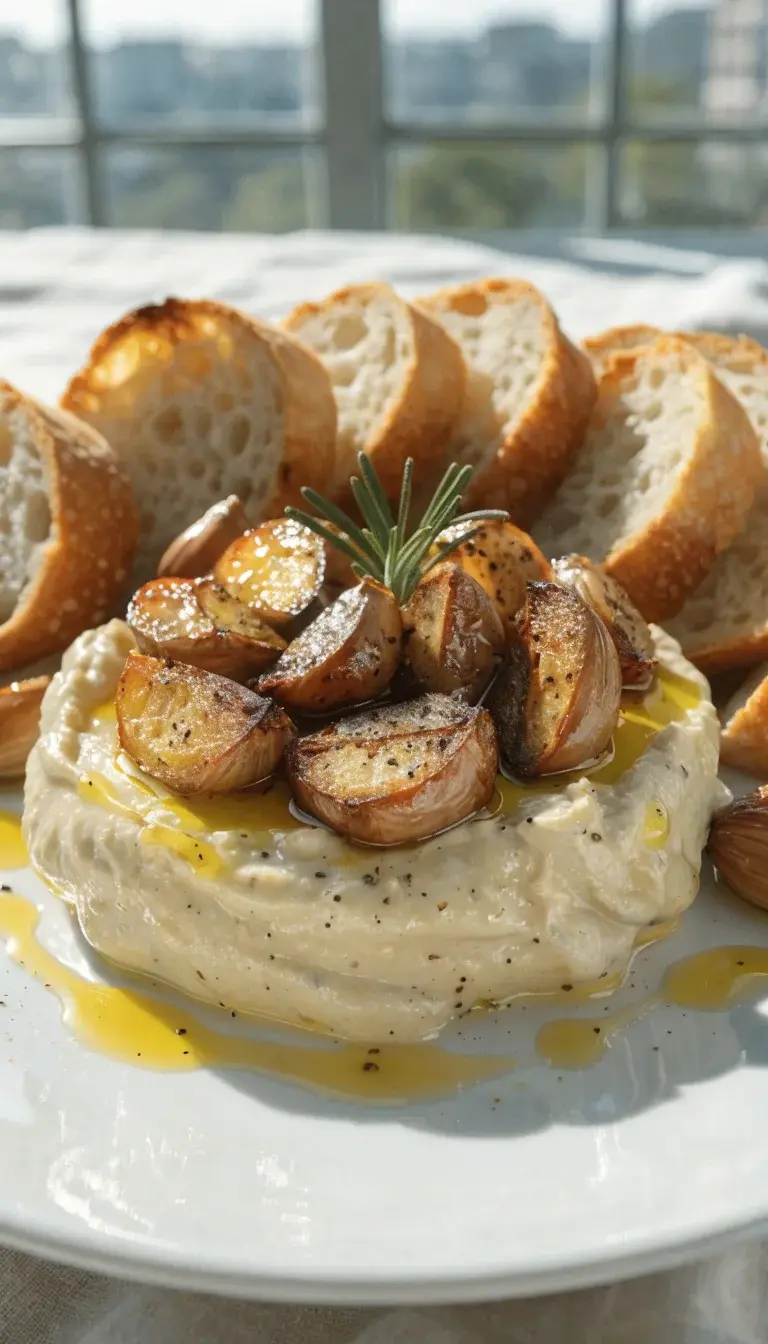
- Use roasted garlic beyond bread. It’s a game-changer in mashed potatoes, pasta sauces, and hummus.
Flavor Variations You’ll Want To Try
Herb-Infused Roast
Before roasting, sprinkle chopped thyme or rosemary over the exposed tops. The oils release into the cloves, giving you a garden-fresh aroma without any extra steps.
Smoky Sweet Roast
Smoked paprika or a tiny drizzle of maple syrup adds a surprising depth. FYI, this pairs beautifully with roasted vegetables or glazes on chicken.
Common Pitfalls And How To Avoid Them
- Overcooking can turn garlic bitter. If you smell a sharp bite, pull it earlier and test with a fork.
- Dry cloves feel tough. Always use a bit of oil to keep the texture silky.
- If your garlic won’t come out of the skin, give it another minute or two and don’t panic—steam loosens the skins after cooling a touch.
Serving Ideas That Elevate Your Meal
- Spread over warm crusty bread with a hint of sea salt.
- Whisk into mashed potatoes for a velvety, garlicky finish.
- Stir into pasta sauces for depth that doesn’t fight the other flavors.
- Toss with roasted vegetables for a glossy, flavorful tray.
FAQ
Can I roast multiple garlic heads at once in the air fryer?
Yes, you can. Just make sure they have enough space. If they crowd together, they won’t caramelize evenly. Consider roasting in batches if you’re feeding a crowd.
Do I need to peel the garlic before air frying?
Nope. You’ll roast the bulbs with the skin on, then squeeze the soft cloves out once they’ve cooled slightly. The skin acts like a natural packet to trap moisture.
What temperature works best?
Typically 390-400°F (200-204°C) works well for a balance of speed and caramelization. If you prefer a softer, milder result, drop to 360°F (180°C) for a longer roast.
Can I roast garlic without foil?
Yes, you can, especially if you’re using a silicone muffin cup or a small cast-iron dish. The goal is to trap moisture and heat; foil is just a convenient tool.
How do I store roasted garlic?
Store peeled cloves in an airtight container in the fridge for up to a week. For longer storage, freeze small portions in a silicone tray or an ice cube tray—pop into soups and sauces later.
Conclusion
Roasting garlic in the air fryer is a game changer that fits into busy weeknights and relaxed weekends alike. The result is lush, spreadable cloves with a whisper of sweetness and a depth that makes every bite sing. So next time you reach for garlic, consider the air fryer route—you’ll thank yourself later. Happy roasting, friends!