Air Fryer Fried Bread – Crispy, Golden, and Ready in Minutes
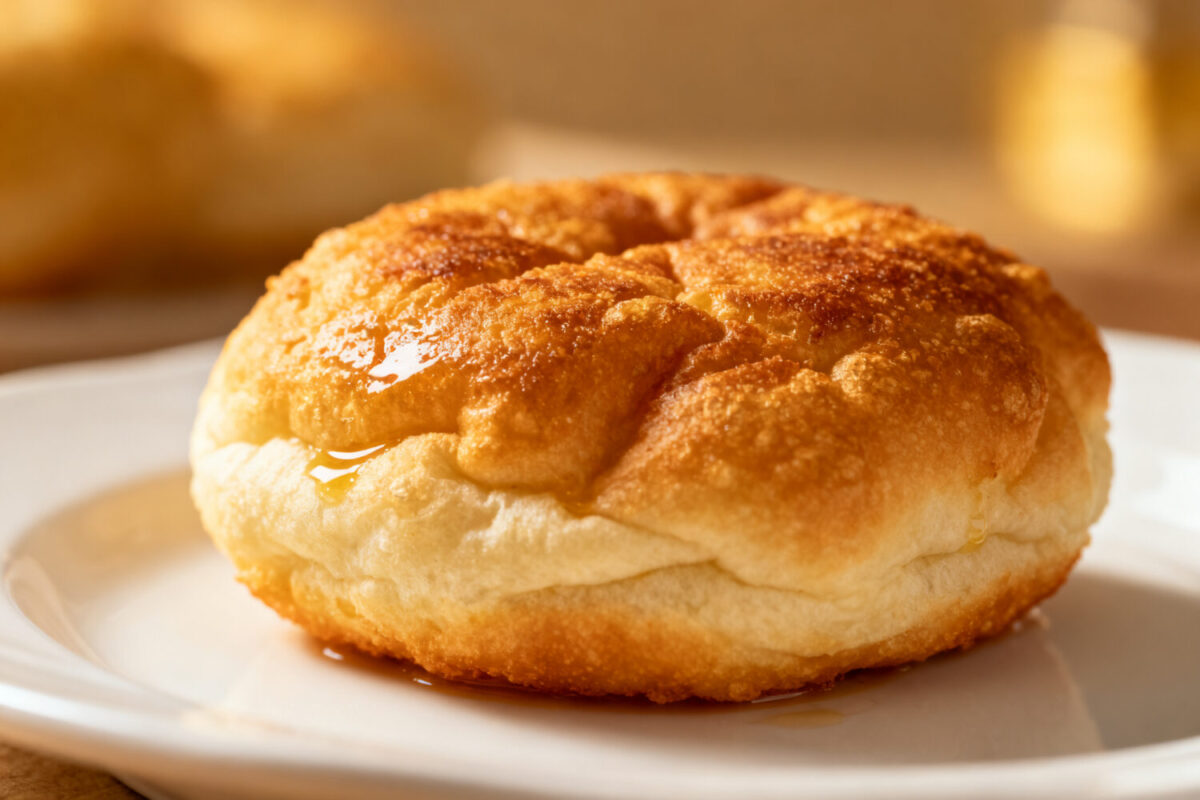
Air fryer fried bread takes a comfort food classic and gives it a modern, lighter twist. You still get that golden, crispy exterior and soft center, just with a fraction of the oil and a lot less mess. It’s perfect for breakfast, a quick snack, or as a base for savory toppings.
If you love toast but want more crunch and flavor, this is your move. Simple ingredients, fast cook time, and a result that tastes like diner-style fried bread—right from your kitchen.
Air Fryer Fried Bread - Crispy, Golden, and Ready in Minutes
Ingredients
- Bread: 4 slices of your choice (day-old or slightly stale works best for extra crunch). Sourdough, white sandwich, brioche, or whole grain all work well.
- Fat: 2–3 tablespoons unsalted butter, melted, or olive oil. You can also mix butter and oil for flavor and crispness.
- Salt: A pinch of flaky or fine salt for seasoning.
- Optional add-ons: Garlic powder, black pepper, smoked paprika, chili flakes, cinnamon sugar, grated Parmesan, or fresh herbs.
- Air fryer: Any model with a basket or tray. Preheating helps with even browning.
- Brush: A pastry brush for coating the bread evenly (or use a spoon if you don’t have one).
Instructions
- Preheat the air fryer: Set it to 375°F (190°C) for 3–4 minutes. A hot basket helps create a crisp surface quickly.
- Prep the bread: Melt the butter or measure the oil. Brush one side of each bread slice lightly but fully. You want a thin, even coat—no puddles.
- Season: Sprinkle a tiny pinch of salt over the oiled side. Add any optional seasonings now if you’re using them.
- Arrange in the basket: Place the bread slices oiled-side down in a single layer. Don’t overlap. Brush and season the top side while it’s in the basket.
- Air fry, then flip: Cook for 3–4 minutes. Open, flip each slice, and cook another 2–3 minutes. Thinner bread may be done faster; thicker slices may need another minute.
- Check for doneness: You’re looking for deep golden color and crisp edges. If you want darker, add 30–60 seconds more.
- Serve right away: Enjoy hot. Top with eggs, beans, sliced tomatoes, avocado, or a drizzle of honey—whatever you like.
What Makes This Recipe So Good
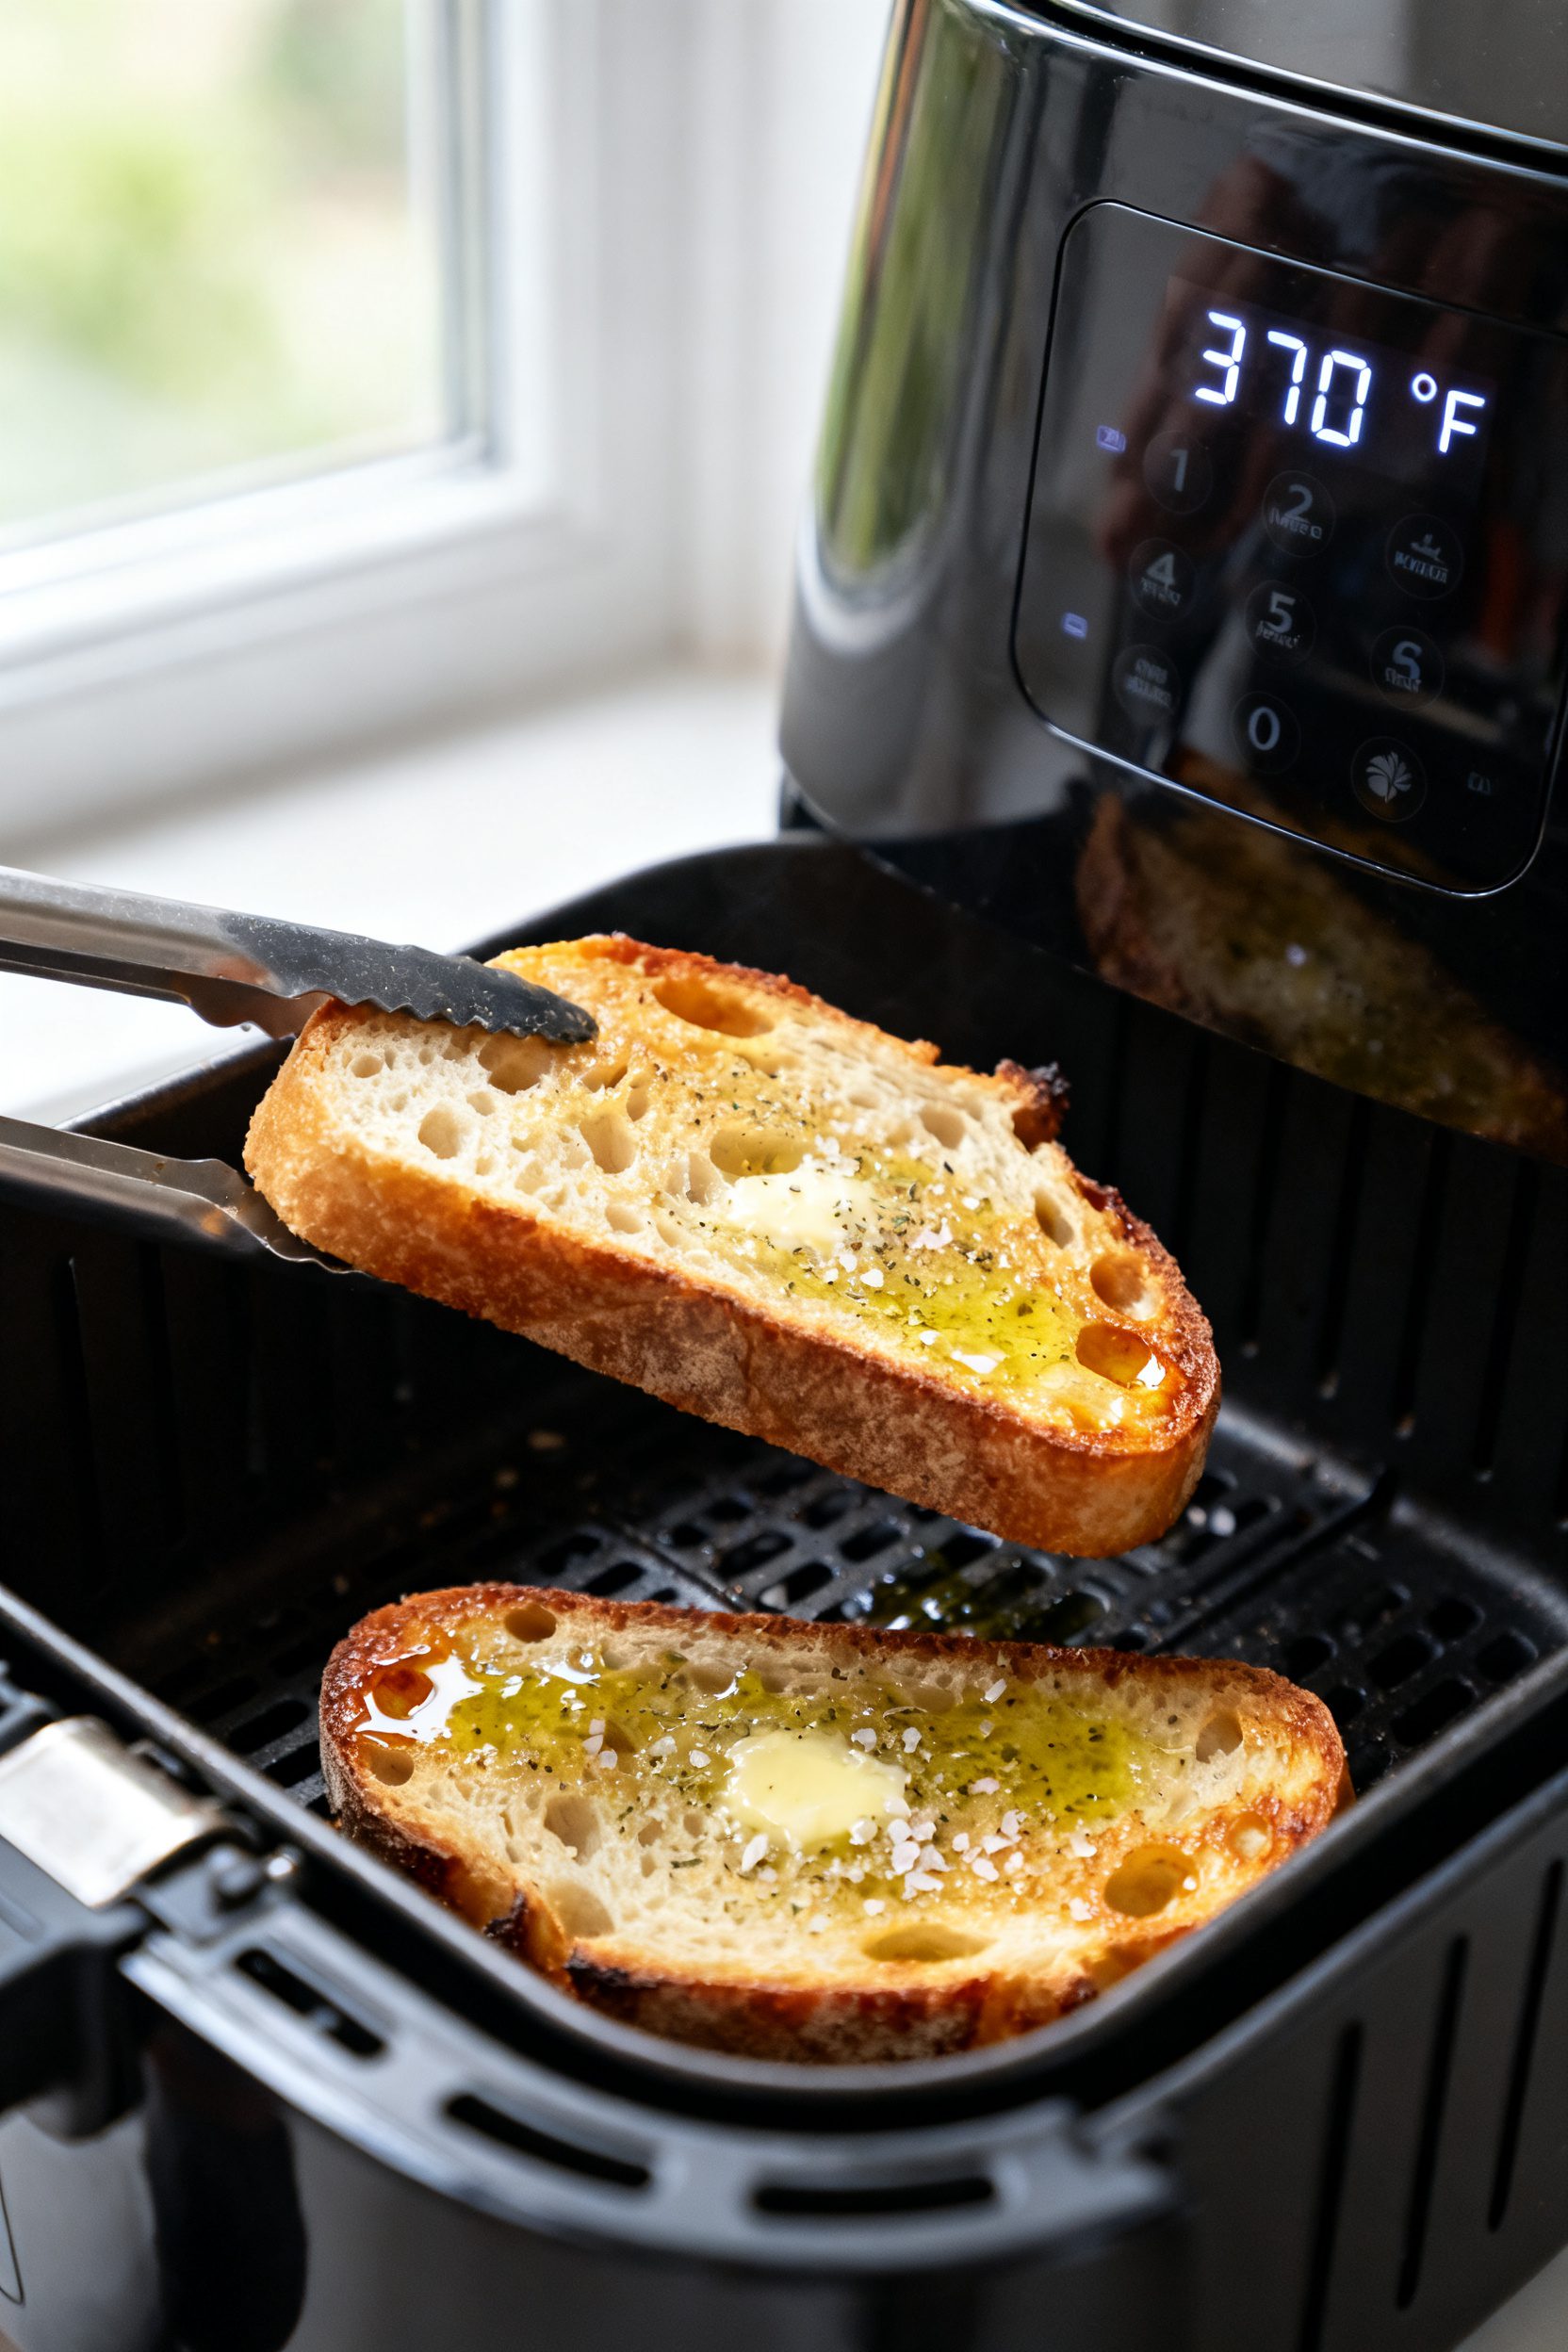
- Crisp edges, tender middle: The air fryer gives you even browning without soaking the bread in oil.
- Faster than pan-frying: No standing over a skillet. Pop it in, flip once, and you’re done.
- Flexible and foolproof: Works with many types of bread—sandwich slices, sourdough, brioche, or gluten-free.
- Customizable flavors: Keep it classic with butter and salt, or add garlic, herbs, or a touch of cinnamon sugar.
- Great for topping: Perfect base for eggs, avocado, beans, tomatoes, or even a quick dessert with honey.
What You’ll Need
- Bread: 4 slices of your choice (day-old or slightly stale works best for extra crunch).
Sourdough, white sandwich, brioche, or whole grain all work well.
- Fat: 2–3 tablespoons unsalted butter, melted, or olive oil. You can also mix butter and oil for flavor and crispness.
- Salt: A pinch of flaky or fine salt for seasoning.
- Optional add-ons: Garlic powder, black pepper, smoked paprika, chili flakes, cinnamon sugar, grated Parmesan, or fresh herbs.
- Air fryer: Any model with a basket or tray. Preheating helps with even browning.
- Brush: A pastry brush for coating the bread evenly (or use a spoon if you don’t have one).
Instructions
- Preheat the air fryer: Set it to 375°F (190°C) for 3–4 minutes.
A hot basket helps create a crisp surface quickly.
- Prep the bread: Melt the butter or measure the oil. Brush one side of each bread slice lightly but fully. You want a thin, even coat—no puddles.
- Season: Sprinkle a tiny pinch of salt over the oiled side.
Add any optional seasonings now if you’re using them.
- Arrange in the basket: Place the bread slices oiled-side down in a single layer. Don’t overlap. Brush and season the top side while it’s in the basket.
- Air fry, then flip: Cook for 3–4 minutes.
Open, flip each slice, and cook another 2–3 minutes. Thinner bread may be done faster; thicker slices may need another minute.
- Check for doneness: You’re looking for deep golden color and crisp edges. If you want darker, add 30–60 seconds more.
- Serve right away: Enjoy hot.
Top with eggs, beans, sliced tomatoes, avocado, or a drizzle of honey—whatever you like.
Keeping It Fresh
Fried bread is best right after cooking. It loses crispness as it sits, especially if topped with anything moist. If you need to make it ahead, slightly undercook, cool on a rack, then re-crisp in the air fryer for 1–2 minutes at 360°F (182°C) before serving.
For leftovers, cool completely before storing in an airtight container at room temperature for up to 24 hours.
Reheat in the air fryer at 350°F (175°C) for 2–3 minutes. Avoid microwaving—it turns the bread chewy instead of crisp.
Health Benefits
- Less oil, fewer calories: Compared to skillet-frying, the air fryer uses minimal fat while still delivering crunch and flavor.
- Whole grains are an option: Using whole-grain or seeded bread adds fiber and micronutrients that help with fullness and steady energy.
- Control your ingredients: Choose olive oil for heart-healthy fats, or use a mix of butter and olive oil to cut saturated fat while keeping buttery taste.
- Custom seasoning: Season lightly to keep sodium in check, and use herbs or spices for flavor without extra calories.
What Not to Do
- Don’t oversaturate the bread: Too much butter or oil makes it greasy and can burn faster. A light coating is enough.
- Don’t overcrowd the basket: Airflow is key.
If you stack slices, they’ll steam and turn soft instead of crisp.
- Don’t skip the flip: Flipping ensures even browning. One-sided toasting leads to pale spots.
- Don’t walk away on the first batch: Air fryers vary. Watch your timing the first time so you learn your machine’s sweet spot.
- Don’t rely on the microwave to reheat: It ruins the texture.
Use the air fryer or a hot skillet for best results.
Variations You Can Try
- Garlic-Parmesan: Add a pinch of garlic powder before cooking, then sprinkle fresh Parmesan and parsley right after it comes out.
- Chili-Lime: Season with chili flakes or chili powder and a tiny pinch of cumin. Squeeze lime juice over the bread just before serving.
- Everything Bagel Style: Brush with oil, dust with everything bagel seasoning, and top with cream cheese or eggs.
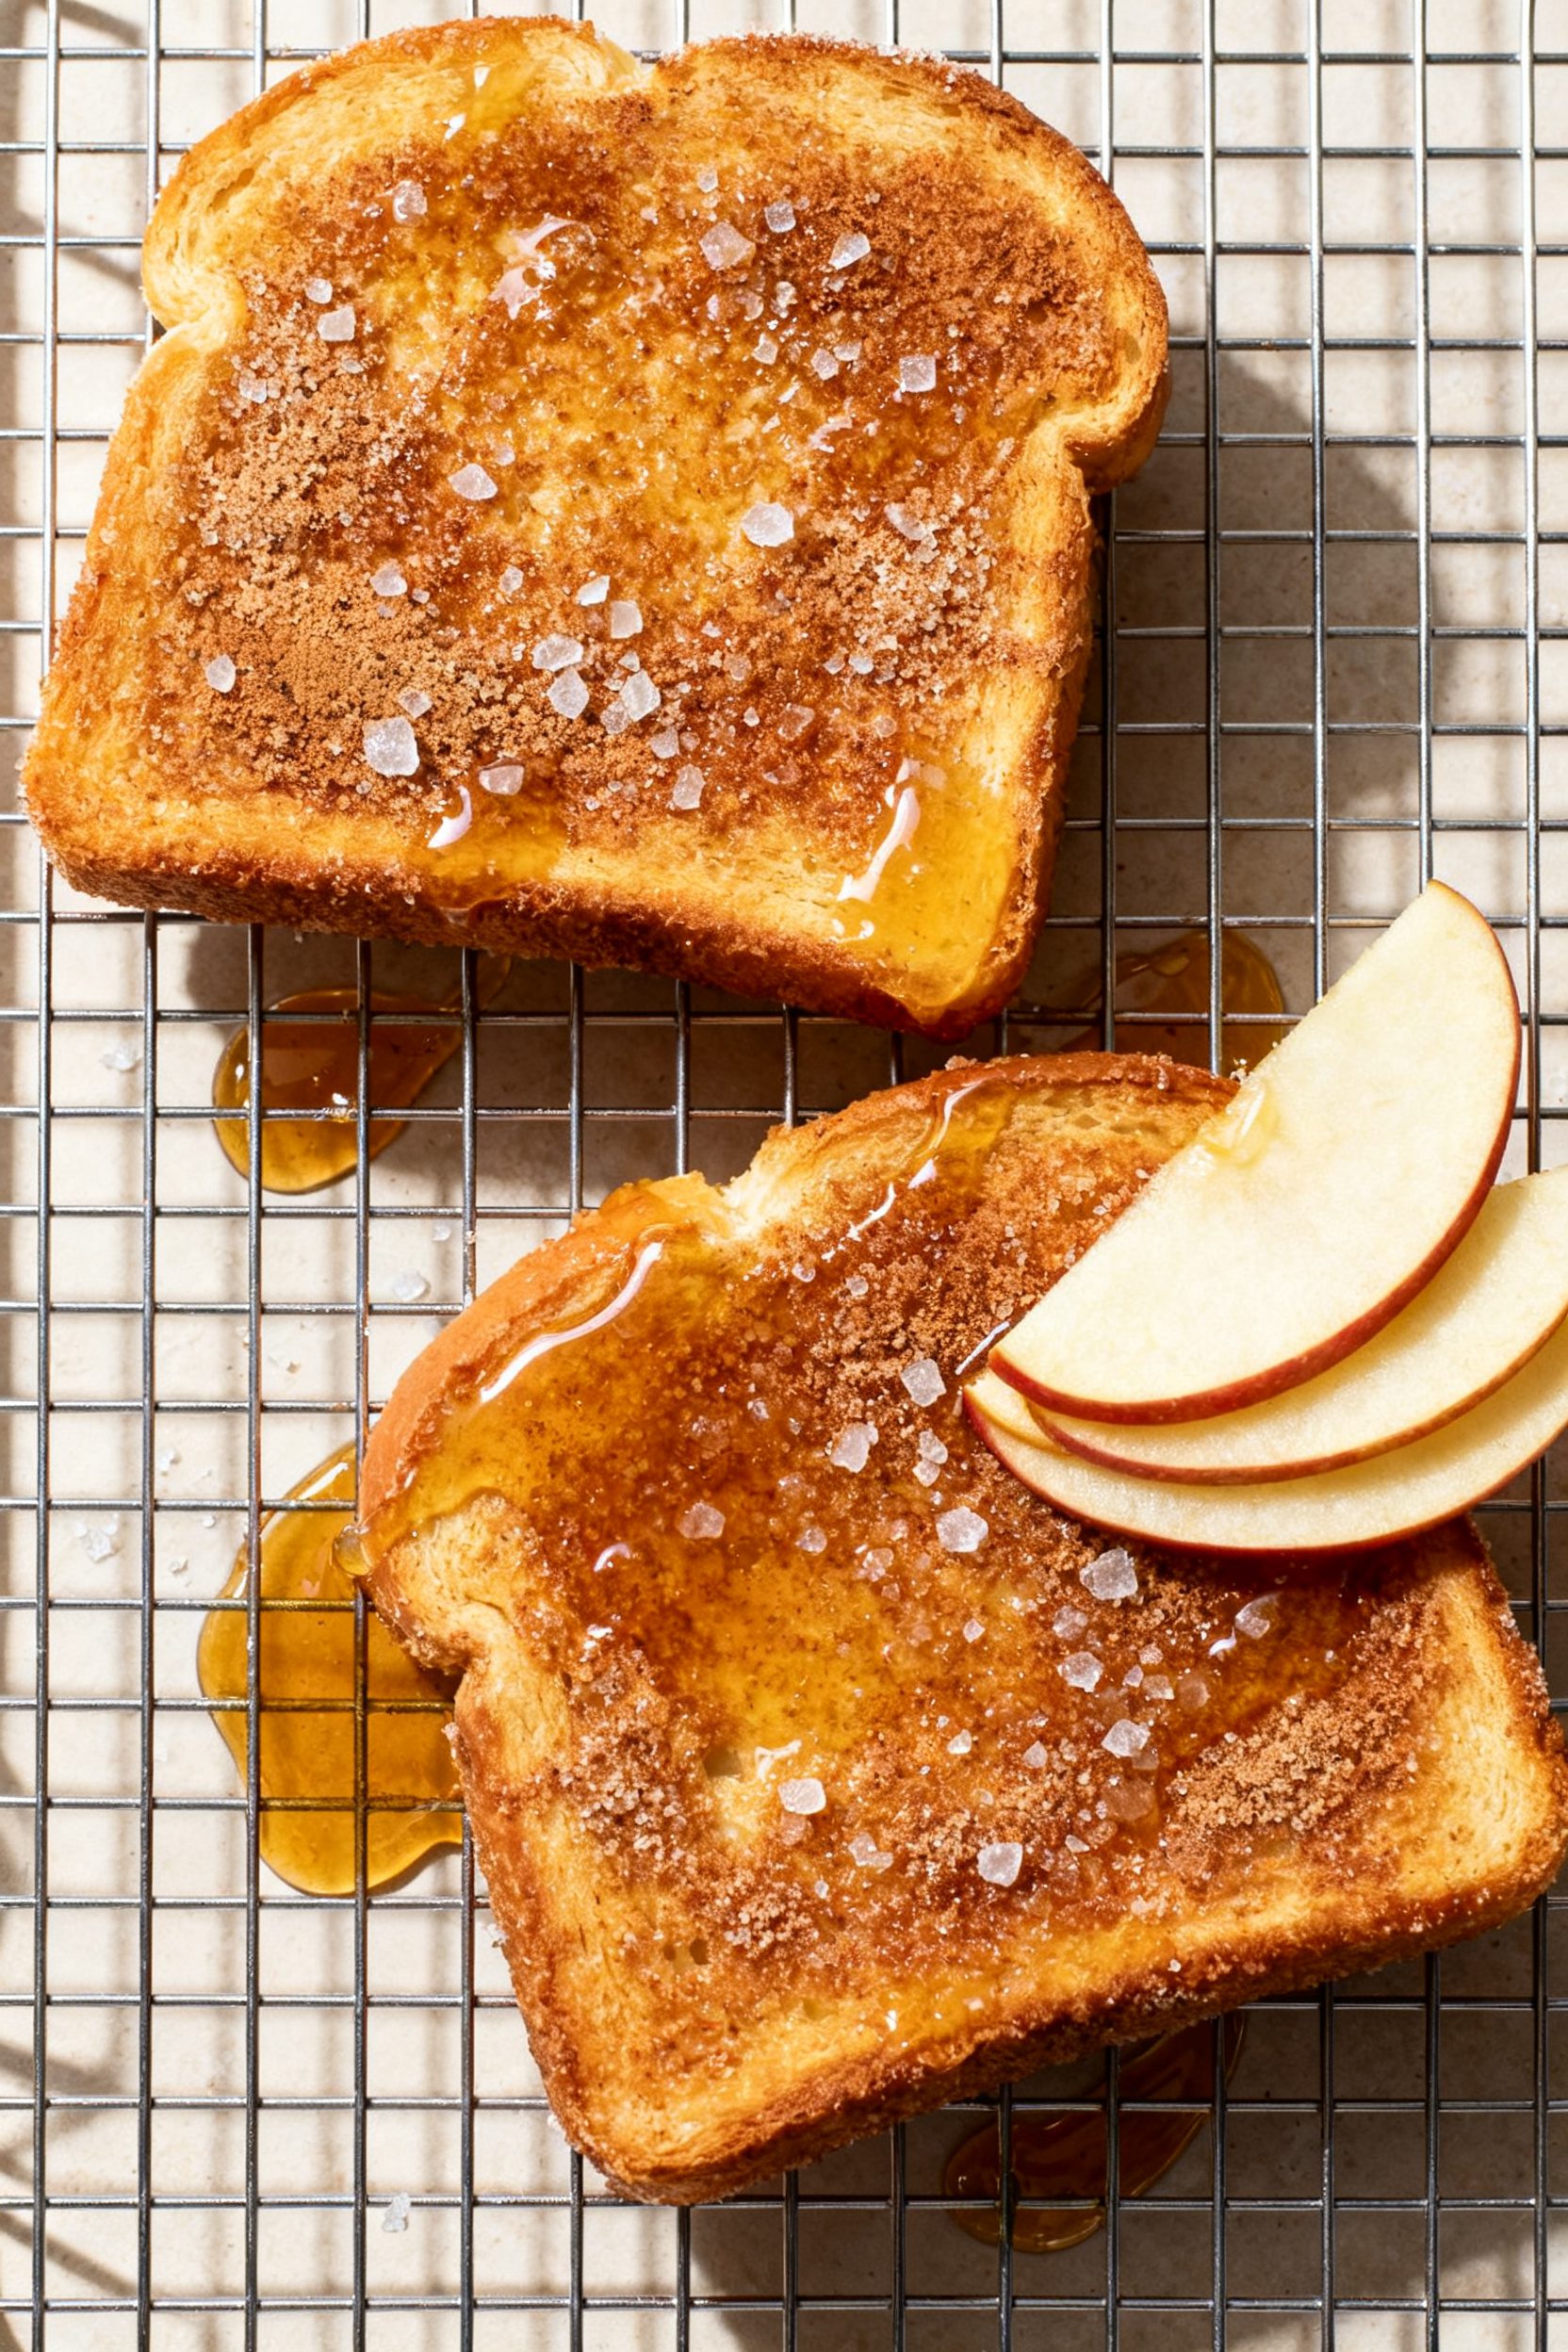
- Sweet Cinnamon Sugar: Use butter, then sprinkle cinnamon sugar right after cooking so it sticks. Great with sliced banana or apple.
- Herb and Olive Oil: Mix dried oregano, thyme, and a touch of lemon zest into olive oil.
Brush and cook for a Mediterranean vibe.
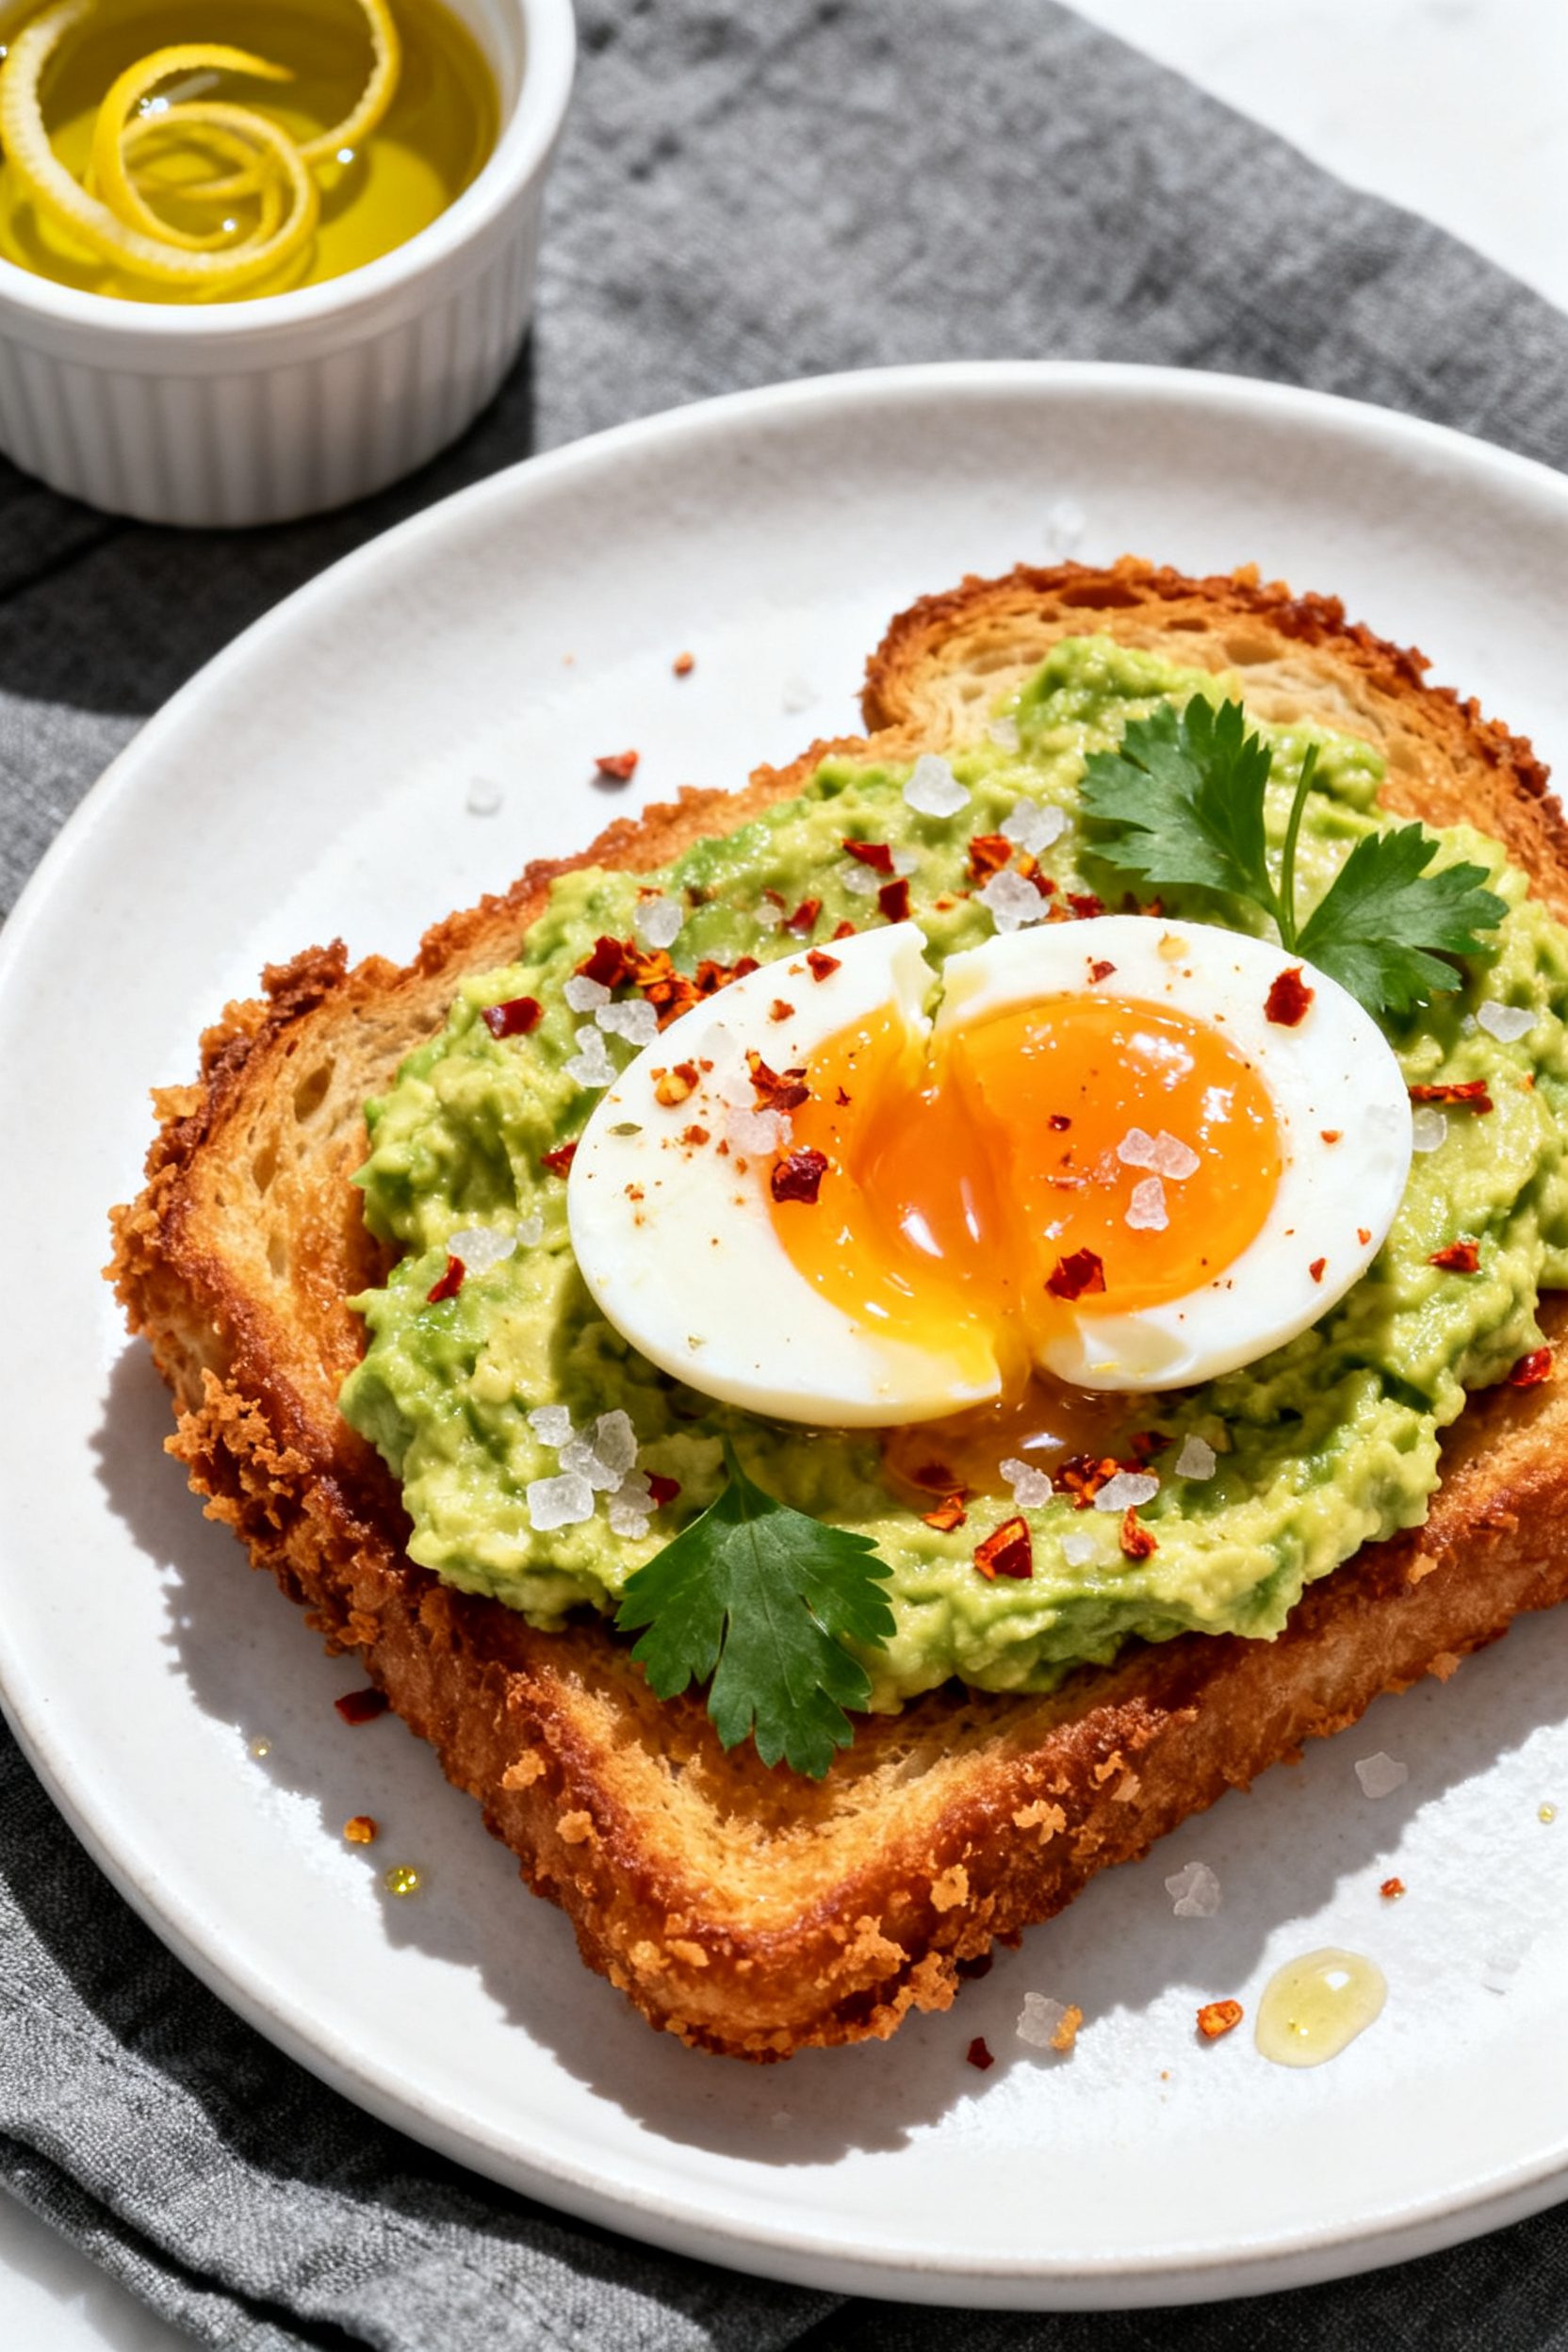
- Breakfast Build: Top with mashed avocado, a soft-boiled egg, and a pinch of flaky salt. Or go classic with beans and a fried egg.
FAQ
What kind of bread works best?
Day-old bread is ideal because it crisps without drying out. Sourdough gives great chew and structure, brioche is buttery and tender, and simple white or wheat sandwich bread works if you want thin, super-crisp slices.
Gluten-free bread can work too; just watch the timing because it can brown faster.
Do I need to preheat the air fryer?
Preheating helps the bread start crisping immediately and promotes even color. If your air fryer doesn’t have a preheat function, just run it empty for a couple of minutes before adding the bread. You can skip it in a pinch, but you may need to add 1–2 minutes to the cook time.
Butter or oil—what’s better?
Butter adds classic flavor and a golden finish, while olive oil delivers crispness and a cleaner taste.
A 50/50 mix gives you the best of both. If using only butter, watch closely to avoid over-browning.
Why did my bread come out soggy?
Soggy bread usually means too much oil or an overcrowded basket. Use a thin, even coat of fat and leave space between slices so hot air can circulate.
Also, eat soon after cooking—steam from toppings can soften the crust quickly.
Can I make this dairy-free?
Yes. Use olive oil, avocado oil, or a dairy-free butter alternative. The method stays the same.
Choose a plant-based bread if you’re avoiding dairy entirely.
What temperature should I use?
375°F (190°C) hits the sweet spot for crisping without burning. If your air fryer runs hot, go down to 360°F (182°C) and cook a touch longer to reach that deep golden color.
How do I keep it from flying around in the air fryer?
Light slices can lift in powerful models. Place a small, oven-safe rack or skewer through the corner to weigh it slightly, or use a metal trivet.
Don’t fully cover the bread—airflow is still important.
Can I make a big batch?
Yes, but cook in batches. Keep finished slices on a wire rack so they don’t steam on a plate. Re-crisp for 30–60 seconds in the air fryer just before serving everyone.
Any topping ideas for a quick meal?
Try smashed avocado with lemon and chili flakes, whipped ricotta with honey, sautéed mushrooms with thyme, or a fried egg and hot sauce.
For dessert, go with cinnamon sugar and berries or a swipe of chocolate-hazelnut spread.
Is parchment paper necessary?
Not usually. The bread won’t stick if lightly oiled. If you prefer parchment, use perforated sheets so air can circulate.
Regular parchment can block airflow and reduce crispness.
Final Thoughts
Air fryer fried bread is one of those small tricks that make home cooking feel easy and special. It delivers big texture and flavor with almost no effort, and it’s endlessly adaptable. Whether you keep it simple with butter and salt or build a full breakfast on top, it’s fast, reliable, and satisfying.
Keep a loaf on hand, and you’ll always have a crispy, golden base ready for whatever you’re craving.