Air Fryer Cheesecake
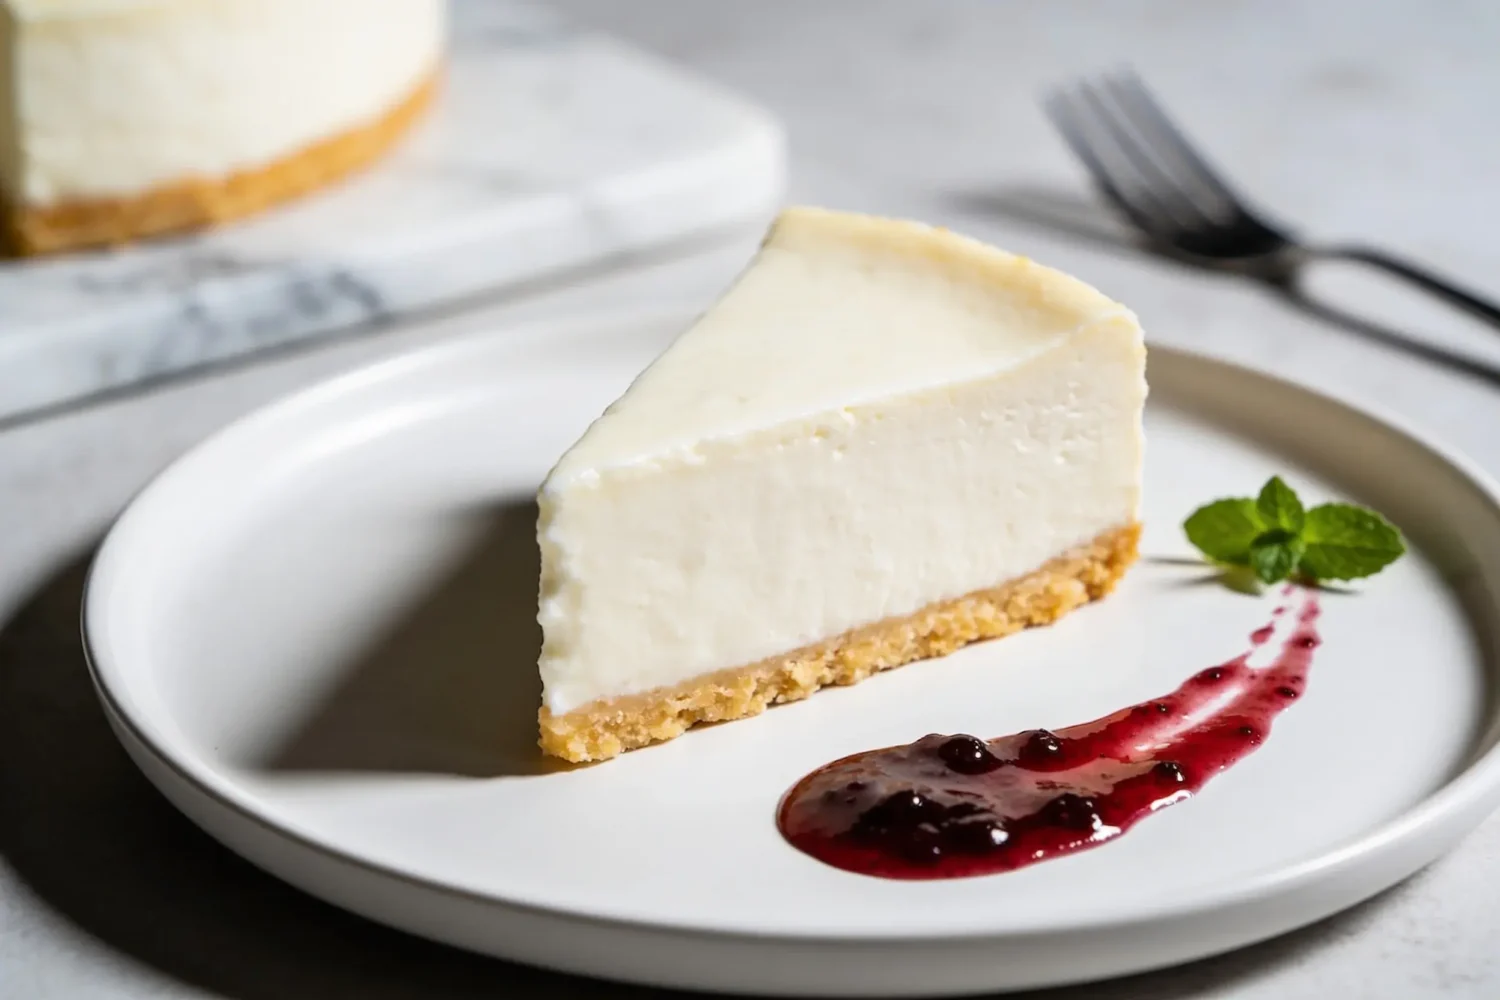
If you’ve ever treated the air fryer like a miracle, you’re not wrong. If you’ve ever doubted cheesecake could be easy, you’re about to be proven wrong—in the best possible way. We’re diving into a cheesecake that comes out perfectly creamy, crack-free, and utterly crave-worthy, all from your trusty air fryer.
Why an Air Fryer Cheesecake Actually Works
Punchy, creamy, and surprisingly forgiving, air fryer cheesecakes hit that sweet spot between restaurant-quality and weeknight-friendly. The key? Even heat, a short bake time, and a crust that stays crisp without burning. FYI, this isn’t about pretending your air fryer is a mini oven; it’s about leveraging its quick, even heat for a flawless texture.
The Base: Crust That Stays Put
Crust matters — it sets the stage for the entire bite. You’ve got a couple of options:
- Graham cracker crust: Classic and dependable. Mix crushed crackers with a touch of melted butter and a pinch of sugar, then press firmly into the pan.
- Digestive biscuit crust: If you’re outside the U.S., these are your allies. They crush easily and give a slightly richer flavor.
- Valentine’s-day-crust: If you’re feeling fancy, toss in a pinch of cinnamon or a whisper of lemon zest for a subtle upgrade.
Press the crust about halfway up the sides so the filling has something to cling to. Bake it briefly to set the edges, then you’re ready for the good stuff.
The Filling: Creamy, Not Runny
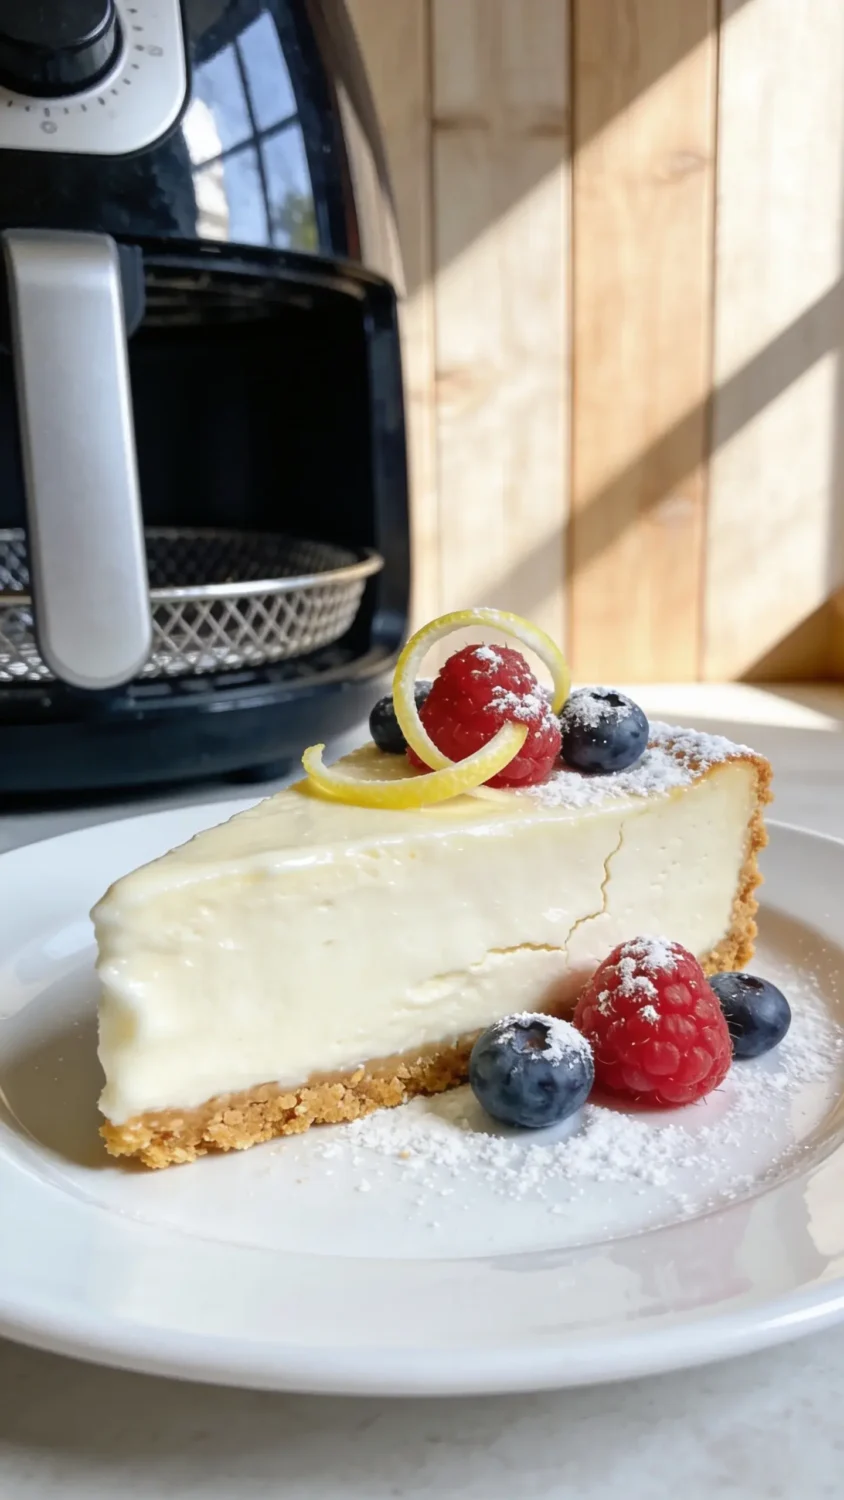
The filling is where we get to the good stuff: velvety, lemony, and rich without weighing you down. Here’s the play-by-play:
- Beat cream cheese until smooth. Room temp is your best friend here—no lumps, no drama.
- Beat in sugar, vanilla, and a touch of sour cream or Greek yogurt for tang.
- Eggs go in one by one on low speed. Don’t overbeat—air is the enemy of a smooth finish.
- A splash of lemon juice or zest brightens things up. Trust me on the citrus—IMOsuper important.
Pour the filling over the crust, give the pan a little tap to remove bubbles, and you’re ready to bake. The result should be a center that jiggles just a bit when you wiggle the pan—that’s the sign of a perfect cheesecake.
Cracking the Texture: How to Avoid the Big Break
No one wants a cheesecake with a crack that should have its own social media account. Here’s how to keep it smooth:
- Low, slow heat is your BFF. Respect the air fryer’s power and bake at a moderate temp.
- Wrap the pan in foil? Sometimes yes, sometimes no. It helps protect the top from over-browning but can trap moisture—so monitor closely.
- Use a water bath trick, but compact. Place the cheesecake pan in a larger pan with a shallow water bath to reduce surface tension and prevent cracking.
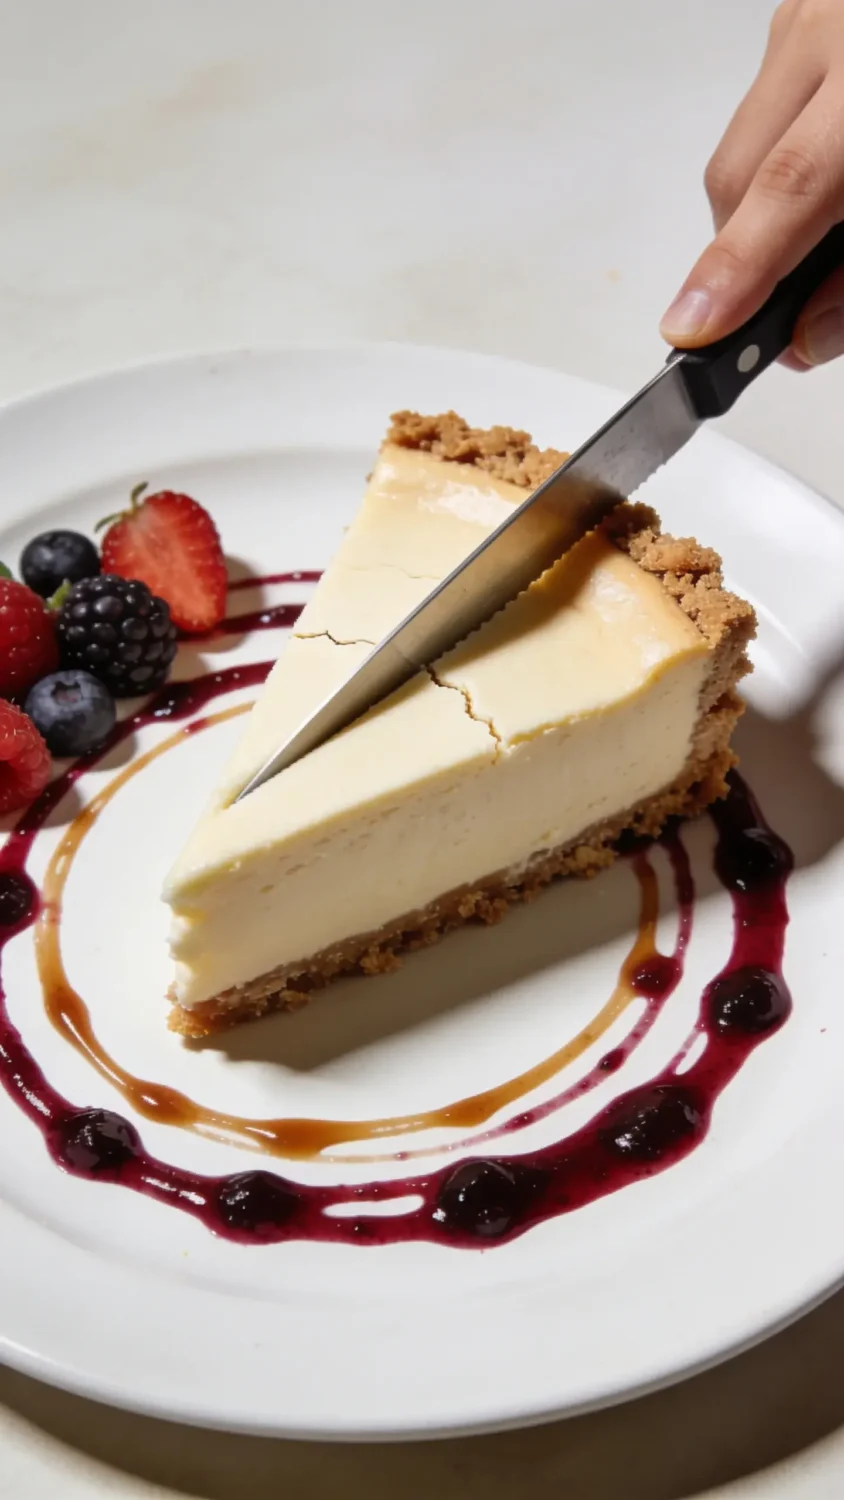
If a tiny crack appears, don’t panic. A quick topping or glaze can hide it like it never happened. Don’t roast yourself about it—perfection will happen in bite-sized form.
Flavor Variations That Won’t Break Your Diet (Or The Air Fryer)
Standard vanilla is delicious, but you can branch out without going rogue on texture. Try these:
- Lemon blueberry: Add blueberries to the filling and a generous lemon zest. Fresh, bright, zippy.
- Chocolate swirls: Fold in melted dark chocolate in ribbons for a marbled effect.
- Matcha white chocolate: A hint of matcha in the filling with white chocolate chips for contrast.
Note: Keep fillings smooth and avoid chunky additions that could weigh down your batter and cause mid-bake jitters.
Berry Compote: The Finishing Touch
Top with a quick berry compote after chilling. Simmer berries with a splash of sugar and lemon juice until glossy. It adds color, acidity, and a little drama to the plate.
Tips for Your First Successful Batch
- Let ingredients come to room temperature. It speeds up mixing and reduces lumps.
- Line the pan with parchment for easy release. You’ll thank yourself when you unmold.
- Don’t overfill the pan. A shallow filling bakes more evenly and reduces overflow risk.
- Chill time is non-negotiable. Chill for at least 4 hours, ideally overnight, to let flavors meld and texture set.
FYI, patience pays here. Rushing the chill is how you end up with a gummy center—no one wants that.
Equipment Considerations: Your Air Fryer Setup
Not all air fryers are created equal, so a few setup notes help:
- Pan size matters. Most 5-inch or 6-inch cheesecake pans fit nicely in standard air fryers.
- Shiny vs. dark pans influence browning. Dark pans brown faster; adjust time a touch if you’re using one.
- Lighting matters. If your air fryer has a tiny window, you might rely on scent and gentle wobble to gauge doneness.
And yes, your air fryer is capable of more than you thought. It’s not just a snack oven—it’s a dessert factory with fewer dish-duty consequences.
Safety and Cleanup Quick Wins
Use a silicone sling or parchment to lift the pan out. Let the pan cool a bit before unmolding, and rinse the crust scraps away to keep the machine clean. A quick wipe-down after is worth its weight in convenience.
FAQ: Your Cheesecake Nerves Answered
Can I freeze an air fryer cheesecake?
Yes. Wrap slices tightly and freeze for up to 2 months. Thaw overnight in the fridge before serving. Texture may be slightly different after freezing, but it’s still delicious.
Why does the center jiggle but the edges look set?
The center stays looser because it’s thinner and cooks faster at its core. That jiggle is a sign of a creamy interior—you’re not undercooking, you’re achieving that luxe mouthfeel.
How long should I bake in an air fryer?
Typically 25-35 minutes at around 325-330°F (160-165°C) depending on pan size and air fryer model. Start checking around 25 minutes; you’re aiming for a slight wobble in the center after a gentle shake.
My crust burned. What did I do wrong?
Overbaking crust or too high a temperature can burn it. Use a lower temp, increase bake time slightly, and keep an eye on the crust’s edges. Lining the pan helps protect the crust too.
Can I make this dairy-free?
Yes, with dairy-free cream cheese and coconut milk or a cashew blend. Sub in full-fat dairy-free options and adjust sugars as needed for flavor balance. Texture may vary slightly, but you’ll still get a creamy cheesecake in your air fryer.
Conclusion: Your New Favorite No-Fuss Dessert
Air fryer cheesecake is the happy middle ground between crisp crust and silky center, without locking you into a long oven bake. It’s playful, forgiving, and incredibly satisfying—perfect for a weekend treat or a fancy end to a weeknight dinner. So grab your pan, pick a topping, and give that air fryer a little dessert-shouting victory lap. You’ve earned it, friend.