Air Fryer Balsamic Brussel Sprouts – Crispy, Tangy, and Ready Fast
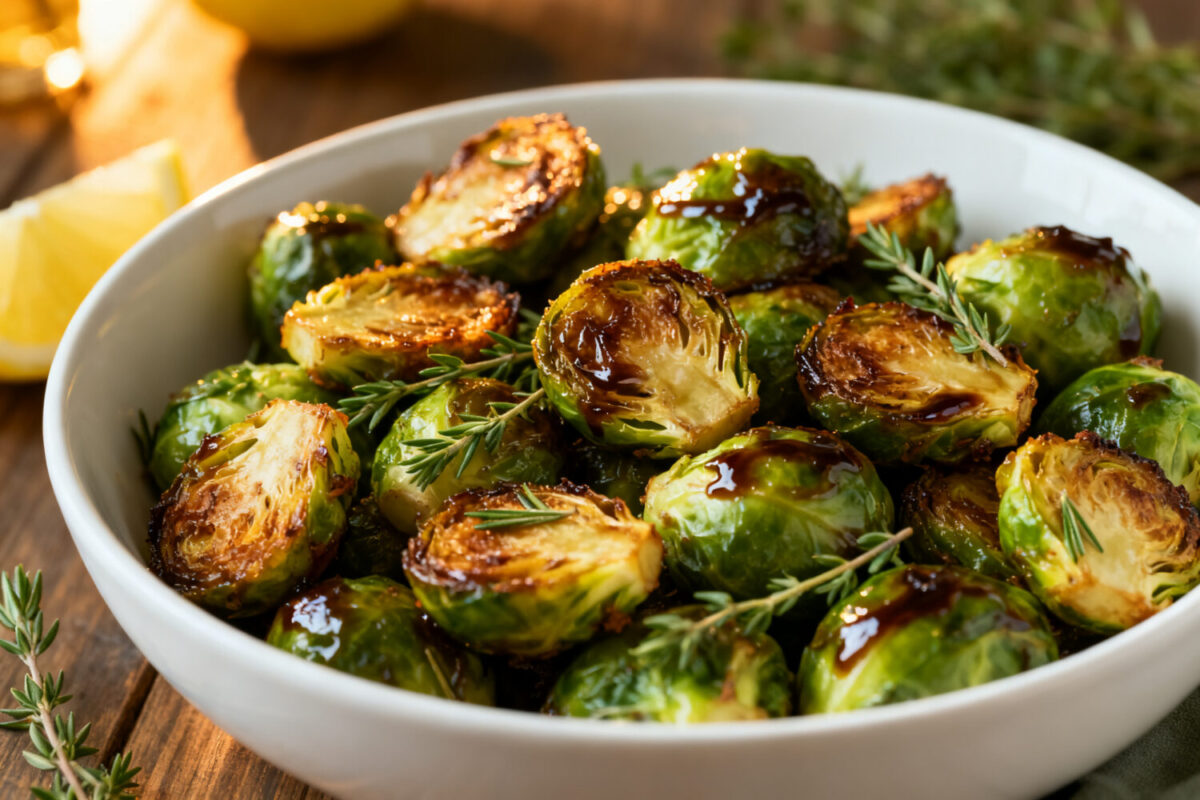
Air Fryer Balsamic Brussel Sprouts are the kind of side dish that makes you look like you tried harder than you did. They’re crisp on the outside, tender inside, and coated in a glossy balsamic glaze that hits sweet and tangy notes. Best of all, the air fryer does most of the work in under 15 minutes.
Serve them with chicken, steak, or salmon, or make them the main event with a grain bowl. If you’ve had mushy Brussels in the past, this is the recipe that changes your mind.
Air Fryer Balsamic Brussel Sprouts - Crispy, Tangy, and Ready Fast
Ingredients
- 1 pound Brussels sprouts, trimmed and halved (quarter if very large)
- 1–1.5 tablespoons olive oil (enough to lightly coat)
- 2 tablespoons balsamic vinegar
- 1–2 teaspoons honey or maple syrup (optional, for balance)
- 2 cloves garlic, minced (or 1/2 teaspoon garlic powder)
- 1/2 teaspoon kosher salt, plus more to taste
- 1/4 teaspoon black pepper
- Optional finishers: red pepper flakes, lemon zest, grated Parmesan, toasted almonds or walnuts, crispy bacon bits
- Nonstick spray (if your basket tends to stick)
Instructions
- Preheat the air fryer. Set to 380°F (193°C) and let it heat for 3 minutes. A hot basket helps instant crisping.
- Prep the sprouts. Trim the stem ends and remove loose outer leaves. Halve them lengthwise; quarter extra-large ones so they cook evenly.
- Toss with seasoning. In a bowl, combine sprouts with olive oil, salt, pepper, and garlic. Stir until every piece is lightly coated.
- Add balsamic and sweetener. Pour in the balsamic vinegar and honey or maple. Toss again. The sprouts should look glossy but not drenched.
- Load the basket. Lightly spray the basket if needed. Arrange sprouts cut side down in a single layer. A bit of overlap is fine, but avoid a packed pile.
- Air fry, then shake. Cook 7 minutes. Shake the basket or use tongs to flip larger pieces for even browning.
- Finish cooking. Air fry 4–6 more minutes, until edges are deeply browned and centers are just tender. Aim for caramelized, not burnt.
- Taste and adjust. Sprinkle a pinch more salt, add red pepper flakes if you want heat, or a squeeze of lemon for brightness.
- Optional toppings. Finish with grated Parmesan, toasted nuts, or crispy bacon for extra crunch and richness.
Why This Recipe Works
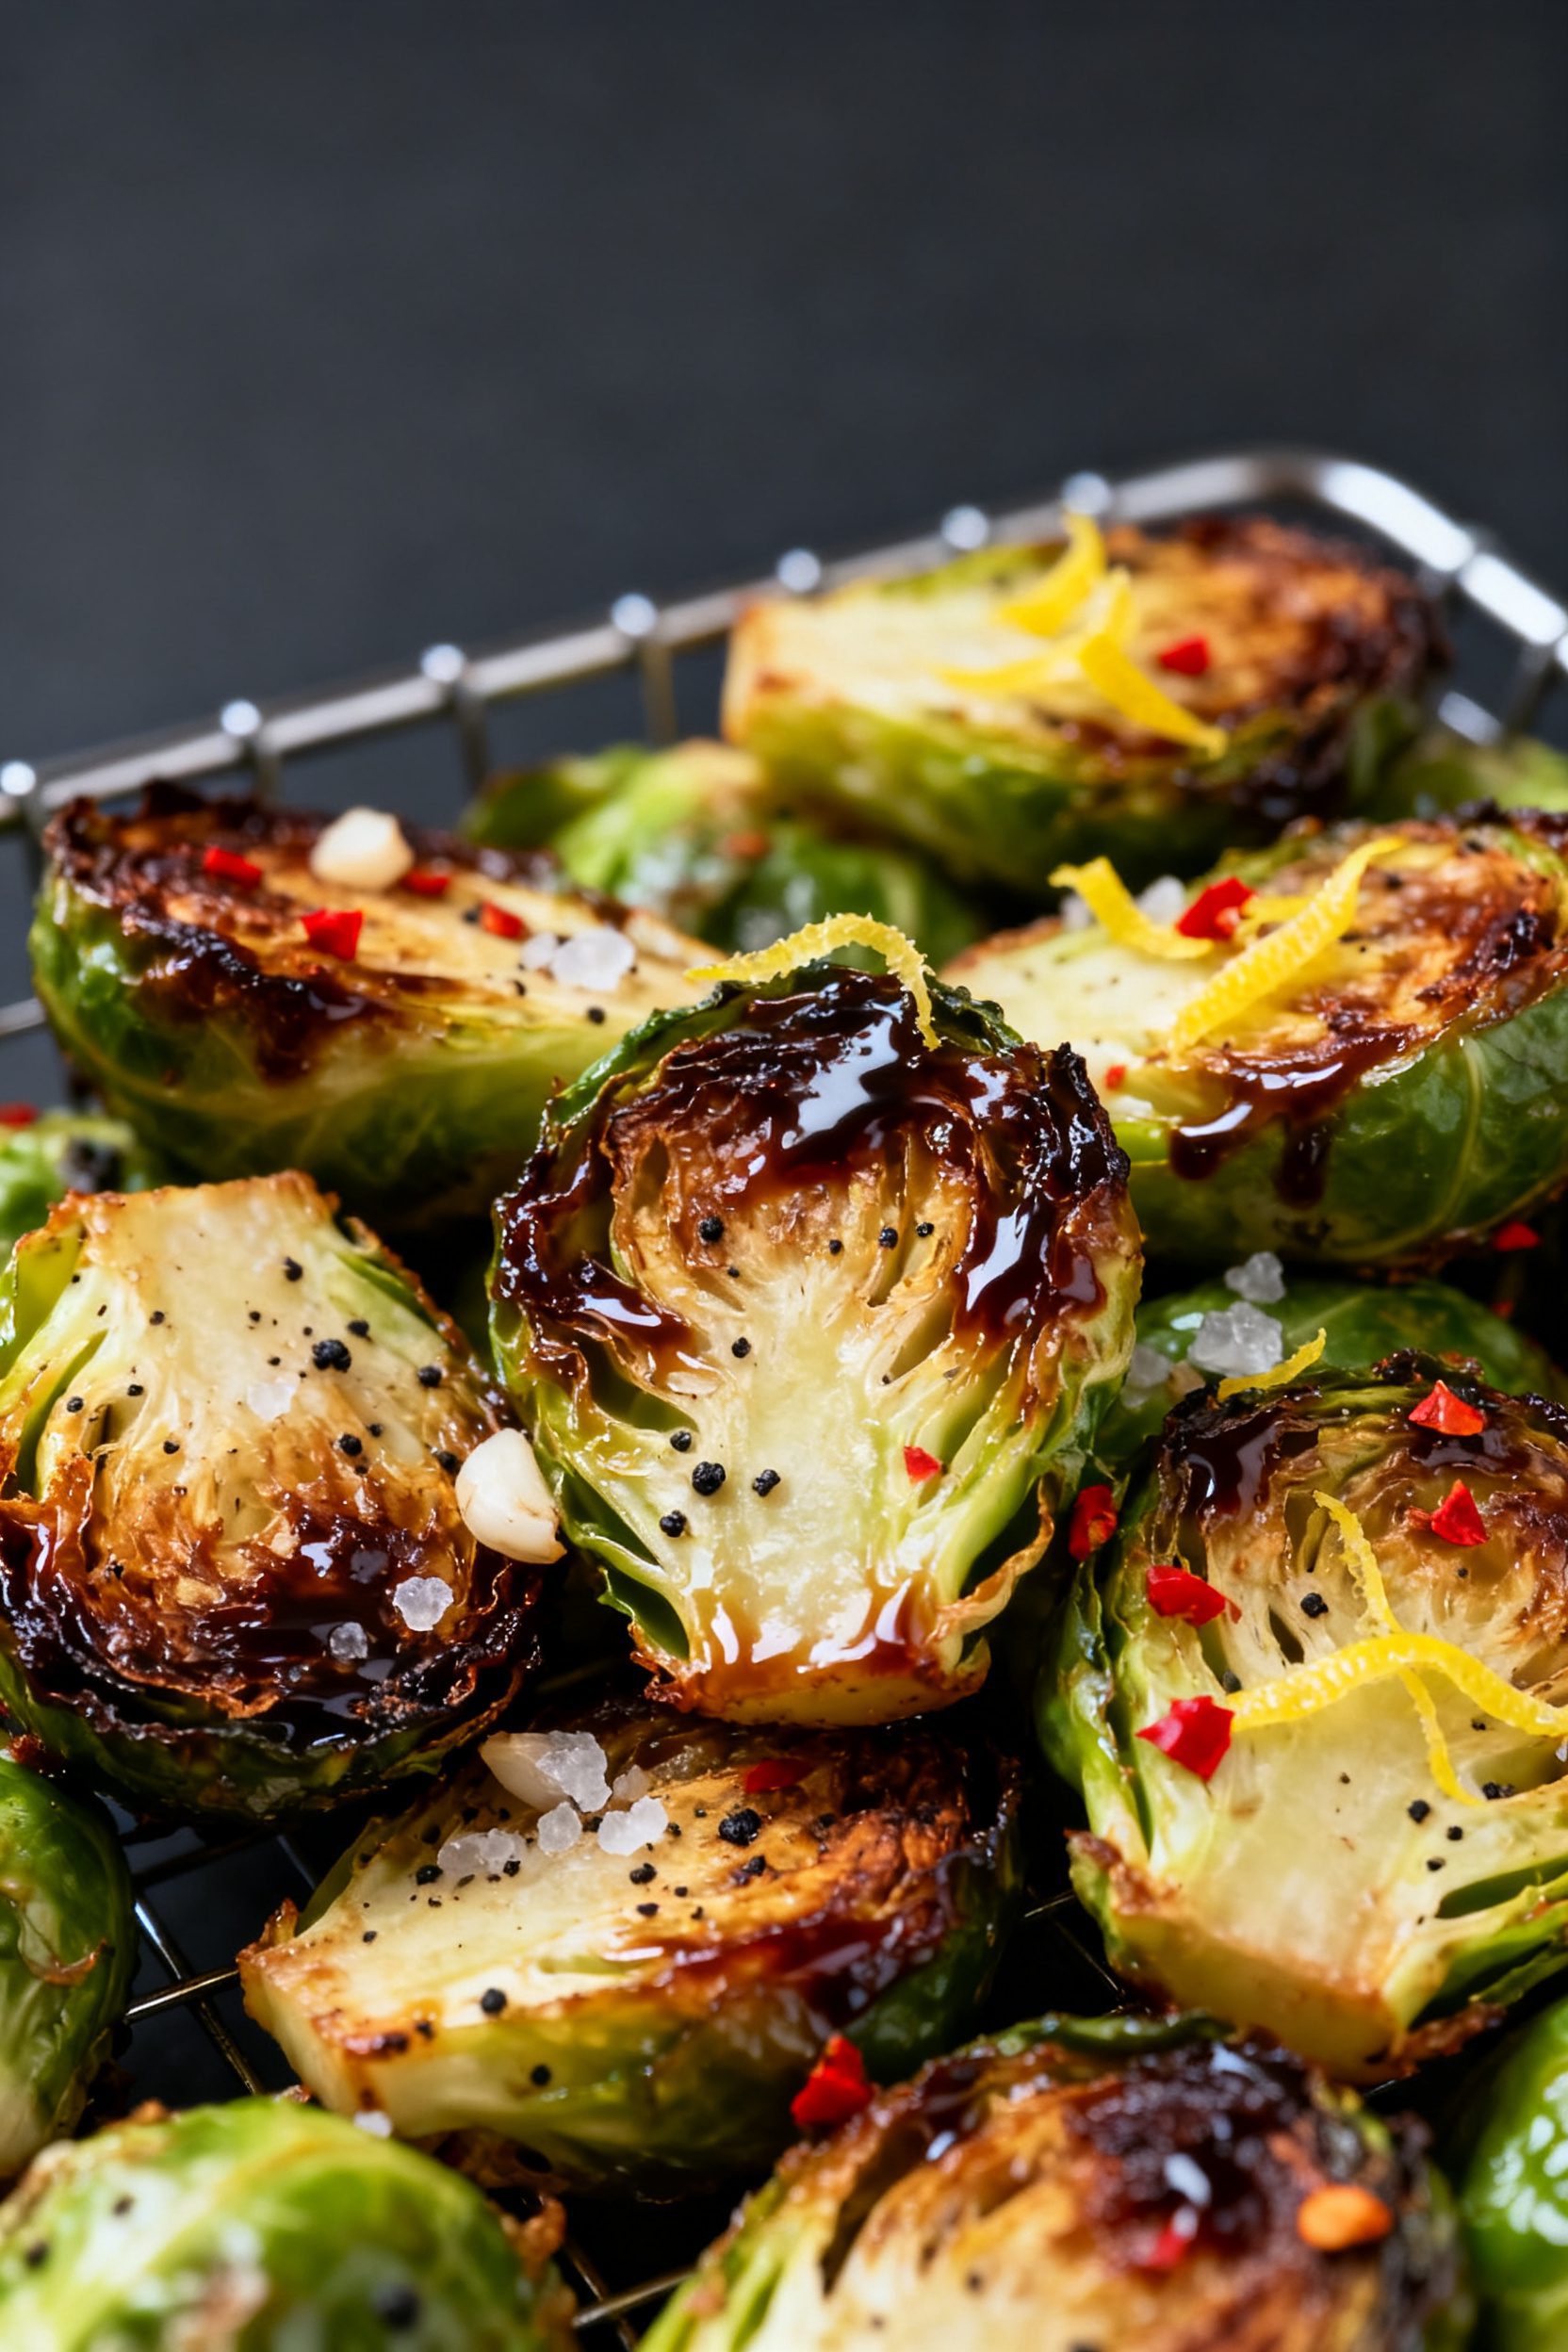
- High heat, fast cook time: The air fryer circulates hot air, giving the sprouts a charred, crispy edge without deep frying.
- Balsamic reduction effect: The glaze thickens as it cooks, clinging to each leaf and adding a sweet-tart shine.
- Balanced flavor: Garlic, balsamic, and a touch of honey bring out the natural nuttiness of Brussels sprouts.
- Minimal prep: A quick trim and toss is all you need. Everything happens in one bowl and one basket.
- Adaptable: Works with fresh or pre-trimmed sprouts, and it’s easy to make dairy-free, vegan, or low-carb.
What You’ll Need
- 1 pound Brussels sprouts, trimmed and halved (quarter if very large)
- 1–1.5 tablespoons olive oil (enough to lightly coat)
- 2 tablespoons balsamic vinegar
- 1–2 teaspoons honey or maple syrup (optional, for balance)
- 2 cloves garlic, minced (or 1/2 teaspoon garlic powder)
- 1/2 teaspoon kosher salt, plus more to taste
- 1/4 teaspoon black pepper
- Optional finishers: red pepper flakes, lemon zest, grated Parmesan, toasted almonds or walnuts, crispy bacon bits
- Nonstick spray (if your basket tends to stick)
How to Make It
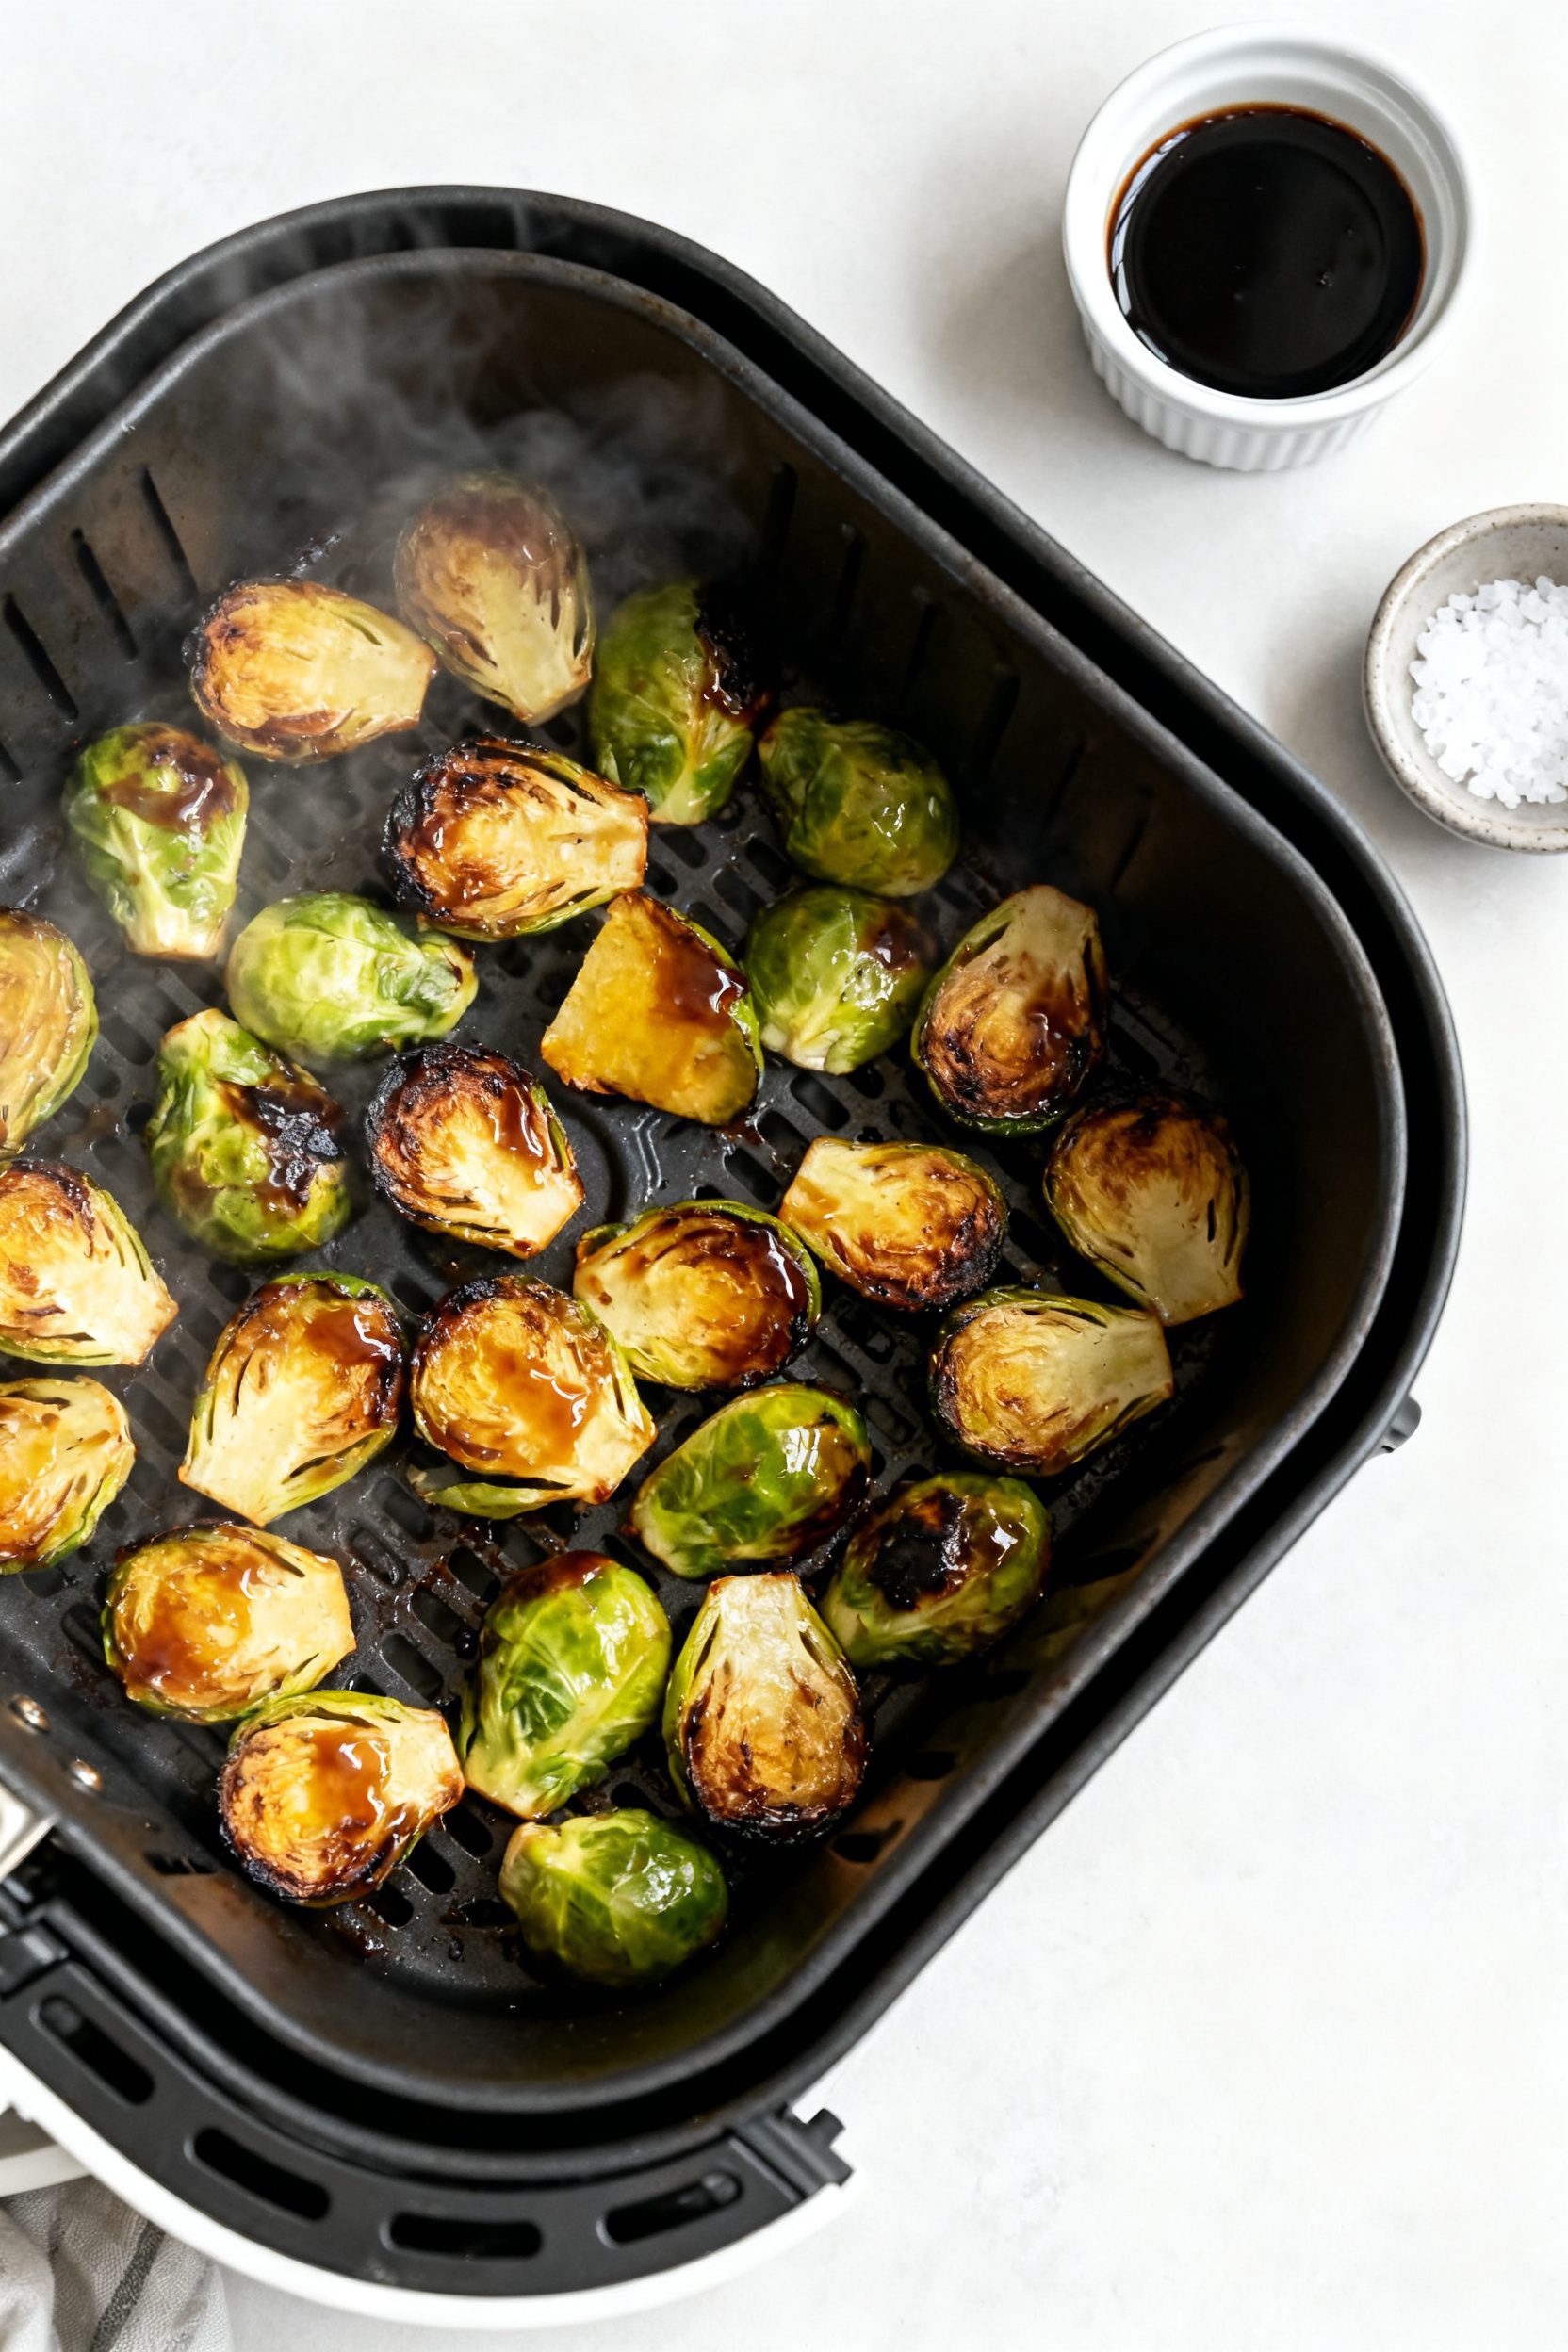
- Preheat the air fryer. Set to 380°F (193°C) and let it heat for 3 minutes.
A hot basket helps instant crisping.
- Prep the sprouts. Trim the stem ends and remove loose outer leaves. Halve them lengthwise; quarter extra-large ones so they cook evenly.
- Toss with seasoning. In a bowl, combine sprouts with olive oil, salt, pepper, and garlic. Stir until every piece is lightly coated.
- Add balsamic and sweetener. Pour in the balsamic vinegar and honey or maple.
Toss again. The sprouts should look glossy but not drenched.
- Load the basket. Lightly spray the basket if needed. Arrange sprouts cut side down in a single layer.
A bit of overlap is fine, but avoid a packed pile.
- Air fry, then shake. Cook 7 minutes. Shake the basket or use tongs to flip larger pieces for even browning.
- Finish cooking. Air fry 4–6 more minutes, until edges are deeply browned and centers are just tender. Aim for caramelized, not burnt.
- Taste and adjust. Sprinkle a pinch more salt, add red pepper flakes if you want heat, or a squeeze of lemon for brightness.
- Optional toppings. Finish with grated Parmesan, toasted nuts, or crispy bacon for extra crunch and richness.
How to Store
- Refrigerate: Cool completely, then store in an airtight container for up to 4 days.
- Reheat: Air fry at 350°F (175°C) for 3–4 minutes to re-crisp.
Microwave works in a pinch, but they’ll be softer.
- Make ahead: Trim and season the sprouts up to a day in advance. Cook just before serving for best texture.
- Freezing: Not recommended; Brussels sprouts tend to get watery and lose their snap after freezing.
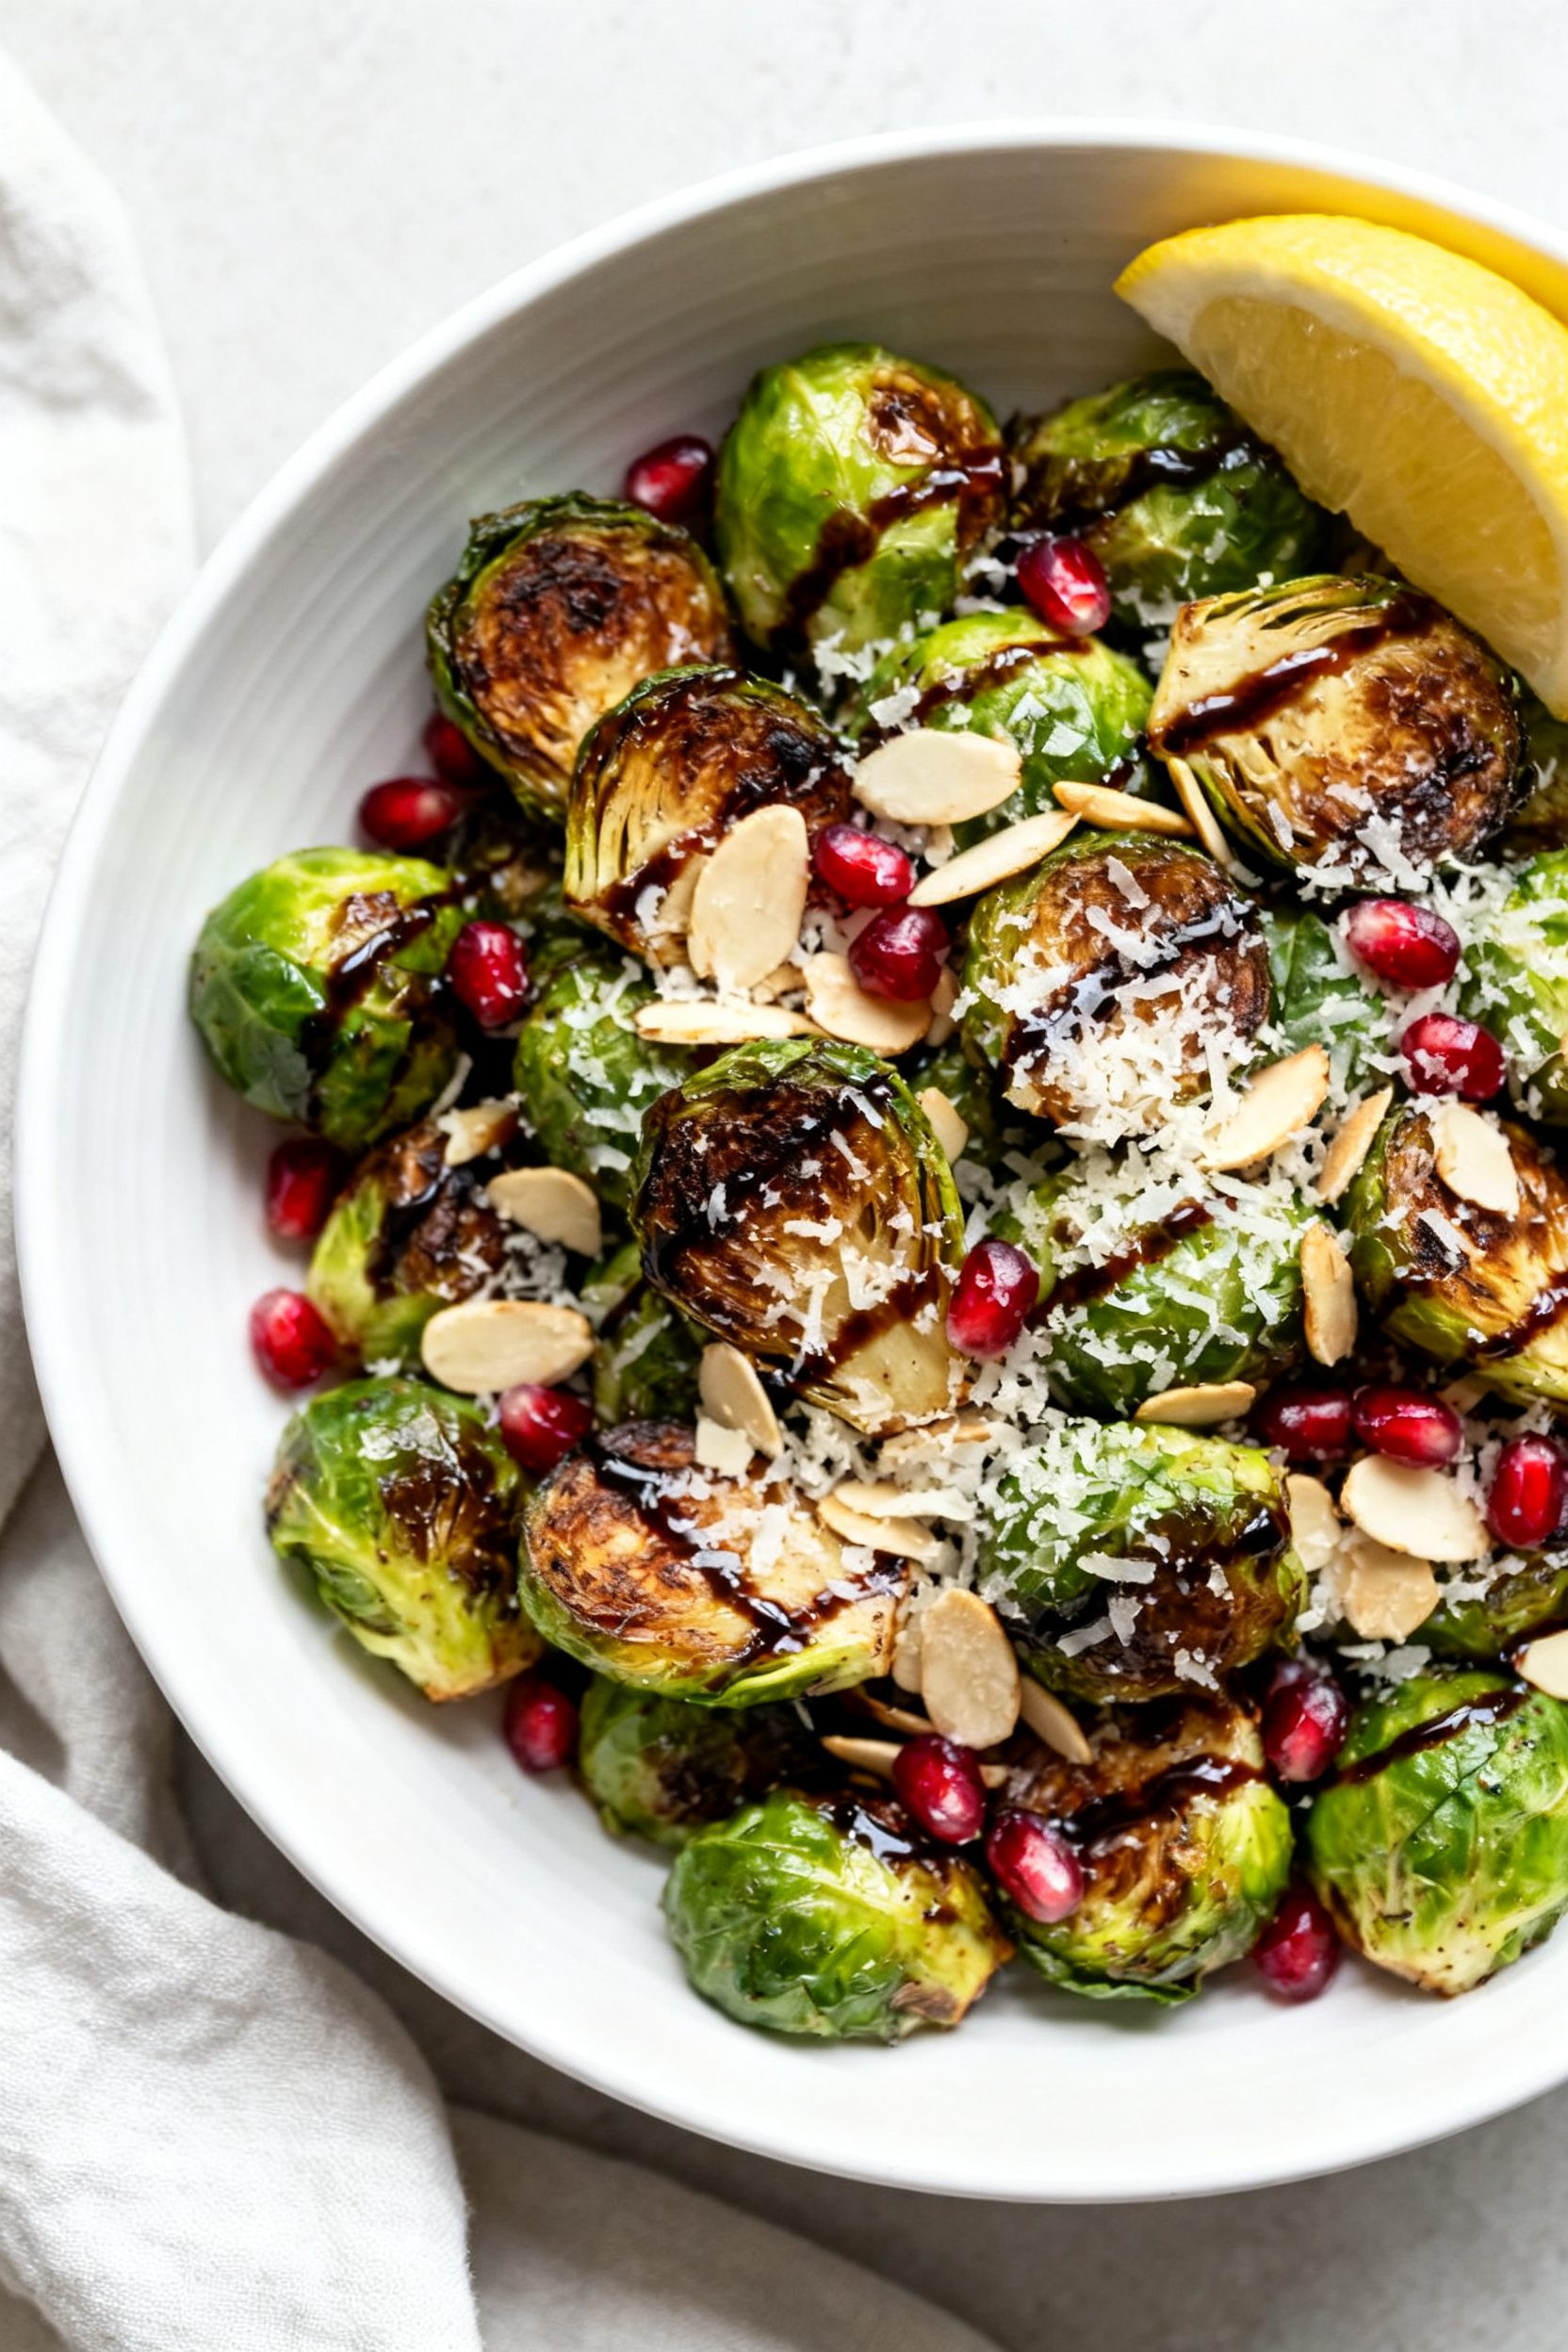
Benefits of This Recipe
- Fast and weeknight-friendly: From prep to plate in about 20 minutes.
- Lighter than roasting with heavy oil: You get crisp results with less fat.
- Nutrient-dense: Brussels sprouts are rich in fiber, vitamin C, vitamin K, and antioxidants.
- Scales easily: Double the batch by cooking in two rounds without much extra effort.
- Flexible for diets: Easy to make vegan, gluten-free, or low-carb by adjusting the sweetener or skipping cheese.
Common Mistakes to Avoid
- Overcrowding the basket: Too many sprouts at once steam instead of crisp. Cook in batches for best browning.
- Skipping the preheat: A cold basket delays caramelization and can make the texture soggy.
- Using too much liquid: A heavy hand with balsamic can pool in the basket.
Lightly coat, don’t drench.
- Uneven cuts: Mixing tiny quarters with big halves leads to uneven doneness. Keep pieces close in size.
- Walking away: The line between caramelized and burnt is short. Check at the 7–8 minute mark and adjust.
Variations You Can Try
- Spicy Honey Balsamic: Add 1/4–1/2 teaspoon red pepper flakes and finish with a drizzle of hot honey.
- Lemon Garlic Parmesan: Skip honey, add lemon zest before cooking, and toss with grated Parmesan right after.
- Maple Dijon: Whisk 1 tablespoon Dijon with 1 tablespoon maple and 1 tablespoon balsamic; toss on hot sprouts at the end.
- Bacon and Almond Crunch: Mix in crumbled cooked bacon and toasted sliced almonds before serving.
- Pomegranate Pop: Scatter pomegranate arils and chopped pistachios on top for color and brightness.
- Smoky BBQ: Add 1/2 teaspoon smoked paprika and a splash of BBQ sauce to the balsamic mix.
FAQ
Do I need to soak Brussels sprouts before cooking?
Soaking isn’t necessary.
A quick rinse and thorough dry are enough. Excess water can prevent crisping, so pat them dry well before seasoning.
Can I use frozen Brussels sprouts?
Yes, but expect a softer texture. Thaw and dry them first, then cook a bit longer to drive off moisture.
Fresh sprouts give the best crisp.
What if I don’t have honey or maple?
You can skip the sweetener or use a pinch of brown sugar. The small touch of sweetness balances balsamic’s acidity, but it’s optional.
How do I keep the glaze from burning?
Don’t overdo the balsamic, and avoid cooking at very high temps. 380°F is a sweet spot. If your air fryer runs hot, reduce to 370°F and add a minute or two.
Can I make them without oil?
You can, but oil helps with browning and flavor.
If skipping oil, reduce balsamic slightly and watch closely to prevent sticking or scorching.
What protein pairs well with this?
These sprouts go with roast chicken, grilled steak, pork chops, salmon, or tofu. They also shine in grain bowls with quinoa or farro.
How do I know they’re done?
Look for dark, caramelized edges and a tender center when pierced with a fork. If the inside is still firm, give them another 1–2 minutes.
Can I roast them in the oven instead?
Yes.
Roast on a sheet pan at 425°F (218°C) for 18–22 minutes, flipping once. They won’t be quite as crisp as air-fried, but still delicious.
In Conclusion
Air Fryer Balsamic Brussel Sprouts are quick, flavorful, and reliably crispy. With simple ingredients and a few smart tips, you get a restaurant-style side in minutes.
Keep the base recipe as your go-to, then mix in toppings or spices to match your meal. Whether it’s a weeknight dinner or a holiday spread, this dish earns a spot on the table again and again.