Air Fryer Sandwich Bread – Soft, Quick, and Homemade
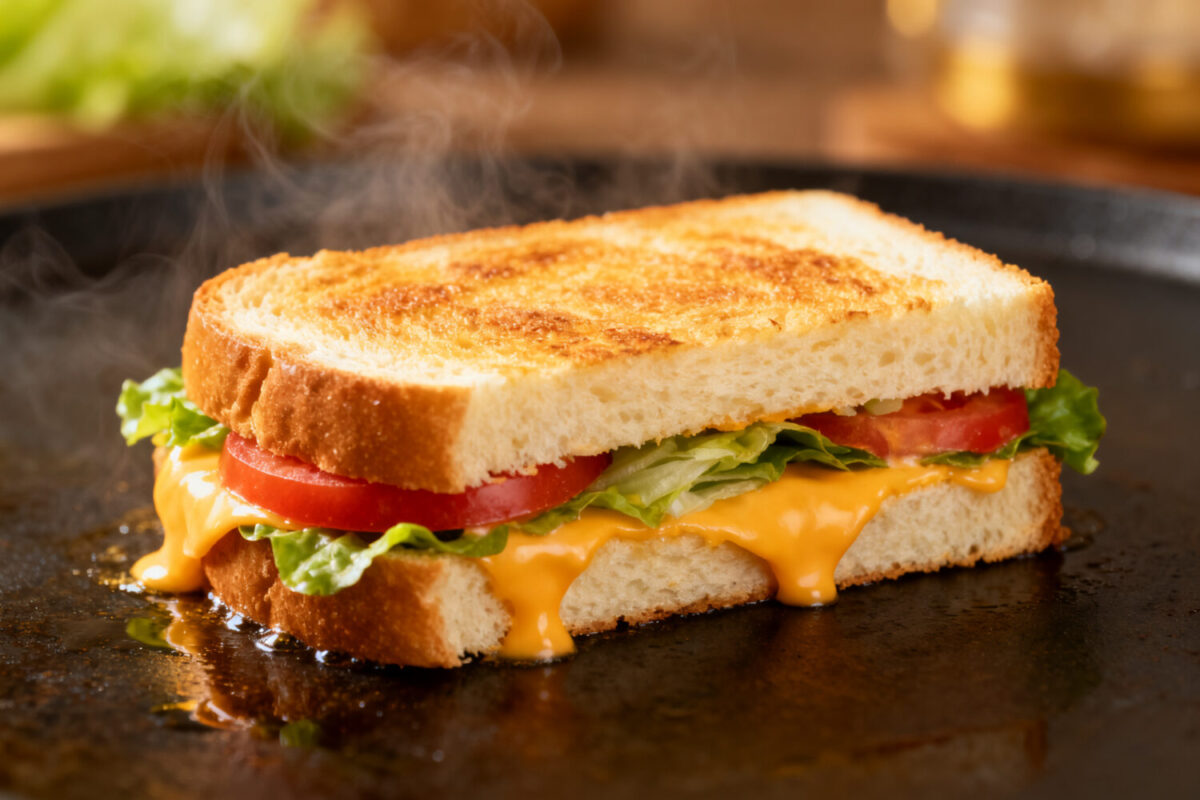
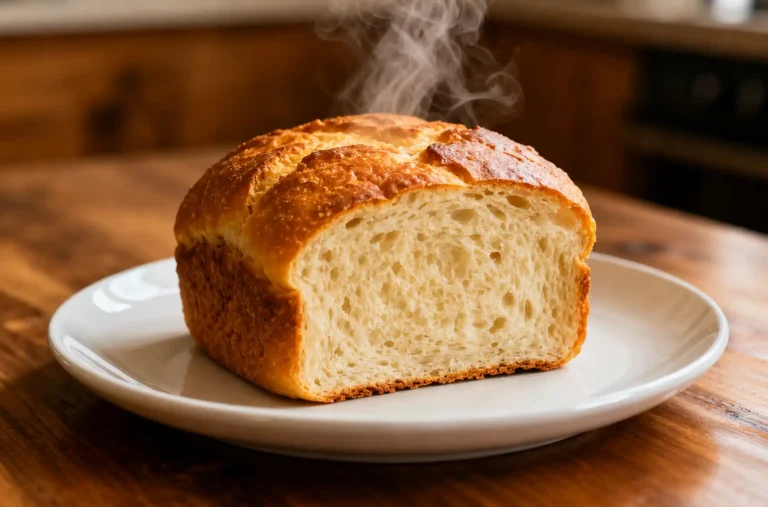
Warm, fresh bread doesn’t need a full-size oven or an all-day commitment. This air fryer sandwich bread gives you a soft, sliceable loaf with a light crust in about an hour and a half. It’s simple enough for beginners and fast enough for weeknights.
If you’ve got an air fryer and a small pan, you’re halfway there. The result is the kind of everyday bread you’ll want for toast, grilled cheese, and simple sandwiches.

Air Fryer Sandwich Bread - Soft, Quick, and Homemade
Ingredients
- All-purpose flour: 2 3/4 to 3 cups (330–360 g), more as needed
- Warm water: 1 cup (240 ml), about 105–110°F (40–43°C)
- Active dry yeast: 2 1/4 teaspoons (1 packet) or instant yeast, same amount
- Granulated sugar or honey: 1 tablespoon (helps activate yeast and tenderize)
- Salt: 1 1/4 teaspoons
- Neutral oil or melted butter: 2 tablespoons
- Milk (optional): 2 tablespoons for a softer crumb (reduce water slightly if using)
- Butter for brushing (optional): 1 tablespoon for a soft, shiny top
- Oil or nonstick spray: For greasing the pan
Instructions
- Proof the yeast: In a bowl, stir warm water and sugar. Sprinkle in the yeast. Let it sit 5–10 minutes until foamy. If using instant yeast, you can skip proofing and mix it directly with the flour, but make sure the water is still warm.
- Mix the dough: Add 2 3/4 cups flour, salt, and oil (and milk if using) to the yeast mixture. Stir until a shaggy dough forms. If it’s very sticky, add flour 1 tablespoon at a time until it’s soft but manageable.
- Knead: Turn the dough onto a lightly floured surface. Knead for 6–8 minutes until smooth, elastic, and slightly tacky, not sticky. You can also knead in the bowl by stretching and folding with a spatula if you prefer less mess.
- First rise: Shape the dough into a ball and place it in a lightly oiled bowl. Cover and let it rise in a warm spot until doubled, about 45–60 minutes. Tip: A warm but not hot environment helps. The air fryer (off) with the light on, or inside the microwave with a cup of hot water, works well.
- Prepare the pan: Grease a small loaf pan and, if you like, line it with a parchment sling for easy removal.
- Shape the loaf: Gently deflate the dough. Pat it into a rectangle about as long as your pan. Roll it up tightly from the short side, pinch the seam, and tuck the ends under. Place it seam-side down into the prepared pan.
- Second rise: Cover loosely and let it rise until the dough crowns about 1 inch above the rim, 25–40 minutes depending on room temp. Don’t overproof: It should look puffy and spring back slowly when gently poked.
- Preheat the air fryer: Set to 320°F (160°C) for 5 minutes. Preheating helps with even browning and oven spring.
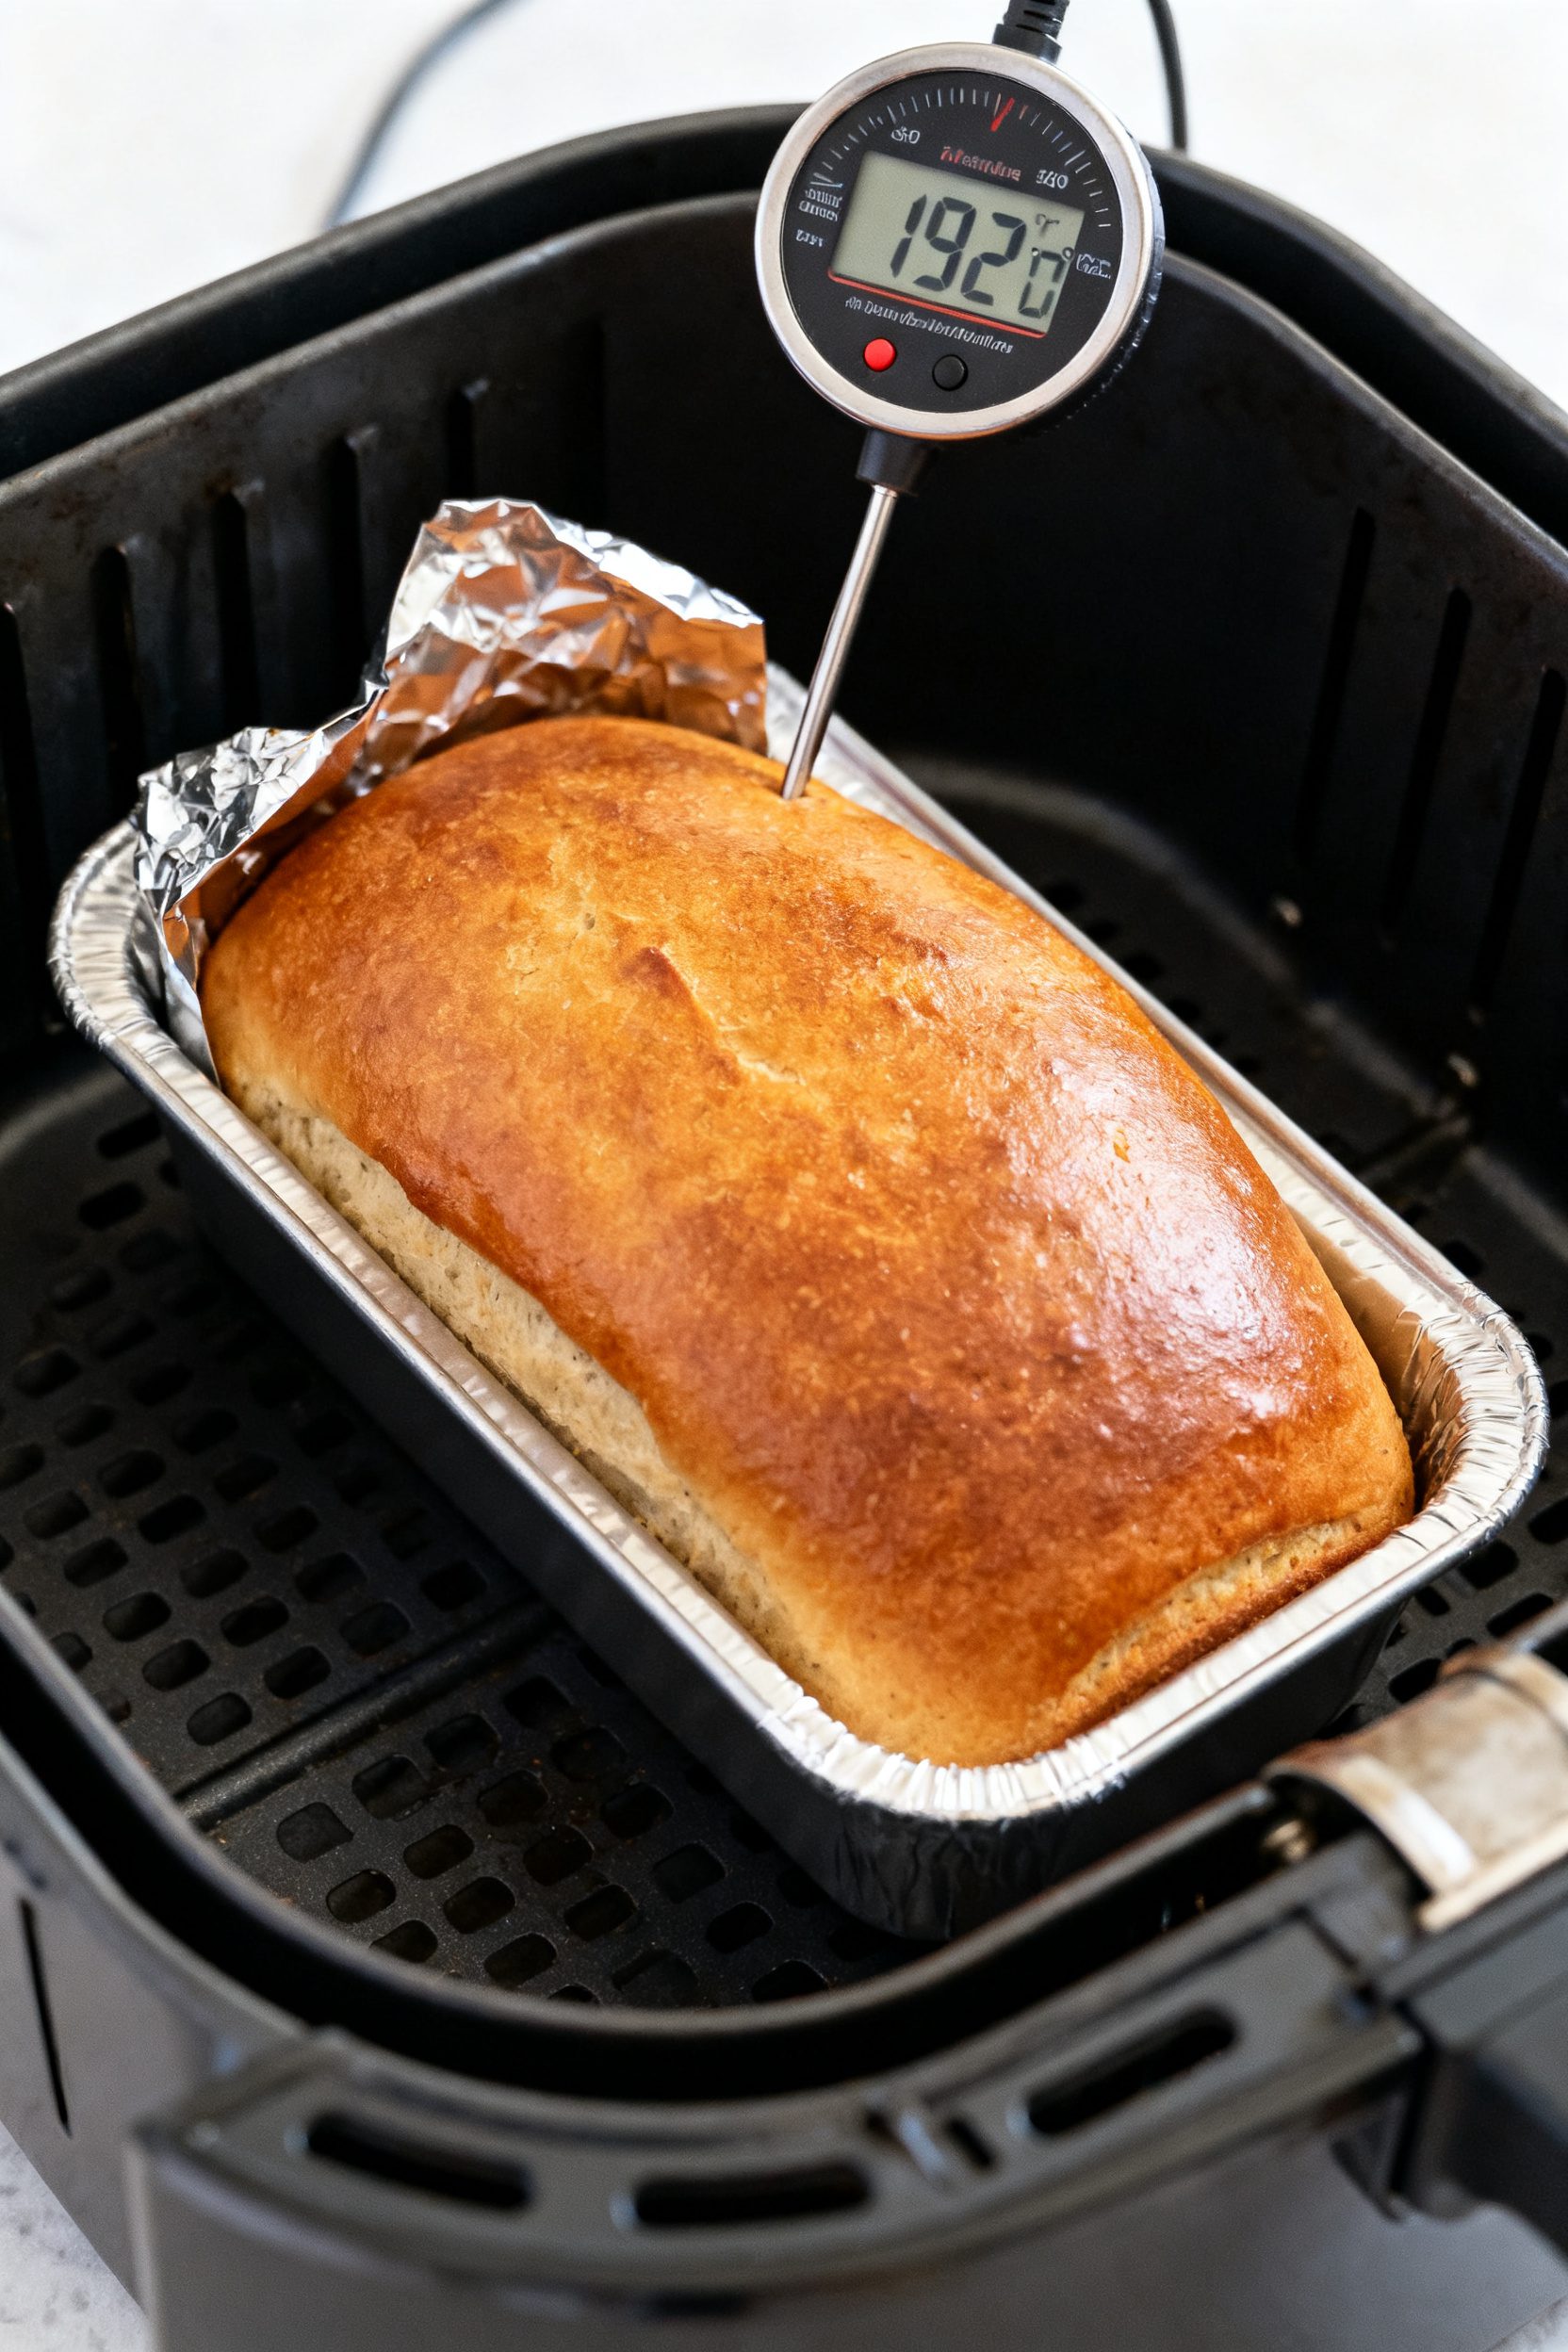
- Bake: Place the pan in the air fryer basket. Air fry at 320°F (160°C) for 18–22 minutes. Then reduce to 300°F (150°C) and cook 5–8 more minutes. The top should be golden and the internal temperature should read 190–195°F (88–90°C).
- Finish and cool: Remove the loaf. If you want a softer crust, brush with melted butter. Let it cool in the pan for 10 minutes, then lift out and cool fully on a rack at least 45 minutes before slicing. Cooling sets the crumb and prevents squashing.
What Makes This Special
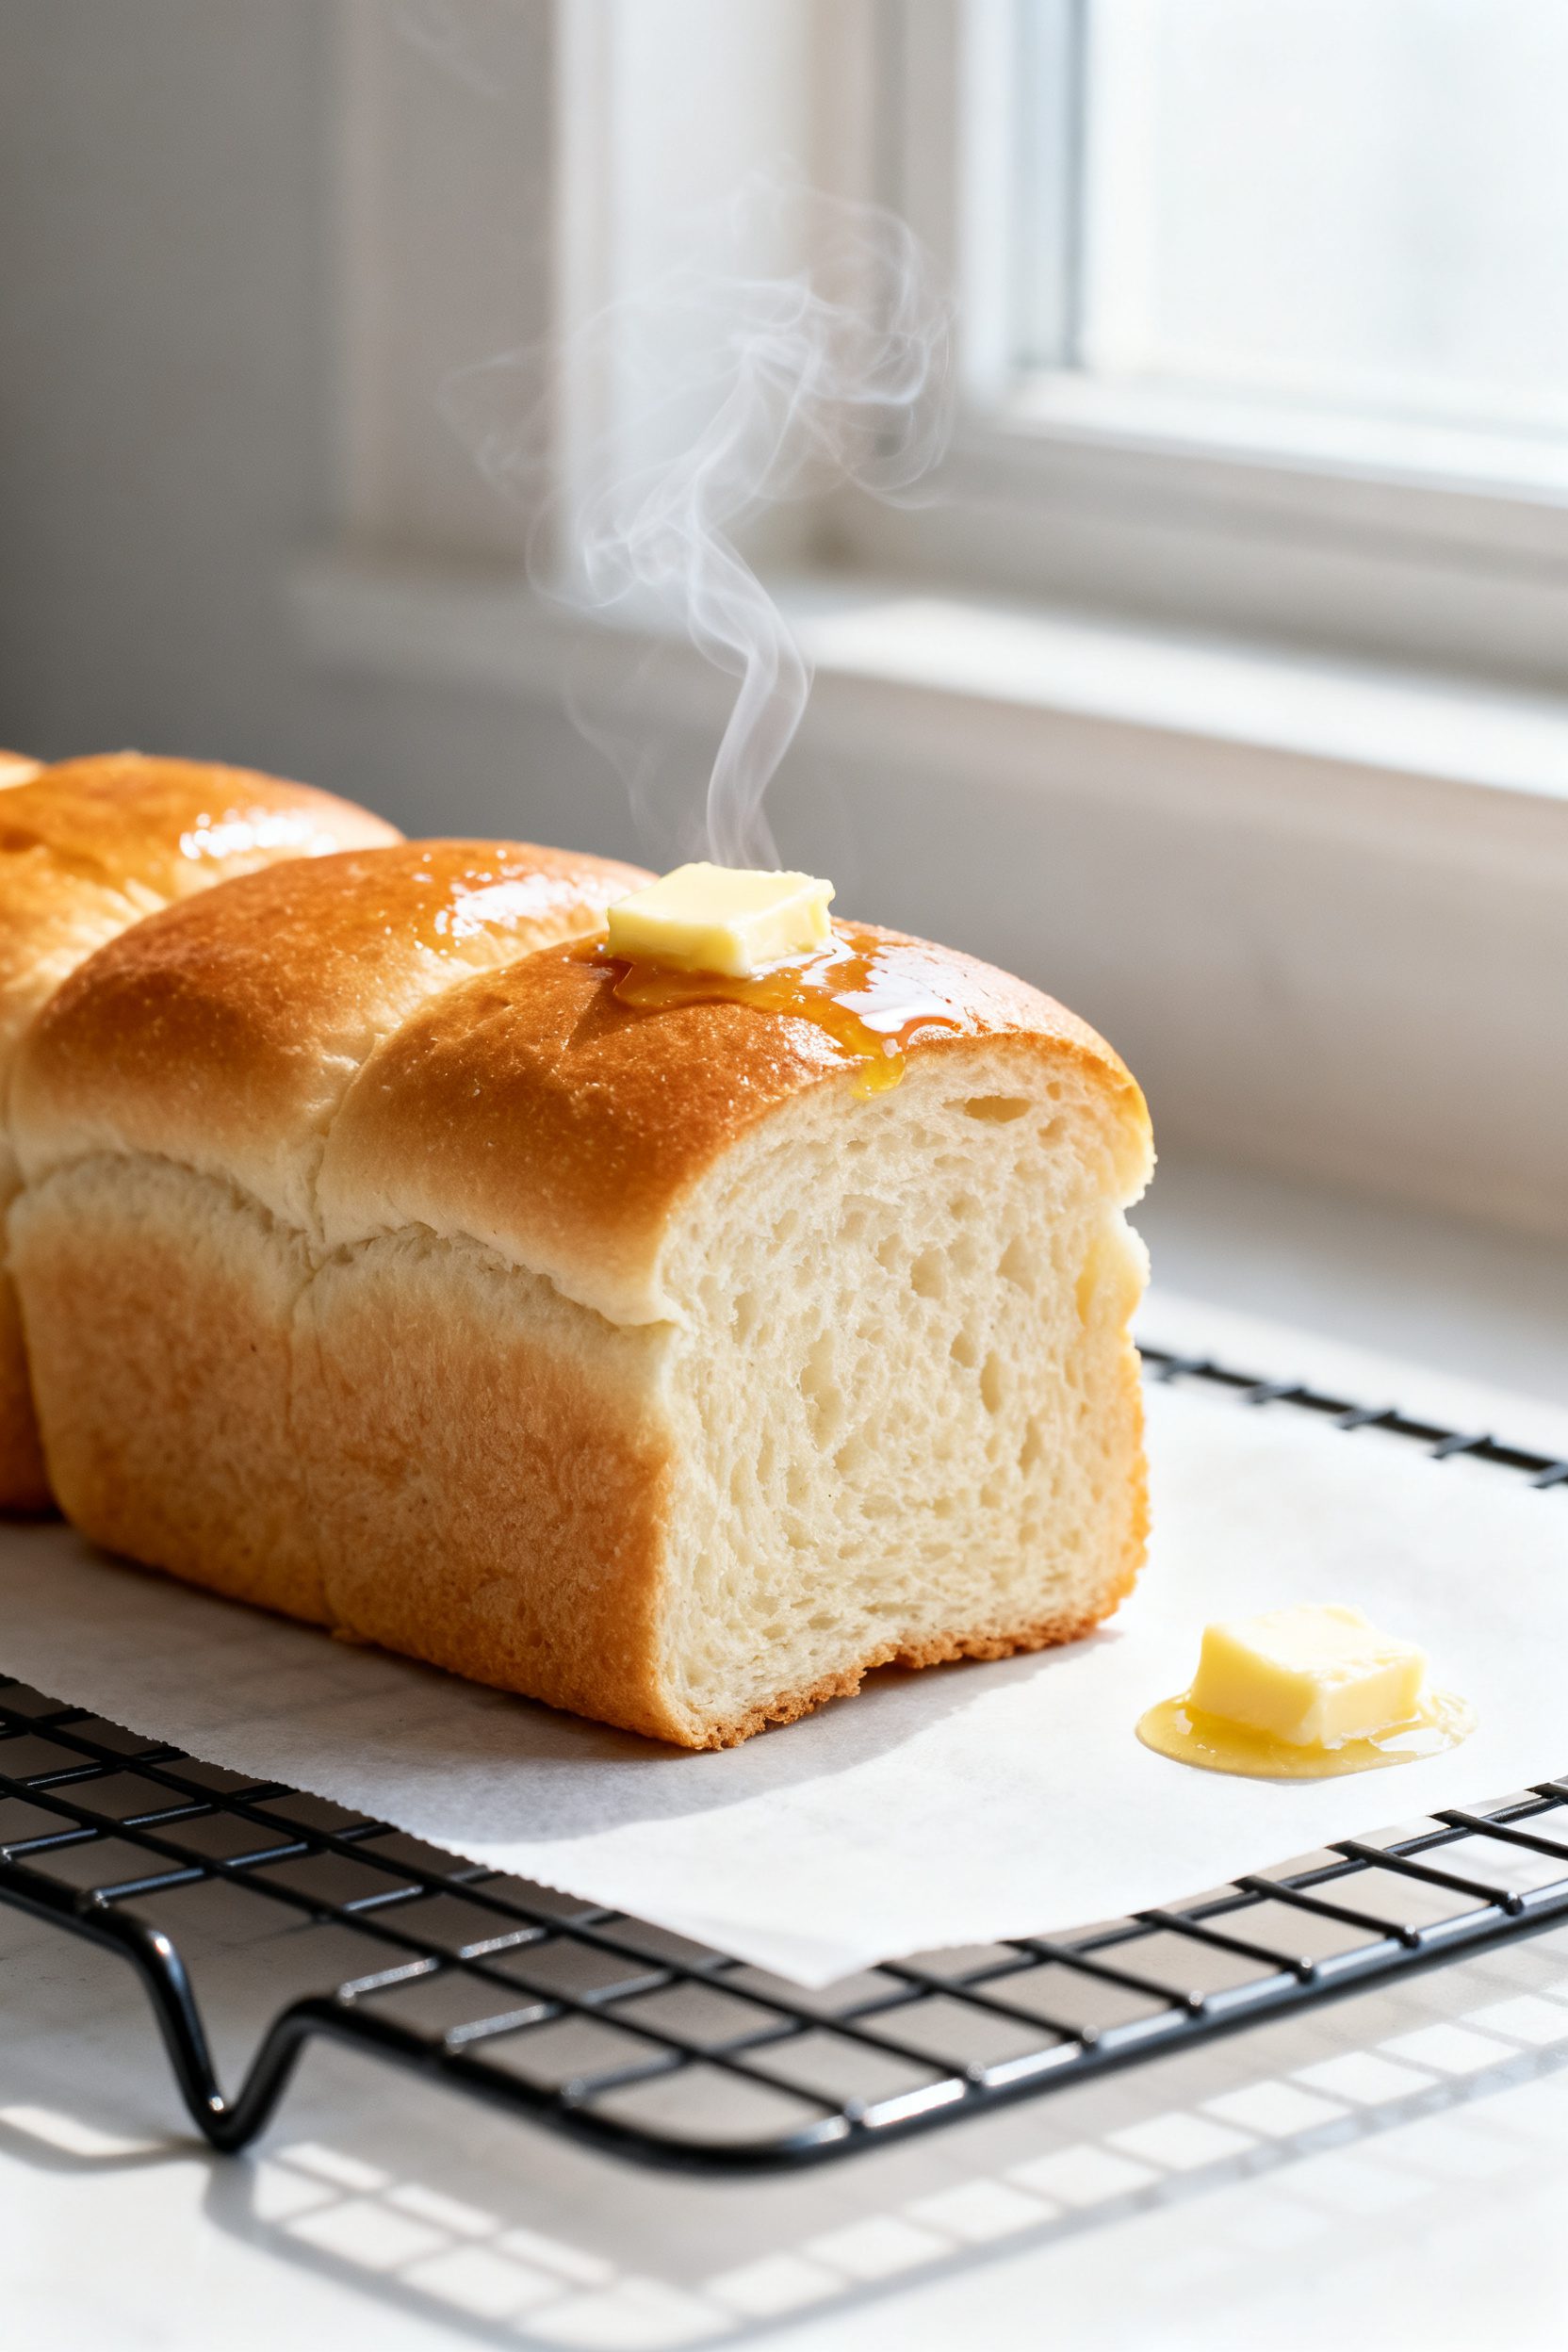
This recipe trims the process down to the essentials without losing that cozy homemade flavor. The air fryer heats quickly, holds steady heat, and gives you a tender crumb with a gentle golden top.
Because the loaf is smaller, it rises and bakes faster than a standard oven-baked loaf. It’s also a great way to bake in summer without heating the whole kitchen. If you’re new to bread, this is a forgiving, rewarding starting point.
What You’ll Need
- All-purpose flour: 2 3/4 to 3 cups (330–360 g), more as needed
- Warm water: 1 cup (240 ml), about 105–110°F (40–43°C)
- Active dry yeast: 2 1/4 teaspoons (1 packet) or instant yeast, same amount
- Granulated sugar or honey: 1 tablespoon (helps activate yeast and tenderize)
- Salt: 1 1/4 teaspoons
- Neutral oil or melted butter: 2 tablespoons
- Milk (optional): 2 tablespoons for a softer crumb (reduce water slightly if using)
- Butter for brushing (optional): 1 tablespoon for a soft, shiny top
- Oil or nonstick spray: For greasing the pan
Equipment: Air fryer with a basket or oven-style drawer, a small loaf pan that fits your air fryer (usually 6-inch or 7-inch), mixing bowl, spatula, and a kitchen scale if you have one.
Parchment paper sling can help lift out the loaf.
How to Make It
- Proof the yeast: In a bowl, stir warm water and sugar. Sprinkle in the yeast. Let it sit 5–10 minutes until foamy.
If using instant yeast, you can skip proofing and mix it directly with the flour, but make sure the water is still warm.
- Mix the dough: Add 2 3/4 cups flour, salt, and oil (and milk if using) to the yeast mixture. Stir until a shaggy dough forms. If it’s very sticky, add flour 1 tablespoon at a time until it’s soft but manageable.
- Knead: Turn the dough onto a lightly floured surface.
Knead for 6–8 minutes until smooth, elastic, and slightly tacky, not sticky. You can also knead in the bowl by stretching and folding with a spatula if you prefer less mess.
- First rise: Shape the dough into a ball and place it in a lightly oiled bowl. Cover and let it rise in a warm spot until doubled, about 45–60 minutes. Tip: A warm but not hot environment helps.
The air fryer (off) with the light on, or inside the microwave with a cup of hot water, works well.
- Prepare the pan: Grease a small loaf pan and, if you like, line it with a parchment sling for easy removal.
- Shape the loaf: Gently deflate the dough. Pat it into a rectangle about as long as your pan. Roll it up tightly from the short side, pinch the seam, and tuck the ends under.
Place it seam-side down into the prepared pan.
- Second rise: Cover loosely and let it rise until the dough crowns about 1 inch above the rim, 25–40 minutes depending on room temp. Don’t overproof: It should look puffy and spring back slowly when gently poked.
- Preheat the air fryer: Set to 320°F (160°C) for 5 minutes. Preheating helps with even browning and oven spring.
- Bake: Place the pan in the air fryer basket. Air fry at 320°F (160°C) for 18–22 minutes.
Then reduce to 300°F (150°C) and cook 5–8 more minutes. The top should be golden and the internal temperature should read 190–195°F (88–90°C).
- Finish and cool: Remove the loaf. If you want a softer crust, brush with melted butter.
Let it cool in the pan for 10 minutes, then lift out and cool fully on a rack at least 45 minutes before slicing. Cooling sets the crumb and prevents squashing.
Storage Instructions
- Room temperature: Wrap the fully cooled loaf in plastic or place in a bread bag. It keeps 2–3 days. Avoid the fridge, which dries bread out.
- Freezer: Slice, then freeze in a zip-top bag with the air pressed out.
Keeps well for up to 2 months. Toast straight from frozen.
- Revive softness: If the loaf feels dry on day two, warm slices in a toaster or microwave for 10–15 seconds to refresh.
Benefits of This Recipe
- Fast and approachable: Smaller loaf size means quicker rises and bake time, perfect for beginners.
- Energy-efficient: The air fryer heats up instantly and focuses heat where you need it.
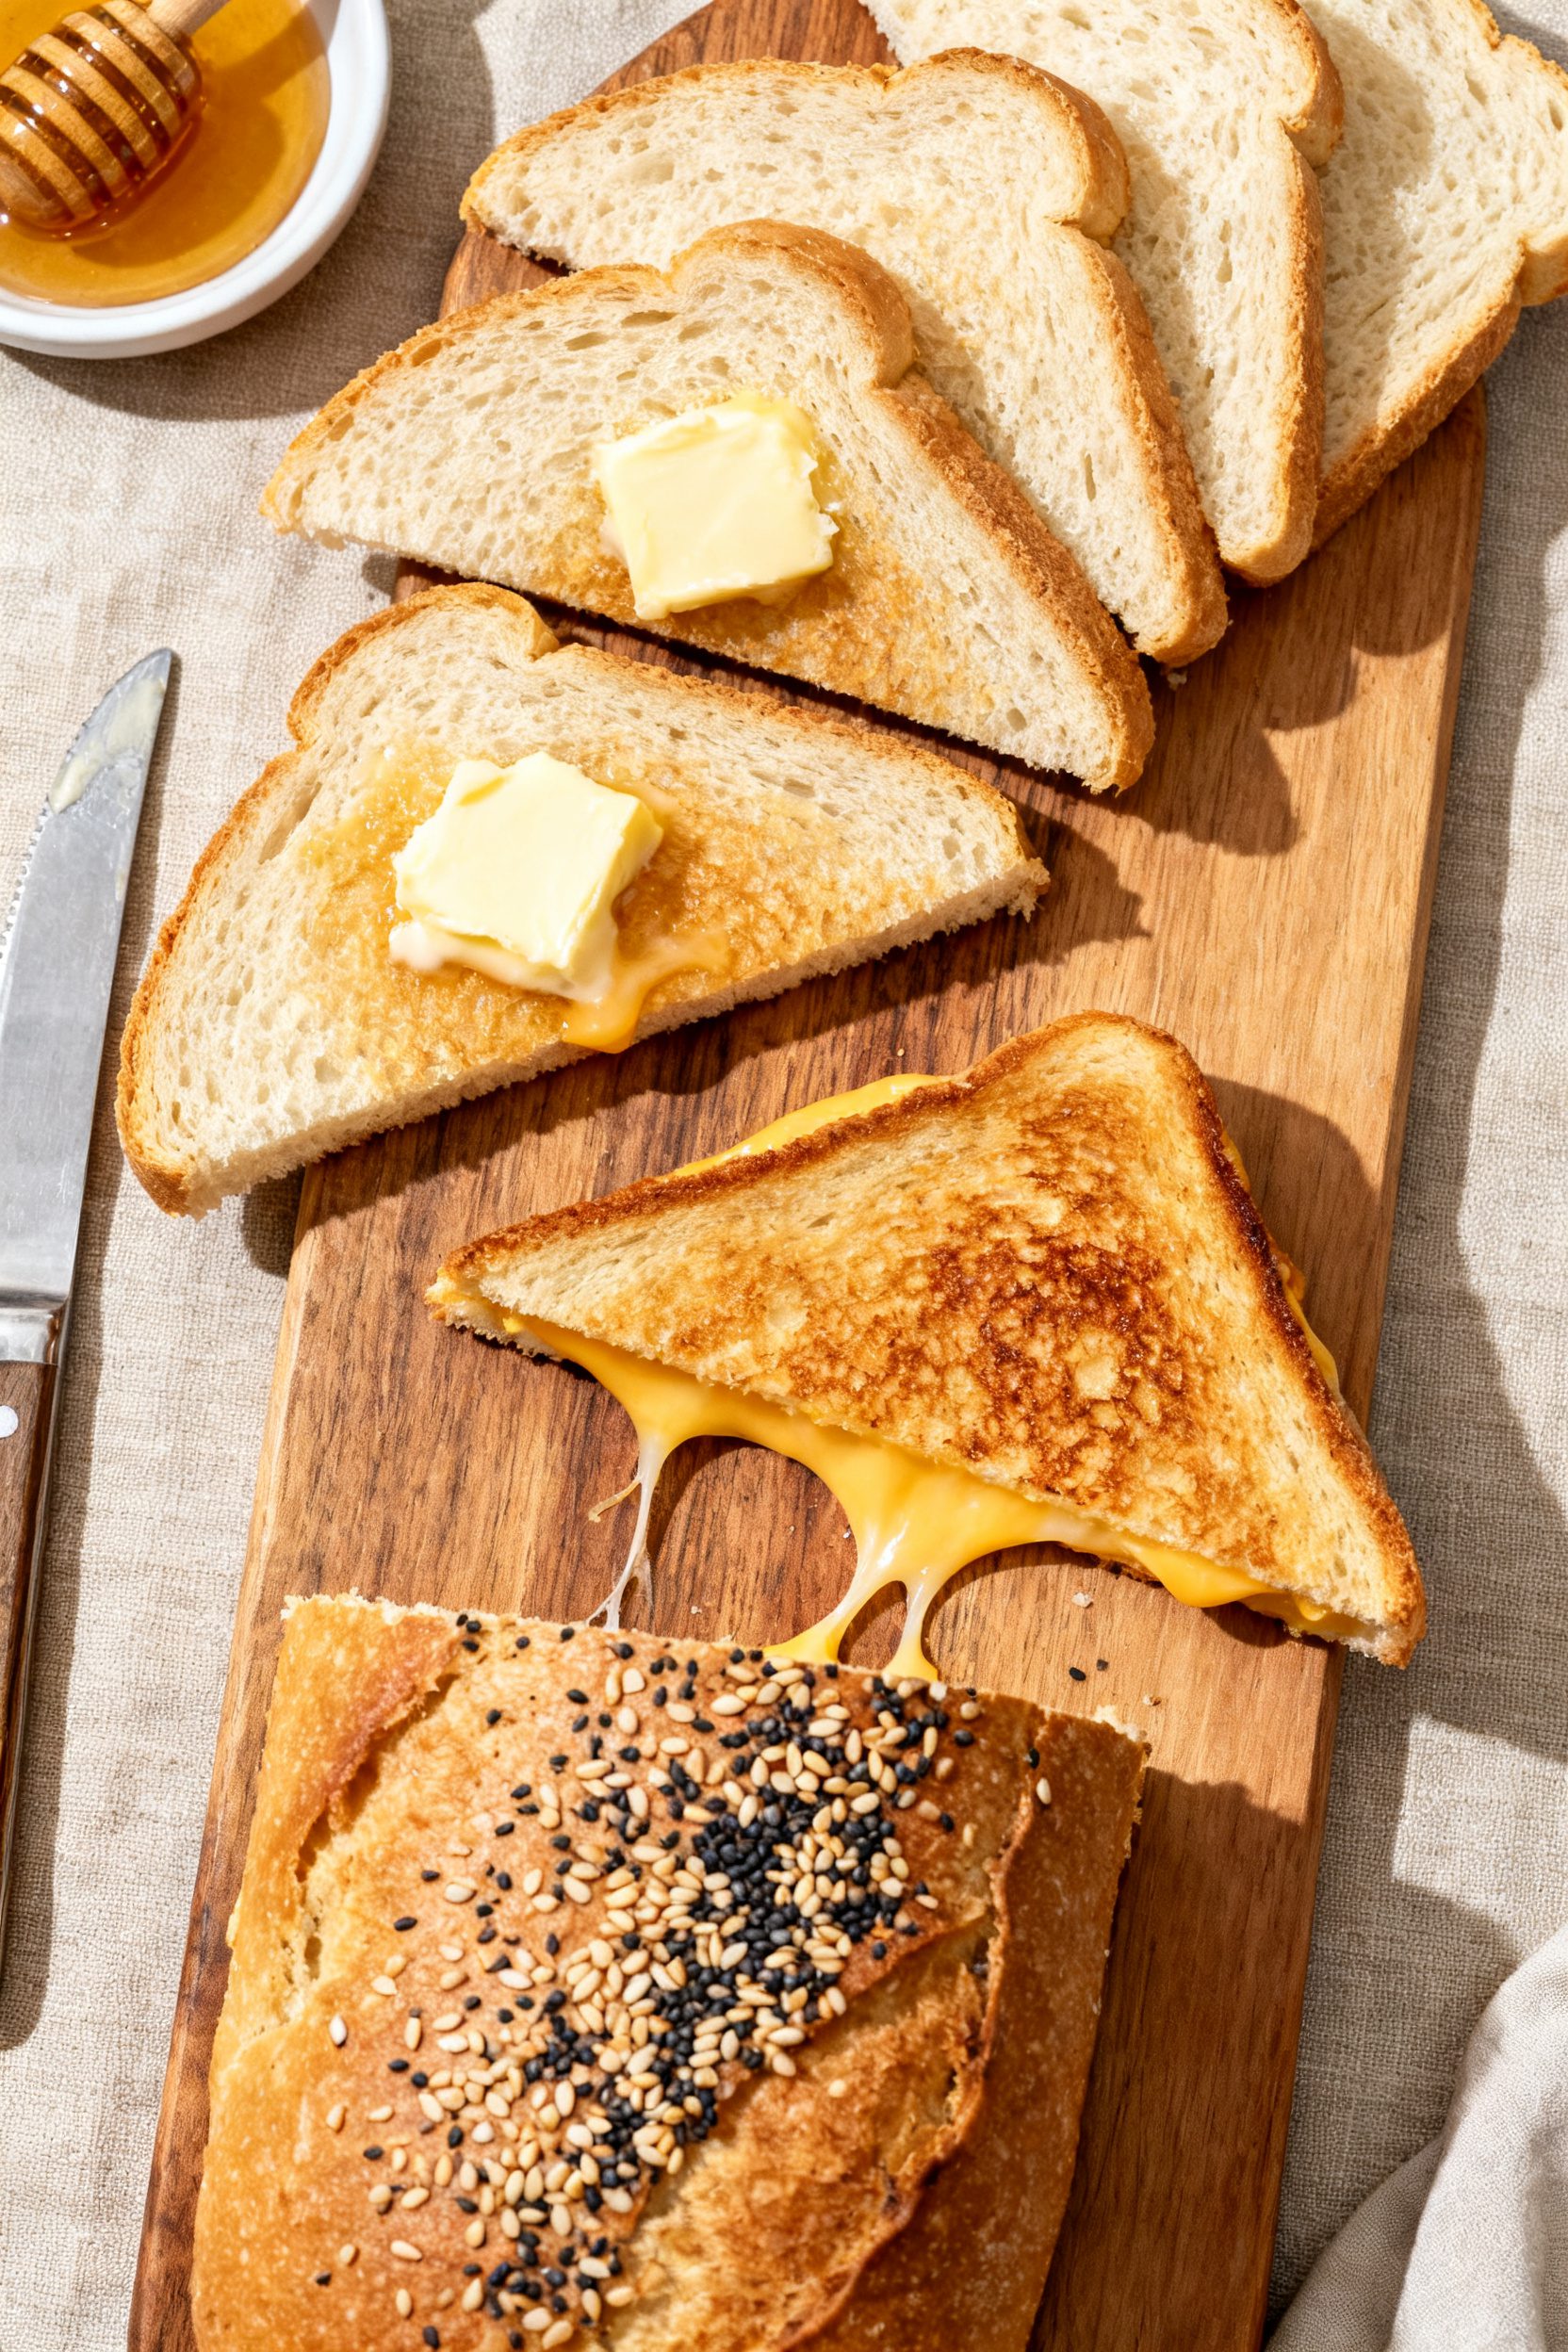
- Everyday texture: Soft, even crumb that slices cleanly for sandwiches and toast.
- Flexible ingredients: Works with pantry basics and adapts to milk, butter, or oil.
- Small-batch friendly: Makes a modest loaf, ideal for couples, small households, or test runs.
Pitfalls to Watch Out For
- Overheating the water: If the water is too hot, it can kill the yeast. Aim for warm, not hot—about 105–110°F.
- Too much flour: A dry dough leads to a dense loaf.
Start with less and add gradually until the dough is soft and slightly tacky.
- Overproofing: If the dough rises too much, it may collapse or bake with tunnels. Stop the second rise when it’s just over the pan’s rim.
- Hot spots in the air fryer: Some models brown unevenly. Rotate the pan halfway if your air fryer runs hotter on one side.
- Slicing too soon: Cutting while hot compresses the crumb.
Let it cool to set the structure.
Recipe Variations
- Whole wheat blend: Swap 1 cup of all-purpose flour for whole wheat. Add 1 tablespoon honey and 1–2 teaspoons extra water if needed for softness.
- Milk bread style: Use all milk instead of water and 2 tablespoons butter. The loaf will be extra tender and slightly sweeter.
- Herb and garlic: Mix in 1 teaspoon dried Italian herbs and 1/2 teaspoon garlic powder for a savory loaf that’s great for grilled cheese.
- Seeded top: Brush the risen loaf lightly with water or egg wash and sprinkle sesame or poppy seeds before baking.
- Oat-topped: Press a few tablespoons of rolled oats onto a lightly brushed top for texture and a rustic look.
FAQ
Can I use bread flour instead of all-purpose?
Yes.
Bread flour gives a chewier texture and a bit more structure. You may need a teaspoon or two of extra water since bread flour absorbs more liquid.
What if I don’t have a loaf pan that fits my air fryer?
Use a small round cake pan or a 6–7 inch springform pan. Shape the dough into a round and place it seam-side down.
Baking times are similar; watch for that 190–195°F internal temp.
How do I know my dough has risen enough?
Use the poke test. Gently press a floured fingertip into the dough. If the dent slowly springs back but doesn’t fully disappear, it’s ready.
If it pops back fast, give it more time.
Can I make the dough ahead?
Yes. After the first rise, shape the loaf, cover, and refrigerate overnight. Let it come to room temp and finish rising until just above the rim before baking.
Why is the top browning too quickly?
Air fryers circulate air close to the surface, so tops can color fast.
Tent the loaf with a small piece of foil after it’s golden, or lower the temp by 10–15°F and extend the time slightly.
Is instant yeast the same as active dry?
They’re similar. Instant yeast can be mixed directly with flour and doesn’t need proofing, while active dry benefits from dissolving in warm water first. Use the same amount in this recipe.
Can I double the recipe?
You can, but bake one loaf at a time for best results.
Air fryers crowd easily, which can block airflow and lead to uneven baking.
How do I get a softer crust?
Brush the hot loaf with melted butter right after baking. You can also add 2 tablespoons of milk to the dough for extra tenderness.
What if my loaf sinks in the middle?
That’s usually from overproofing or underbaking. Next time, shorten the second rise slightly and bake to an internal temperature of 190–195°F.
Can I add cheese?
Yes.
Fold in up to 3/4 cup of finely shredded cheese during the last minute of kneading. Cheddar, mozzarella, or Parmesan all work well.
In Conclusion
Air fryer sandwich bread is simple, fast, and genuinely useful for everyday meals. You get a soft interior, a gentle crust, and slices that hold up to spreads and fillings.
With a few basic ingredients and a small pan, fresh bread is totally doable on a busy day. Keep an eye on proofing, check your internal temp, and enjoy warm, homemade slices whenever you want.