How to Grill Chicken in Air Fryer That Tastes Like Bbq
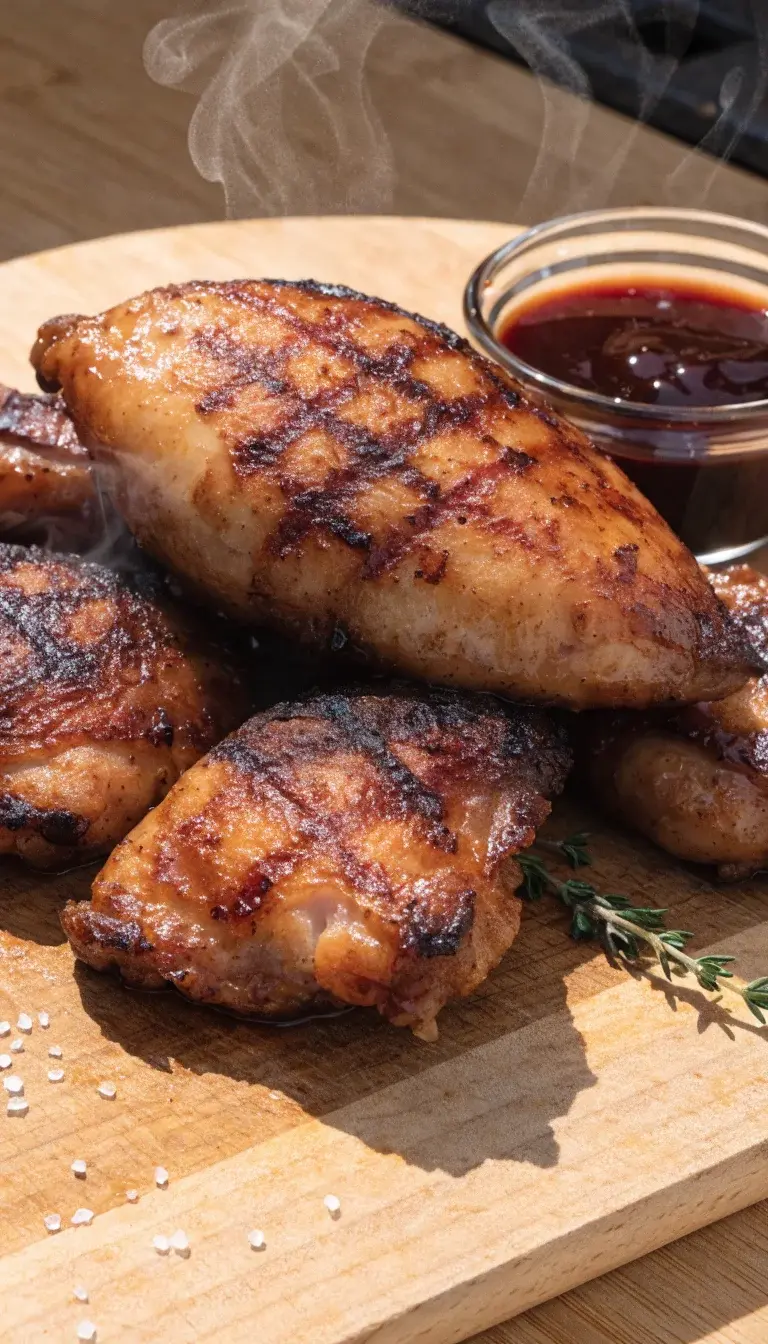
An air fryer can make grilled chicken without turning your kitchen into a smoke machine. You’ll get juicy, charred goodness in a fraction of the time. Let’s dive into the easy, fun way to master air-fried chicken that tastes like summer BBQ.
Why the Air Fryer Does Chicken Right
– It’s fast: 12–20 minutes, depending on thickness.
– It seals in juiciness better than sneaky oven roasting.
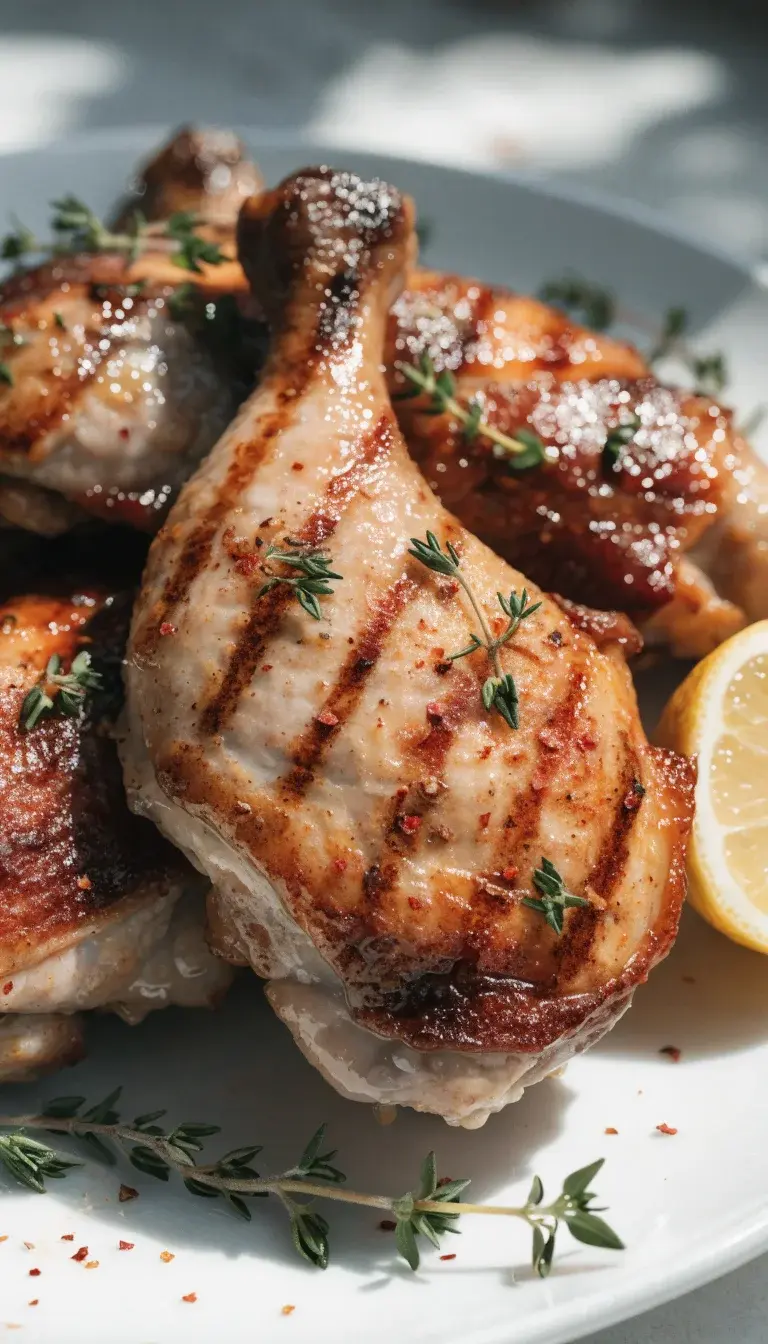
– You still get those tasty grill vibes with a crisp exterior.
Do you need a real grill to get the vibe? Not necessarily. The air fryer mimics the high heat and quick browning you crave, minus the sunburn risk for your arms. FYI, you can even get those crosshatch grill marks if you’re into that look.
Choosing the Right Chicken and Prep Basics
What Cut To Use
– Chicken breasts: lean, quick, and reliable.
– Chicken thighs: juicier, more forgiving if you’re unsure about timing.
– A mix works too, if you’re feeding a crowd.
Brine or Not?
– Brining 15–30 minutes adds moisture, but it’s optional.
– If you’re short on time, a quick dry brine with salt does wonders.
– FYI: Pat dry before seasoning to avoid soggy coatings.
Seasoning That Sings
– Use a simple rub: salt, pepper, garlic powder, paprika.
– Add a touch of brown sugar for caramelization (but don’t overdo it).
– Marinades? Great idea, just don’t let sugar burn at high heat.
Step-By-Step: From Raw to Ready
- Preheat your air fryer to around 360–400°F (180–205°C). It’s not a suggestion; it’s your secret weapon.
- Pat chicken dry, then apply your rub or marinade. Don’t skimp on the seasoning—flavor is why we’re here.
- Lightly oil the basket or spray the air fryer rack to prevent sticking.
- Place chicken in a single layer. Don’t crowd. You want air to circulate like a tiny air fryer orchestra.
- Cook time varies: breasts about 10–12 minutes, thighs closer to 12–18 minutes. Flip halfway for even browning.
- Check doneness with a meat thermometer. Aim for 165°F (74°C) in the thickest part.
- Let rest 3–5 minutes before slicing. Juices need to settle, not spill everywhere like a dramatic soap opera.
Tips for Perfect Sear and Juiciness
- Dry surface = better crust. Pat dry, then season.
- Don’t skip the rest. Juices redistribute for a juicy bite.
- Use a light spray of oil for better browning, not drenched—we’re not frying, we’re air-advancing.
- If your wings or tenders are on the menu, they cook even faster. Scout the thickness.
Flavor Boosts: Sauces, Rubs, and Twists
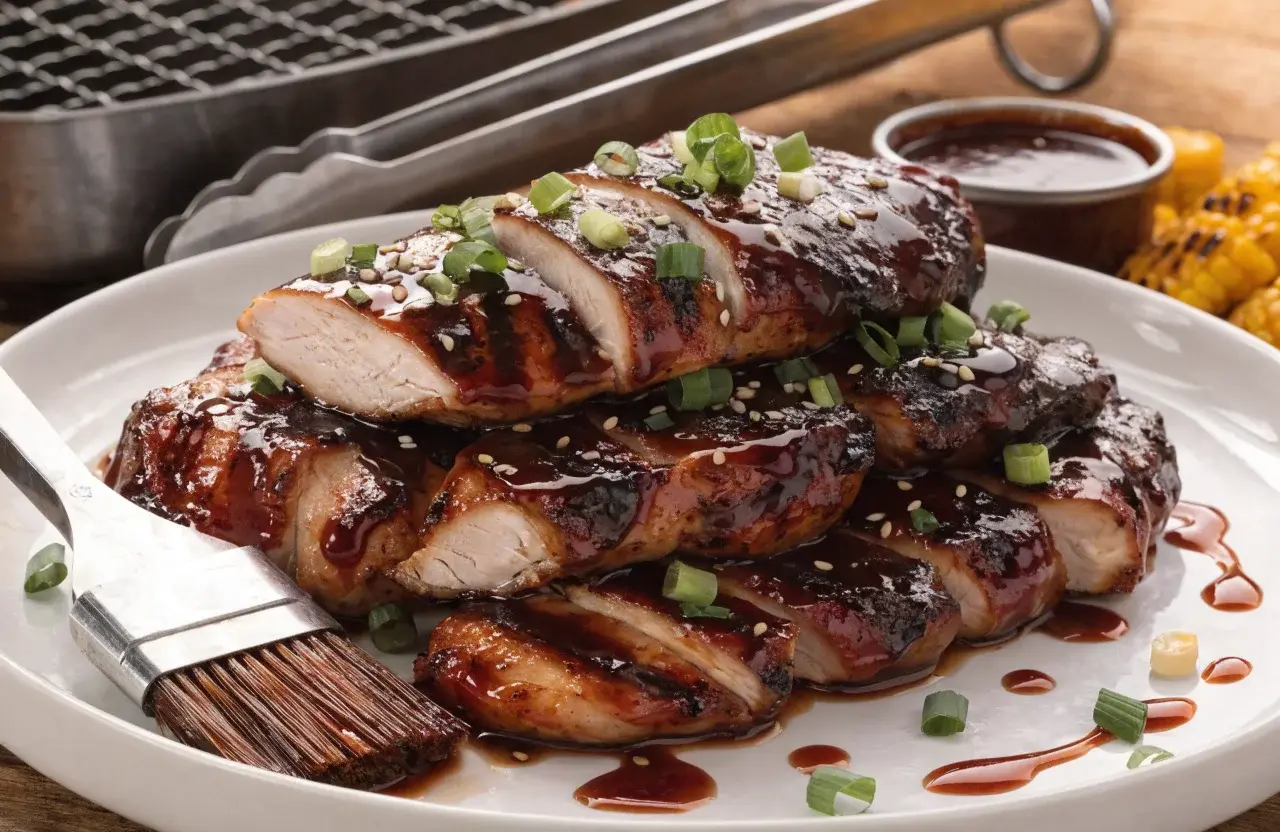
Classic Quick Glaze
– 3 tablespoons honey or maple syrup
– 1 tablespoon soy sauce
– 1 teaspoon Dijon mustard
– A squeeze of lemon juice
Cook the glaze for a minute, brush on at the end so it sticks without burning. Yum, sticky goodness.
Herb-Forward Fresh Vibes
– Fresh cilantro, parsley, or basil
– Lemon zest
– Olive oil, salt, pepper
– Toss with sliced chicken after cooking for a bright finish
Common Pitfalls and How to Avoid Them
- Overcrowding the basket leads to steaming, not browning. Give each piece room to breathe.
- High sugar marinades burn quickly. If you go sweet, keep an eye on the clock.
- Bone-in pieces can take longer. Start with boneless if you’re still learning.
Higher-Volume Cooking: Feeding Friends Without Freaking Out
Batch Strategy
– Cook in batches if your air fryer is small. Reheat gently to keep crispness.
– Keep finished pieces in a warm oven (about 200°F/95°C) to stay hot without drying out.
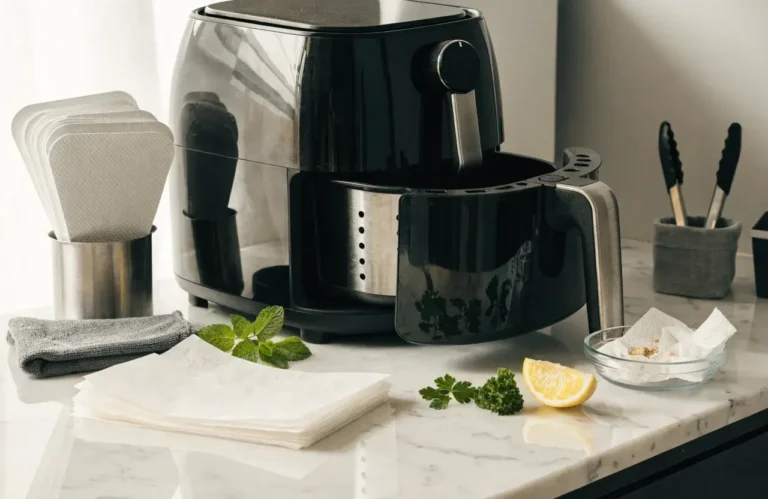
Cleanup That Won’t Make You Cry
- Let the basket cool, then wash with warm, soapy water.
- A quick wipe with a damp cloth after air fryer has cooled helps with stubborn fingerprints or splatters.
FAQ
Can I air fry frozen chicken?
Paragraph: Yes, you can start from frozen, but you’ll need more time. Start at 360°F (180°C) and increase in 5–7 minute increments until the internal temp hits 165°F (74°C). Thawing first gives you more even cooking and better browning.
What internal temperature should I hit?
Paragraph: Always aim for 165°F (74°C) in the thickest part. Use a reliable meat thermometer and check without touching bone for accuracy.
Do I need to oil the chicken?
Paragraph: Lightly oiling isn’t mandatory, but it helps with browning. If you’re watching calories, a quick spray or brushing is enough. The key is to pat dry first so you don’t end up steaming.
Can I marinate chicken overnight?
Paragraph: Absolutely. Overnight marination boosts flavor. Just don’t use a marinade with a lot of sugar, which can burn under high heat. Remember to pat dry before cooking.
What about bone-in thighs or drumsticks?
Paragraph: They take longer. Expect 18–22 minutes depending on thickness. Always verify with a thermometer. If you’re in a rush, pre-cut or pound to even thickness for faster, more even cooking.
Conclusion
Cooking chicken in an air fryer is a game changer when you want grilled vibes without the grill drama. With a little prep, smart seasoning, and a watchful eye on time, you’ll serve juicy, smoky-flavored chicken that looks like you spent all afternoon outdoors. Ready to impress your next dinner crew? IMO, you’ve got this. FYI, the most important step is tasting as you go—adjust seasoning until it’s 100% your jam.