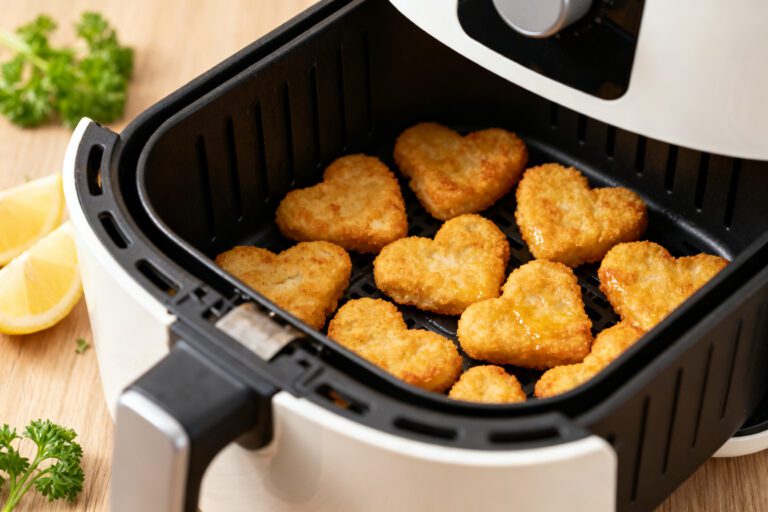
Air Fryer Heart Shaped Quesadilla – Cute, Crispy, and Ready in Minutes
Nothing says “I care” like a warm, melty quesadilla shaped like a heart. This fun, easy idea is perfect for Valentine’s Day, anniversaries, or any time you want to add a little charm to a simple snack. The air fryer makes it fast and crisp without a greasy mess.
You don’t need fancy tools—just tortillas, cheese, and a few fresh add-ins if you want them. It’s approachable, kid-friendly, and delicious for all ages.

Air Fryer Heart Shaped Quesadilla - Cute, Crispy, and Ready in Minutes
Ingredients
- 8-inch flour tortillas (2 tortillas make 1 quesadilla; use more as needed)
- 1 to 1 1/4 cups shredded cheese (cheddar, Monterey Jack, pepper jack, or a blend)
- 2–3 tablespoons cooked fillings (optional: diced chicken, black beans, sautéed peppers, or corn)
- 1 tablespoon finely chopped cilantro (optional)
- Softened butter or neutral oil (for brushing; optional but helps browning)
- Cooking spray (for the air fryer basket or liner)
- Salt and pepper (to taste)
- Dipping sauces (optional: salsa, guacamole, sour cream, or hot sauce)
Instructions
- Preheat the air fryer: Set it to 375°F (190°C). Preheating helps the tortillas crisp quickly and evenly.
- Make a heart template (optional but helpful): Fold a sheet of parchment in half and cut a half-heart shape. Unfold to reveal a symmetrical heart. Match it to your tortilla size.
- Cut the tortillas: Place the template on a tortilla and trim around it with kitchen shears or a sharp knife. Repeat for the second tortilla so both hearts are the same size.
- Assemble: Lay one tortilla heart on a cutting board. Sprinkle an even layer of cheese, leaving a small border around the edge. Add optional fillings sparingly so the quesadilla seals well. Top with cilantro and a pinch of salt and pepper.
- Seal the edges: Place the second tortilla heart on top. Gently press around the edges. For a tighter seal, lightly brush the border with water or a thin smear of refried beans before pressing.
- Brush or spray: Lightly brush the top with butter or oil for color and flavor. Spray the air fryer basket or place a perforated parchment liner inside and spray it.
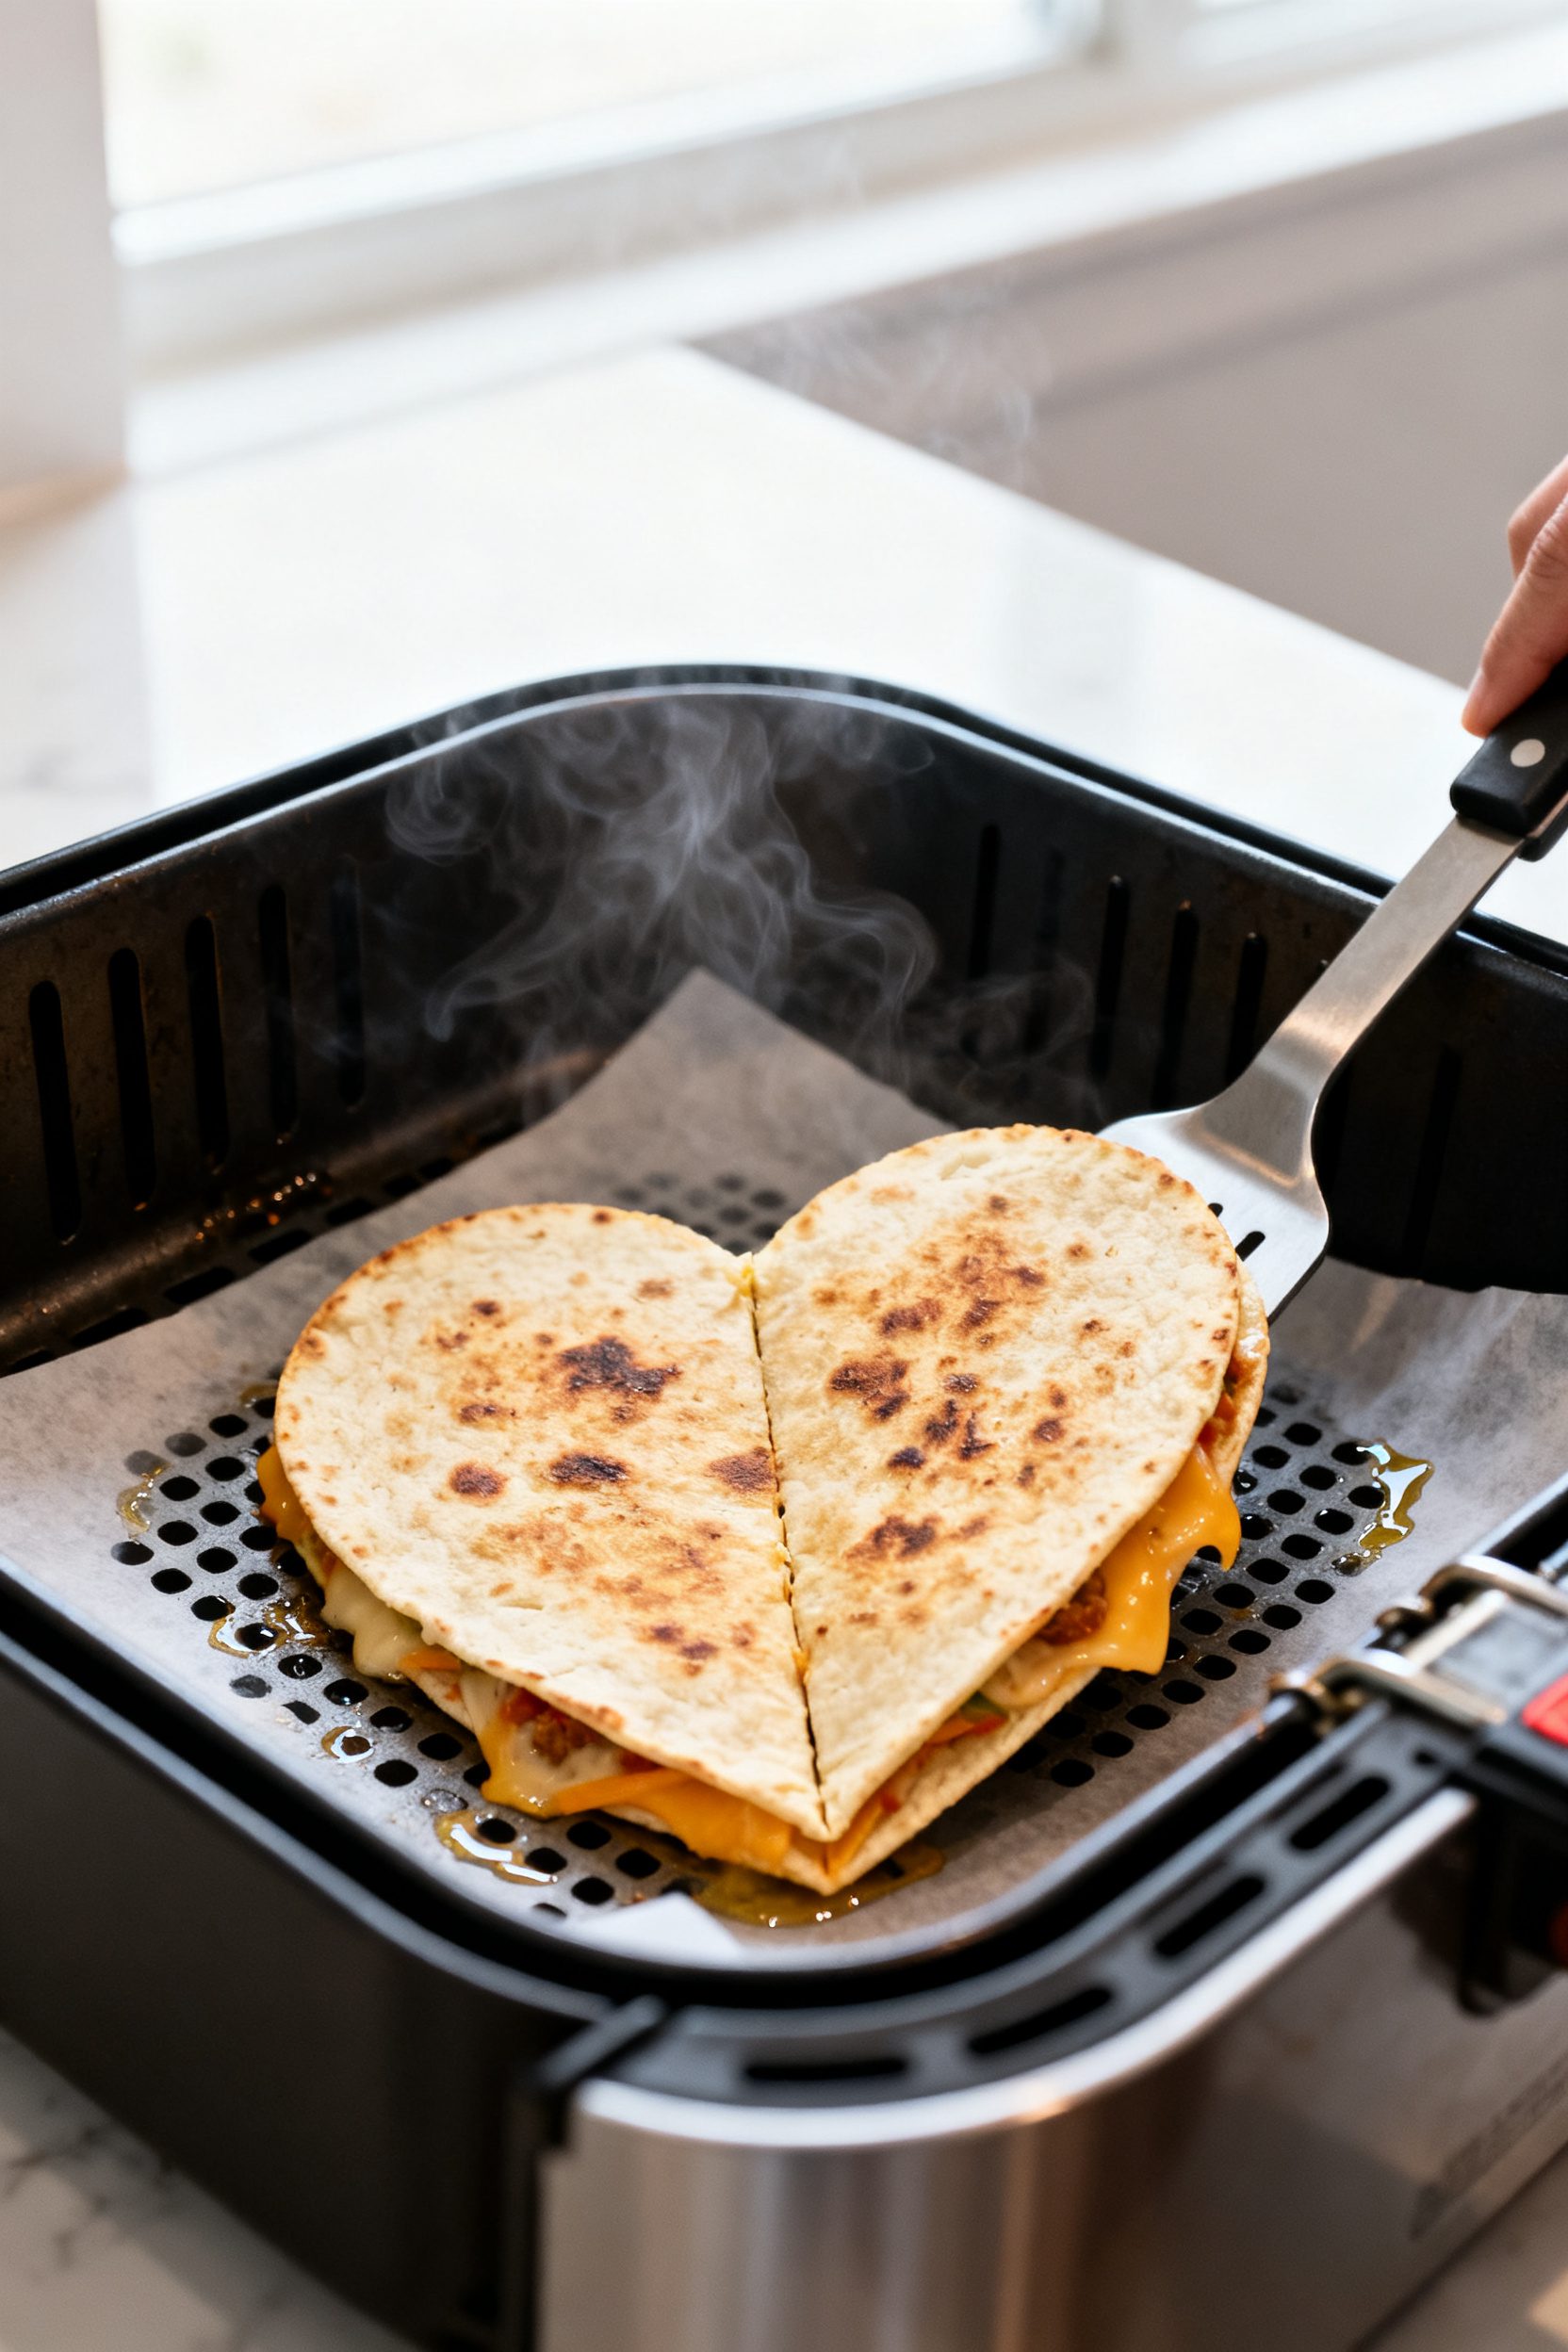
- Air fry: Place the quesadilla in the basket. Cook for 3–4 minutes, then carefully flip using tongs or a spatula. Cook another 2–3 minutes until golden and the cheese is melted.
- Rest and slice: Let it rest for 1–2 minutes to set the cheese. Slice into wedges or serve whole for full heart effect.
- Serve: Plate with salsa, guac, and sour cream. Add a sprinkle of chopped cilantro or green onion for color.
Why This Recipe Works
- Even, crispy texture: The air fryer circulates hot air around the tortilla, giving you an even, golden crunch while keeping the inside melty.
- Quick cook time: No waiting for a skillet to heat and no flipping drama—most quesadillas are done in about 5–7 minutes.
- Customizable fillings: Use your favorite cheese and add cooked chicken, veggies, or beans without changing the method.
- Minimal cleanup: A light spray of oil and a bit of parchment is all you need for an easy clean finish.
- Adorable presentation: The heart shape makes a simple snack feel special without extra effort.
Ingredients
- 8-inch flour tortillas (2 tortillas make 1 quesadilla; use more as needed)
- 1 to 1 1/4 cups shredded cheese (cheddar, Monterey Jack, pepper jack, or a blend)
- 2–3 tablespoons cooked fillings (optional: diced chicken, black beans, sautéed peppers, or corn)
- 1 tablespoon finely chopped cilantro (optional)
- Softened butter or neutral oil (for brushing; optional but helps browning)
- Cooking spray (for the air fryer basket or liner)
- Salt and pepper (to taste)
- Dipping sauces (optional: salsa, guacamole, sour cream, or hot sauce)
How to Make It

- Preheat the air fryer: Set it to 375°F (190°C). Preheating helps the tortillas crisp quickly and evenly.
- Make a heart template (optional but helpful): Fold a sheet of parchment in half and cut a half-heart shape.
Unfold to reveal a symmetrical heart. Match it to your tortilla size.
- Cut the tortillas: Place the template on a tortilla and trim around it with kitchen shears or a sharp knife. Repeat for the second tortilla so both hearts are the same size.
- Assemble: Lay one tortilla heart on a cutting board.
Sprinkle an even layer of cheese, leaving a small border around the edge. Add optional fillings sparingly so the quesadilla seals well. Top with cilantro and a pinch of salt and pepper.
- Seal the edges: Place the second tortilla heart on top.
Gently press around the edges. For a tighter seal, lightly brush the border with water or a thin smear of refried beans before pressing.
- Brush or spray: Lightly brush the top with butter or oil for color and flavor. Spray the air fryer basket or place a perforated parchment liner inside and spray it.
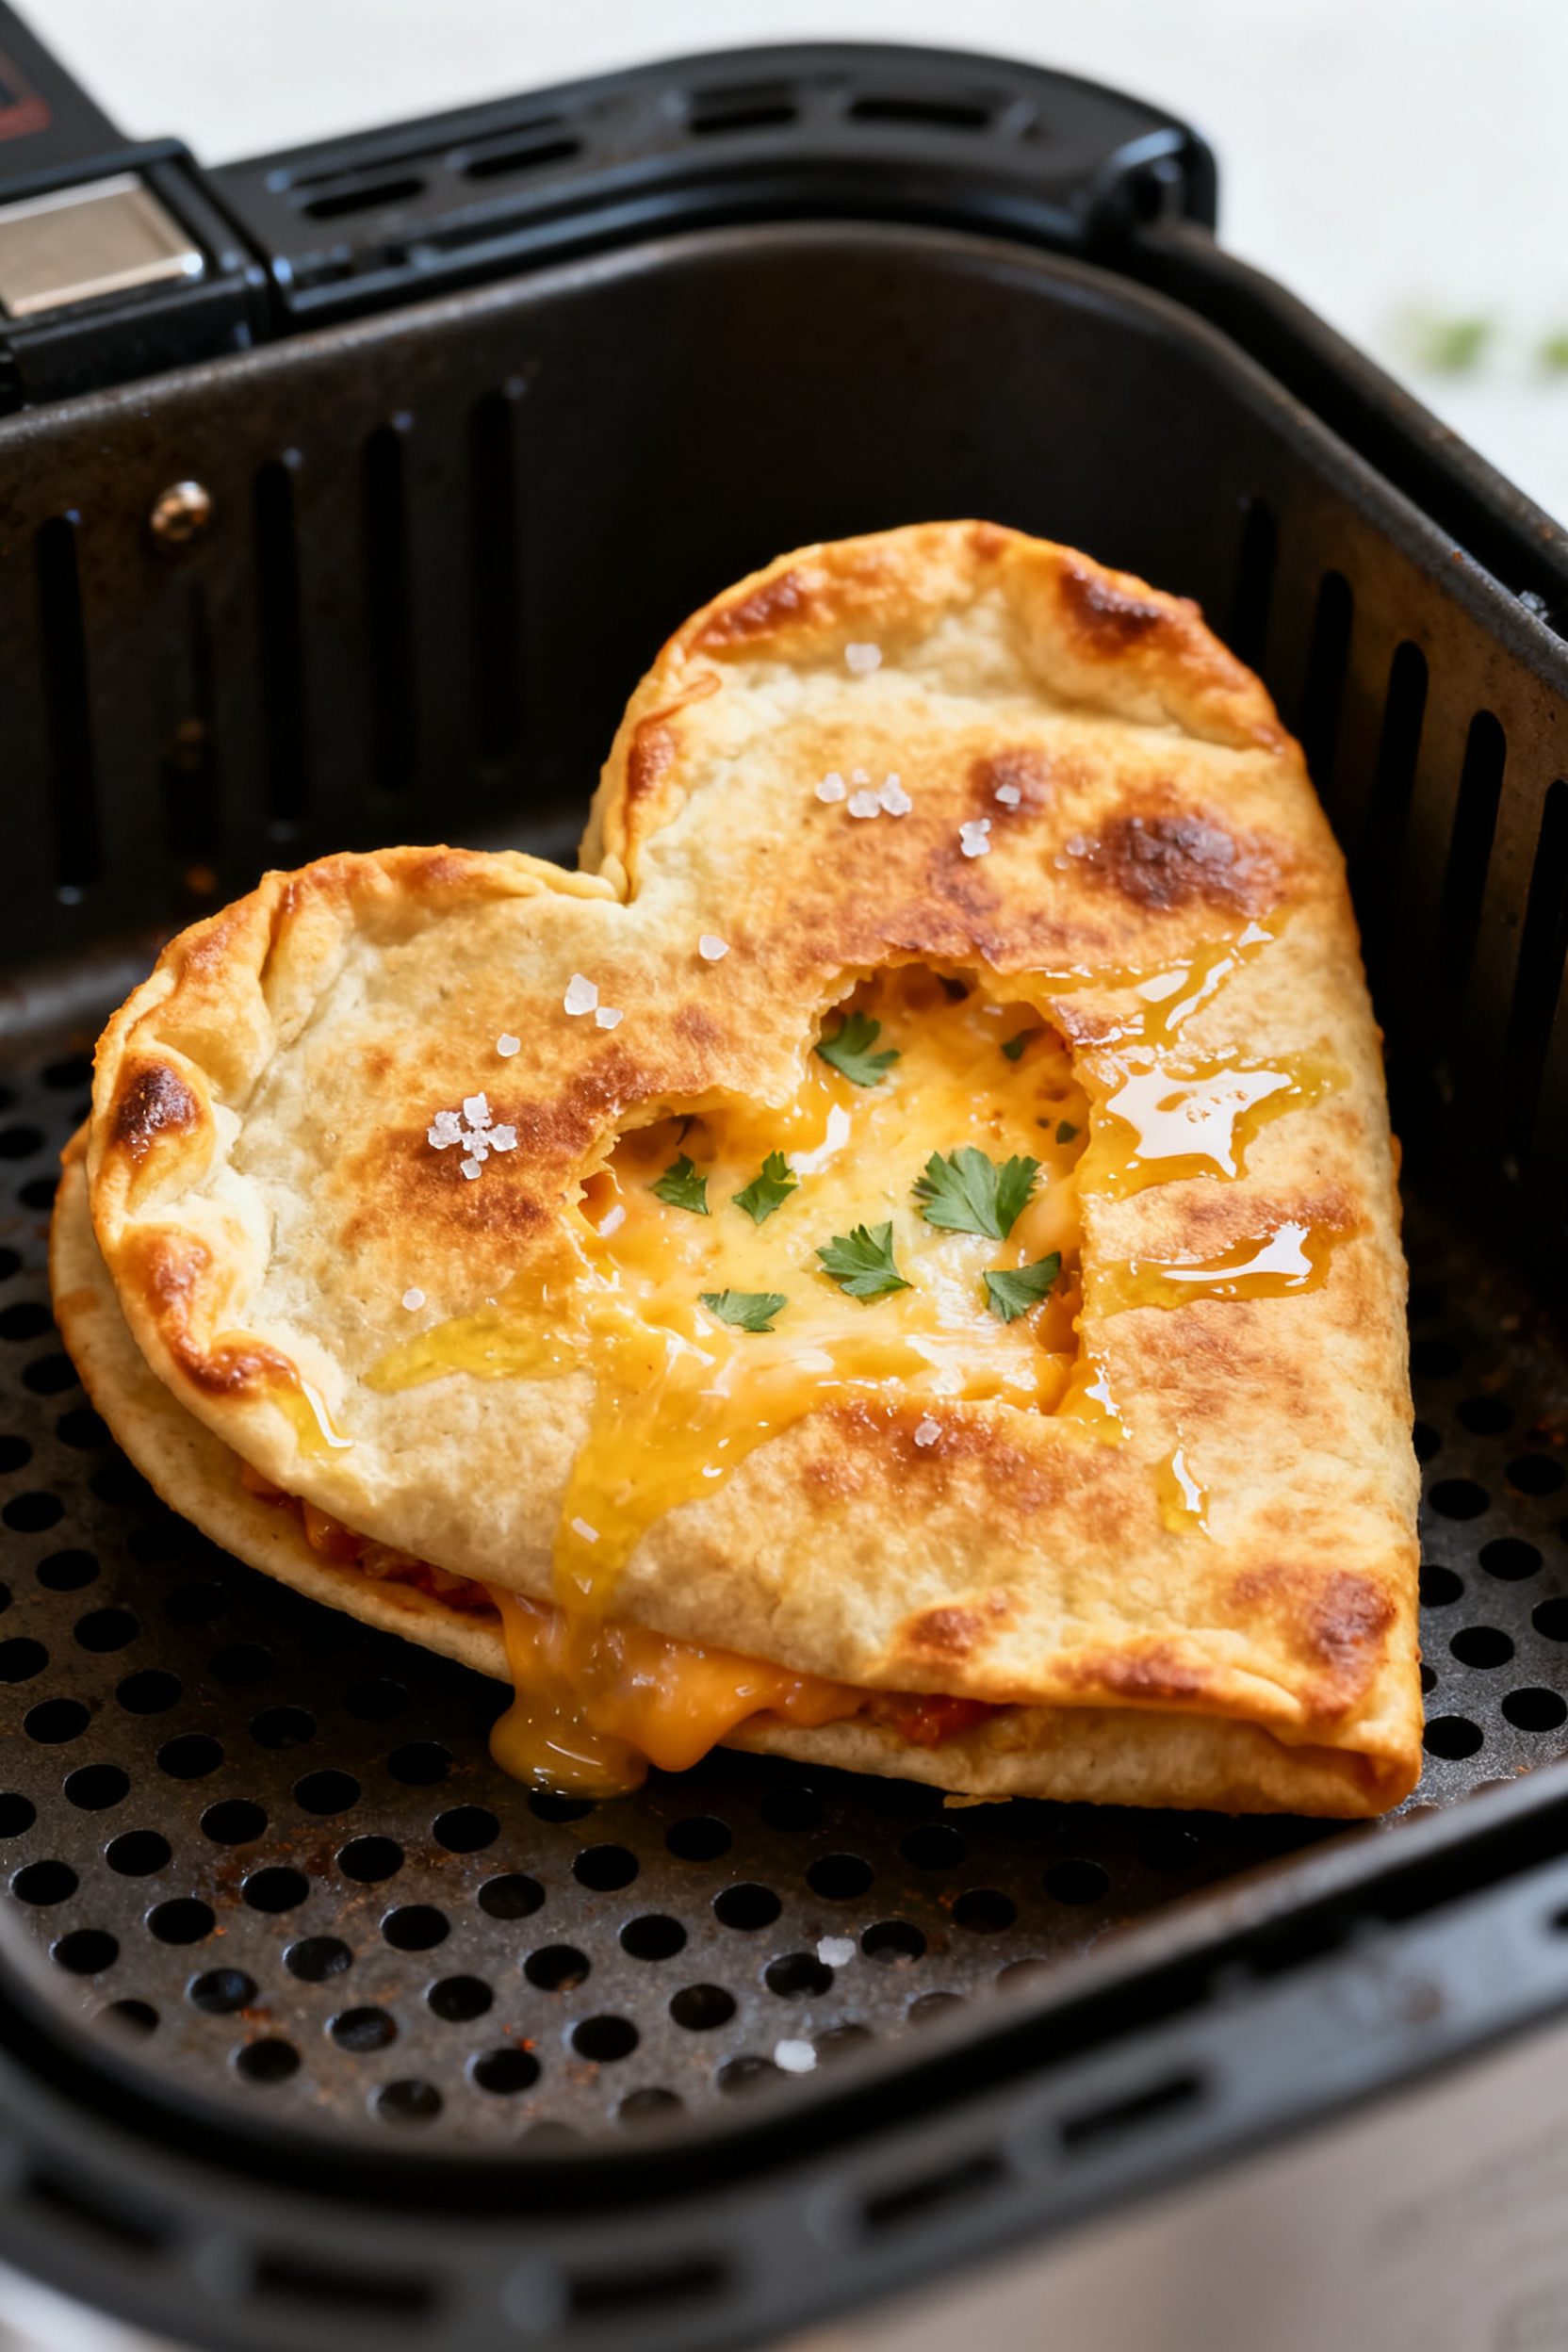
- Air fry: Place the quesadilla in the basket.
Cook for 3–4 minutes, then carefully flip using tongs or a spatula. Cook another 2–3 minutes until golden and the cheese is melted.
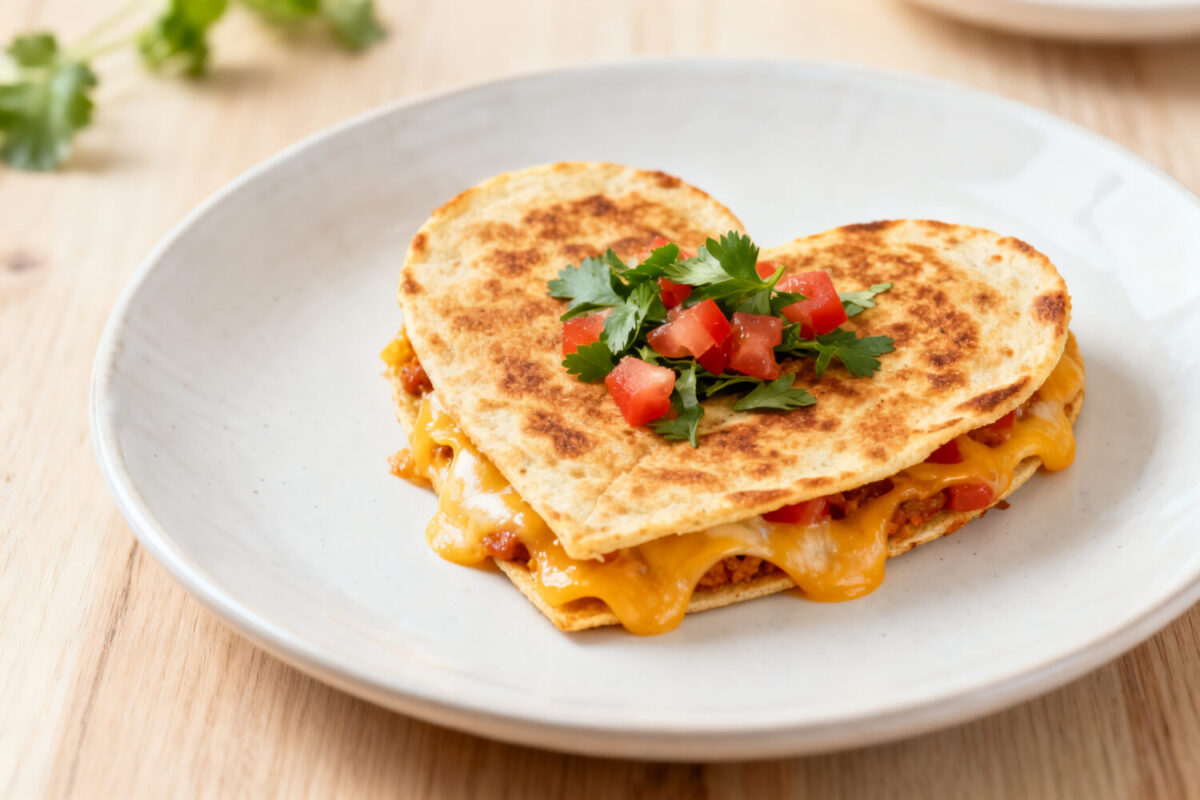
- Rest and slice: Let it rest for 1–2 minutes to set the cheese. Slice into wedges or serve whole for full heart effect.
- Serve: Plate with salsa, guac, and sour cream.
Add a sprinkle of chopped cilantro or green onion for color.
Keeping It Fresh
- Short-term: Store leftovers in an airtight container in the fridge for up to 3 days. Cool completely before sealing to avoid steam sogginess.
- Reheating: Air fry at 350°F (175°C) for 3–4 minutes until crisp again. You can also use a skillet over medium heat.
- Freezing: Assemble but don’t cook.
Wrap tightly in plastic, then foil, and freeze for up to 2 months. Air fry from frozen at 350°F (175°C) for 6–8 minutes, flipping once.
- Meal prep: Pre-cut heart tortillas and shred cheese in advance. Store separately so assembly takes just a minute.
Benefits of This Recipe
- Fast weeknight win: From start to finish, you’re looking at 10–15 minutes.
- Kid-approved: The cute shape and cheesy center make it a reliable hit.
- Better portion control: The 8-inch size is perfect for a light meal or snack; scale up as needed.
- Versatile nutrition: Add protein, fiber-rich beans, or veggies to balance the cheese.
- Minimal mess: No splattering oil or multiple pans to wash.
Pitfalls to Watch Out For
- Overstuffing: Too much filling makes it hard to seal and can cause leaks and uneven melting.
Keep layers thin.
- Skipping the preheat: A cold basket can lead to soggy tortillas. Preheat for better crisping.
- Not flipping: You’ll get uneven color if you don’t turn it halfway. Flip carefully to avoid tearing.
- Dry tortillas: If your tortillas are stiff, warm them briefly in the microwave under a damp paper towel to prevent cracking when cutting or shaping.
- Cheese choice: Low-moisture, good-melting cheeses (like Monterey Jack) work best.
Fresh mozzarella can leak moisture and soften the shell.
Alternatives
- Gluten-free: Use gluten-free tortillas. They’re often more delicate, so warm them slightly before cutting and handle gently.
- Whole wheat or low-carb: Swap in your preferred tortillas. Cooking time may vary by thickness.
- Dairy-free: Use a meltable vegan cheese or a spread of refried beans plus sautéed veggies for richness.
- Protein boosts: Add shredded rotisserie chicken, seasoned ground turkey, or crumbled tofu (pressed and sautéed).
- Veggie-packed: Add spinach, roasted peppers, caramelized onions, or mushrooms—just keep fillings dry to prevent sogginess.
- Spicy touch: Mix in chopped jalapeños or a sprinkle of chili flakes with the cheese.
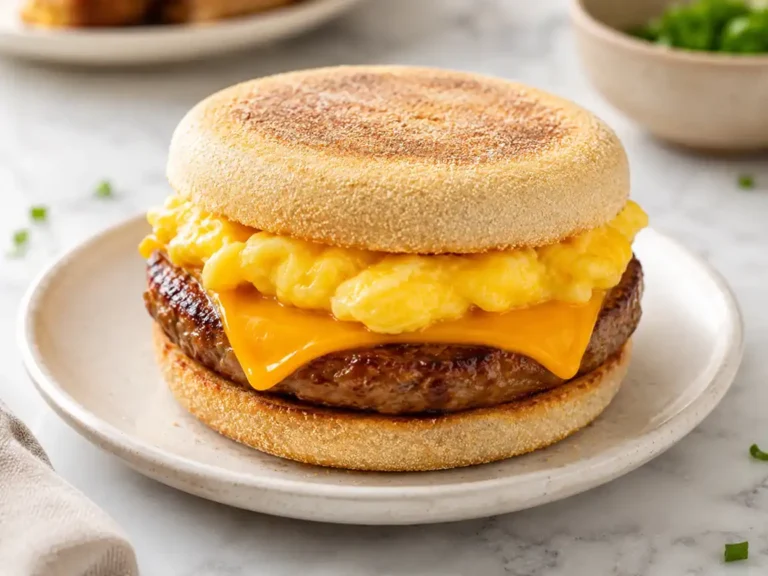
- Breakfast version: Add scrambled eggs and a little cooked bacon or black beans.
Great with salsa verde.
FAQ
Do I need a heart-shaped cookie cutter?
No. A simple paper template and kitchen scissors work great. If you have a large cookie cutter, use it, but it’s not required.
What’s the best cheese for melting?
Monterey Jack, mild cheddar, Colby Jack, and pepper jack melt smoothly and taste great.
A blend of cheddar and Monterey Jack is a reliable combo.
Can I make this with corn tortillas?
Yes, but corn tortillas are smaller and more fragile. Warm them first, handle gently, and expect a slightly different texture—crisp and toasty with a tender bite.
How do I keep the edges from lifting in the air fryer?
Press the edges firmly, avoid overfilling, and brush a light layer of water or refried beans around the border before sealing. A quick press with a spatula after flipping also helps.
What if my air fryer has a strong fan that blows food around?
Weigh down the top briefly with a small, oven-safe rack or toothpick “stitches” at a few points along the edge.
Remove the rack or toothpicks midway when you flip.
Can I use smaller tortillas?
Absolutely. Street-size tortillas make mini heart quesadillas. Reduce cooking time by 1–2 minutes and keep fillings minimal.
Is oil necessary?
Not strictly, but a light brush of butter or oil helps with golden color and flavor.
If you’re avoiding oils, you can skip it and still get a nice crunch.
How can I make them extra cheesy without leaks?
Use a slightly thicker cheese layer at the center and thinner near the edge. The center melts into a gooey pocket while the edges stay sealed.
Can I double or triple the batch?
Yes. Cook in batches so you don’t overcrowd the basket.
Keep finished quesadillas warm in a low oven (200°F/95°C) on a wire rack to maintain crispness.
What dips go best?
Classic salsa, pico de gallo, guacamole, and sour cream are great. For a twist, try chipotle mayo or a creamy cilantro-lime sauce.
Wrapping Up
Air Fryer Heart Shaped Quesadillas are simple, fast, and just plain fun. With a few pantry staples and a quick trim into a heart, you get something that feels homemade and a little special.
Customize the fillings, keep the edges neat, and let the air fryer do the hard work. Whether it’s date night, a kid’s lunch, or a snack you want to make memorable, this cheerful little quesadilla delivers every time.